
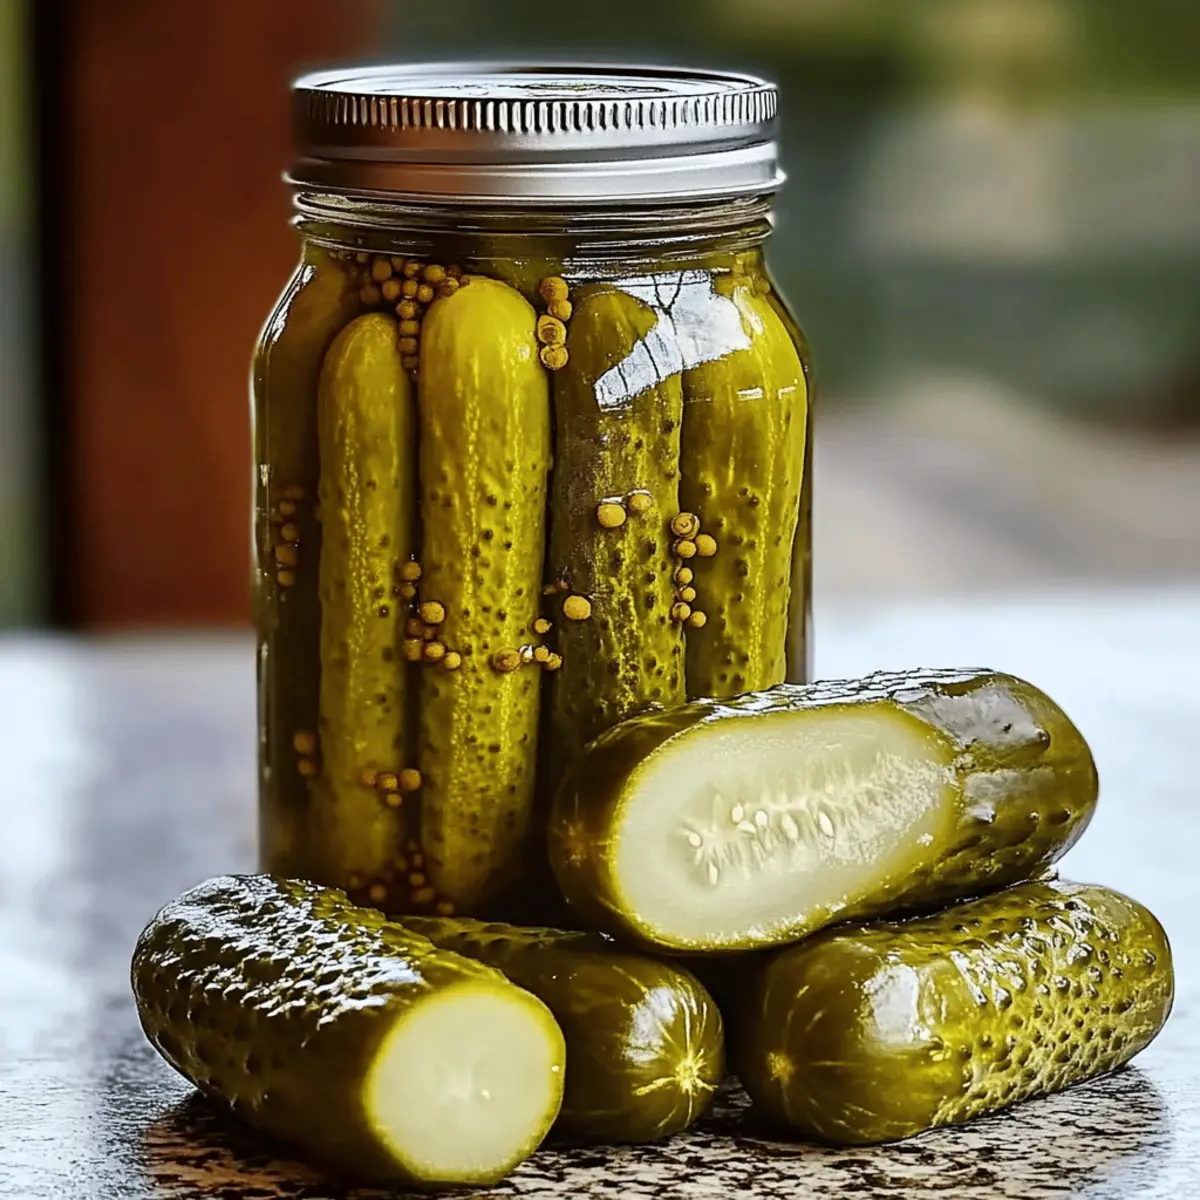
Amid the warm embraces of summer, I found myself daydreaming about crisp, tangy bites that could brighten up any meal. Canned dill pickles, with their delightful crunch and zesty flavor, have a way of transporting you to sun-drenched picnics and backyard barbecues. This easy homemade canned dill pickle recipe is not just about preserving garden-fresh cucumbers; it’s a celebration of vibrant flavors and the joy of home canning. With just a few simple ingredients, you’ll create a crunchy delight that adds pizzazz to sandwiches and makes for a perfect snack. Plus, these pickles can be customized to your desired spice level, ensuring that every bite is uniquely yours. Who's ready to transform that surplus of cucumbers into something truly sensational?
Why Make Canned Dill Pickles?
Freshness Guaranteed: Each jar is filled with crisp, garden-fresh cucumbers that pack a punch of flavor. The homemade brine ensures control over what goes into your pickles.
Customizable Heat: Want a little extra kick? Feel free to tweak the spice level by adding garlic or red pepper flakes to suit your taste.
Simple Process: Don't worry, this recipe is perfect for beginners; with just a few steps, you can master the art of canning and impress your friends.
Great for Entertaining: These pickles make a delicious addition to cheese boards, sandwiches, or just enjoyed on their own. Your guests will rave about the homemade touch!
Long-Lasting Enjoyment: Seal them up, store them, and savor the fruits of your labor for months to come—homemade pickles truly are a labor of love. If you’re interested in exploring different flavor profiles, check out our recipe for Spicy Pickle Brine.
Canned Dill Pickle Ingredients
Unlock the zest and crunch with these essential ingredients!
For the Brine
- Water – Use purified or filtered water for a clear brine that lets the flavors shine.
- White Vinegar – Provides the tangy acidity needed for delicious canned dill pickles; swap with apple cider vinegar for a twist.
- Salt – Essential for flavor and preservation; opt for kosher or canning salt to avoid brine cloudiness.
- Sugar – Adds a hint of sweetness to balance the tartness; adjust to your personal taste.
For the Pickles
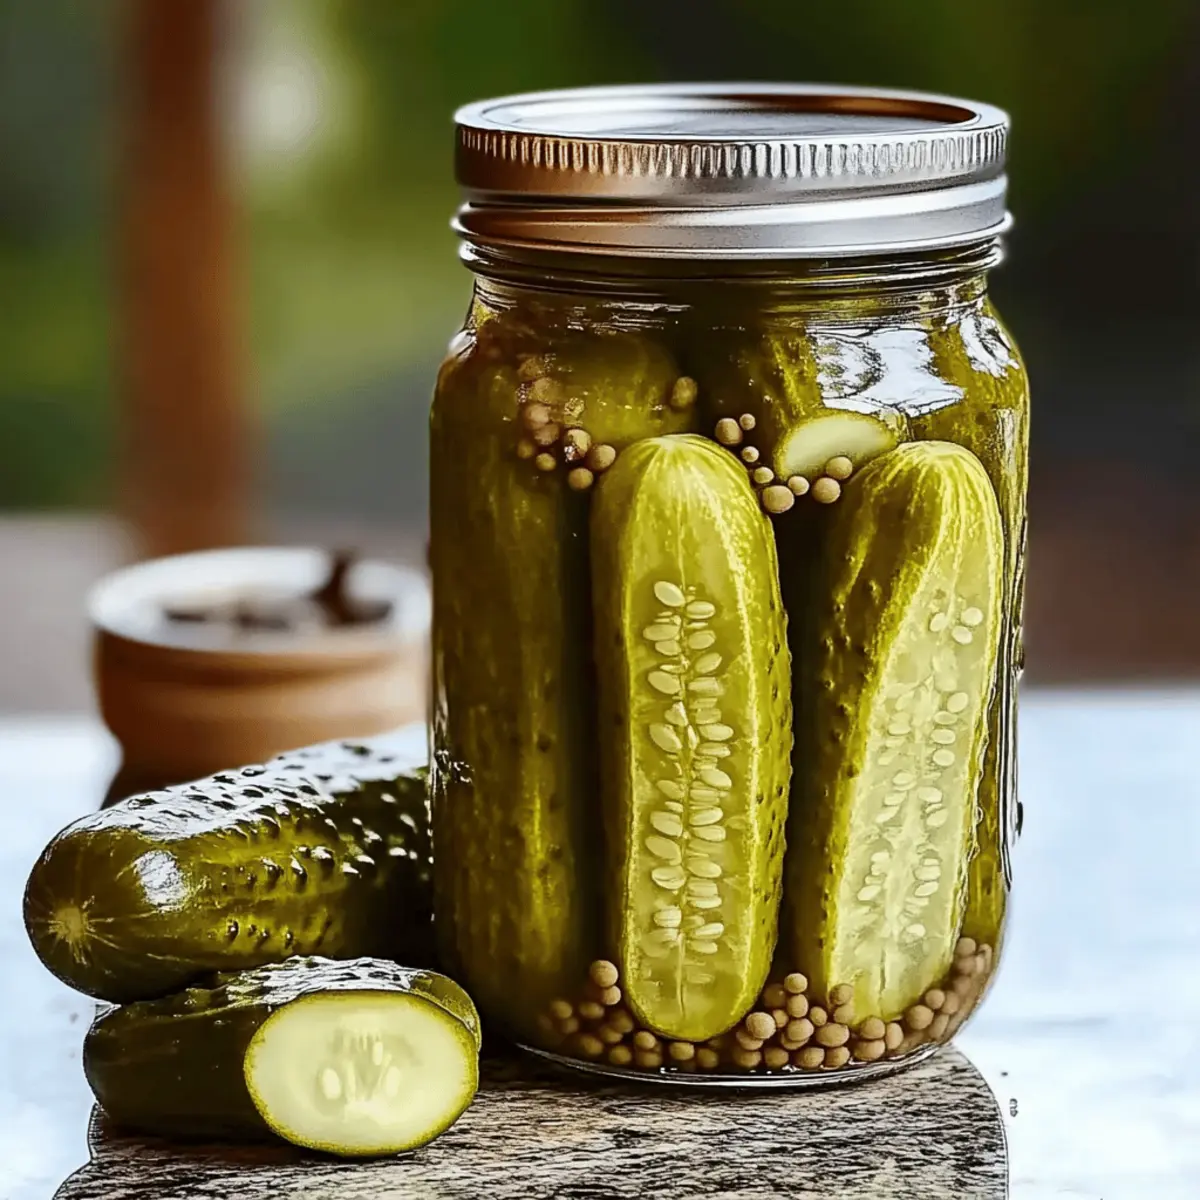
- Fresh Pickling Cucumbers – Select firm, bumpy cucumbers to ensure a satisfying crunch; avoid any blemishes for the best results.
- Garlic Cloves – Fresh garlic enhances the flavor; feel free to adjust the number based on your taste preference.
- Fresh Dill Sprigs – The star flavor of your pickles; can be swapped with dill seed if necessary.
With these simple ingredients, you're just a few steps away from transforming your cucumbers into tantalizing canned dill pickles!
Step‑by‑Step Instructions for Canned Dill Pickles
Step 1: Sterilize Your Jars
Begin by sterilizing your canning jars and lids to ensure a safe and preserved product. Boil the jars and lids in a large pot of water for about 10 minutes. After boiling, carefully remove them and let them cool on a clean kitchen towel. A smooth surface is vital as any cracks could lead to spoilage in your canned dill pickles.
Step 2: Prepare Cucumbers
While your jars are cooling, wash the fresh pickling cucumbers under cold water. Cut the cucumbers into spears or slices, depending on your preference. Look for firm, blemish-free cucumbers that promise a satisfying crunch. Set them aside; they’ll soon immerse in the flavorful brine you’re about to create.
Step 3: Make the Brine
In a medium saucepan, combine purified water, white vinegar, kosher salt, and sugar. Bring this mixture to a boil over medium heat, stirring occasionally until the salt and sugar completely dissolve. Allow the brine to simmer for about 5 minutes, releasing a tangy scent that tantalizes your taste buds. This hot brine is essential for your canned dill pickles.
Step 4: Pack the Jars
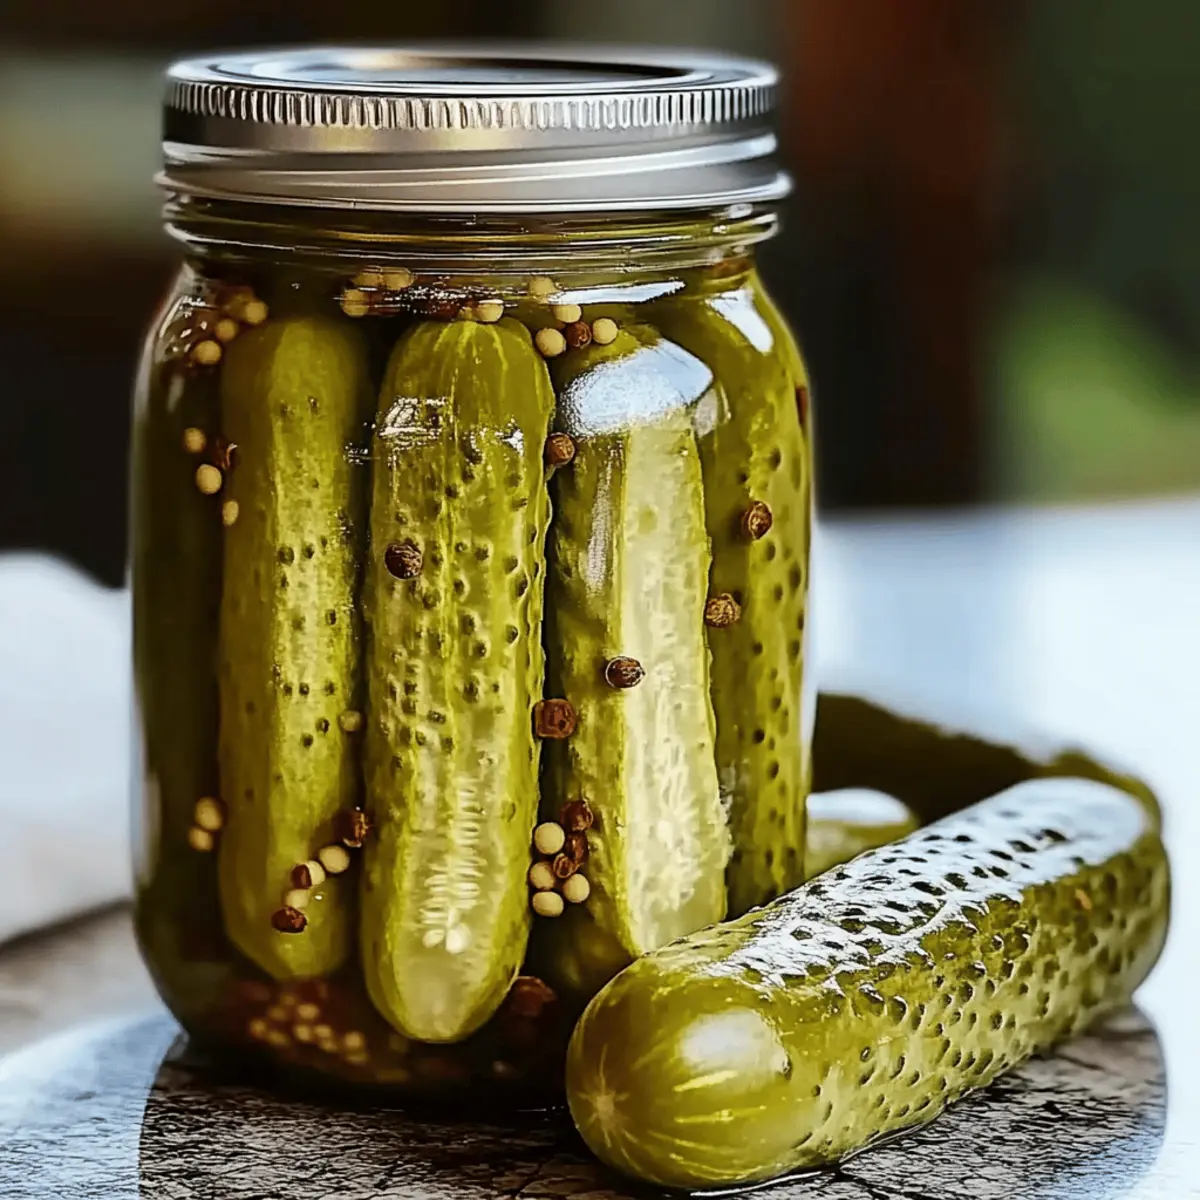
Carefully layer the cucumber spears or slices into your prepared jars. Add fresh garlic cloves and dill sprigs between the layers for enhanced flavor. Leave about half an inch of headspace at the top of each jar; this will help during the canning process. Packing them tightly yet neatly ensures every bite gets the tangy brine.
Step 5: Fill with Brine
Once your cucumbers are packed, pour the hot brine over them, ensuring each piece is fully submerged. Use a non-metallic utensil to remove any air bubbles trapped in the jars. This step is crucial, as it helps maintain the crunch of your canned dill pickles. Wipe the rims of the jars clean to ensure a secure seal.
Step 6: Seal the Jars
After filling the jars, place the sterilized lids on top and screw the metal bands tightly but not overly so. This balance allows for any expansion during processing while maintaining a secure seal against contamination. Your jars are now ready for the next step in the process of creating delicious canned dill pickles.
Step 7: Process for Preservation
In a large pot or canner, carefully place the jars upright and cover them with water. Bring it to a rolling boil and process for about 10 minutes. This step is vital for ensuring your canned dill pickles seal properly and enhances their longevity. You'll know they're done when the water returns to a boil after adding the jars.
Step 8: Cool and Store
Once processed, carefully remove the jars from the boiling water and let them cool on a clean cloth or wire rack. As they cool, listen for the satisfying "pop" of the lids sealing. After about 24 hours, check the seals by pressing in the center of each lid; if it doesn’t pop back, your jar is sealed. Store the sealed jars in a cool, dark place for at least two weeks to allow flavors to develop.

How to Store and Freeze Canned Dill Pickles
Fridge: Once opened, keep your canned dill pickles in the refrigerator for up to 2 months. Ensure the jar is tightly sealed to maintain freshness and crunch.
Cool, Dark Place: Unopened jars can be stored in a cool, dark place for up to a year. This helps preserve the flavor and texture of your homemade pickles.
Freezer: While freezing is not typically recommended for canned dill pickles due to potential texture changes, if needed, you can freeze the brine or cucumbers separately. Use airtight containers and consume within 3 months for best quality.
Reheating: There's no need to reheat canned dill pickles; simply enjoy them straight from the jar as a delightful tangy snack or accompaniment to your meals!
Canned Dill Pickle Variations
Embrace the joy of creativity in your kitchen! With these delightful twists, you can make your pickles uniquely yours.
-
Spicy Kick: Add crushed red pepper flakes or extra garlic for a fiery punch that elevates the flavor.
-
Sweet and Spicy: Mix in a tablespoon of honey or sugar alongside the brine for a sweet contrast to the tang.
-
Herb Infusion: Experiment with fresh herbs like thyme or basil. They’ll provide a fragrant flavor that complements the dill beautifully.
-
Vinegar Switch: Swap white vinegar for apple cider vinegar for a milder, fruity note that’s equally delicious.
-
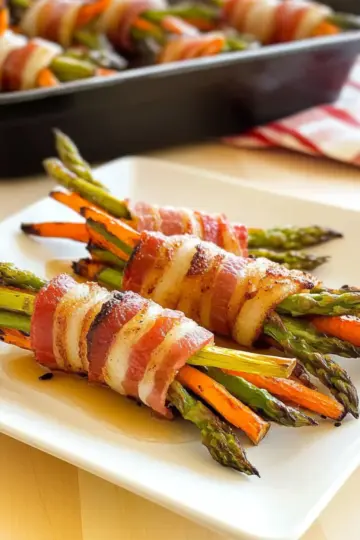
Veggie Variety: Use other pickling vegetables such as carrots, radishes, or green beans to create a colorful medley of flavors.
-
Mustard Seed Crunch: Toss in mustard seeds or coriander for an unexpected but delightful crunch and depth of flavor.
-
Garlic Lovers: If you adore garlic, feel free to increase the amount used, or even try roasted garlic for a mellower flavor.
For a truly bold experience, don’t shy away from trying our recipe for Spicy Pickle Brine!
What to Serve with Easy Homemade Canned Dill Pickles
Create a delightful spread that complements the tangy crunch of these homemade dill pickles and elevates your meals.
-
Classic Sandwiches: With their zesty bite, these pickles are the perfect match for sandwiches, bringing a refreshing crunch to any variety—think ham, turkey, or a classic BLT.
-
Grilled Burgers: Enhance delicious grilled burgers by adding slices of canned dill pickles. Their acidity cuts through the richness of beef, balancing flavors beautifully.
-
Potato Salad: The tangy brine of the pickles complements creamy potato salad, adding an unexpected zest that enhances each spoonful and creates flavor harmony.
-
Cheese Boards: Present your pickles alongside an array of cheeses, meats, and nuts on a charcuterie board. Their crunchiness serves as a delightful contrast to creamy and savory elements.
-
Tossed Green Salads: Add a handful of chopped dill pickles to your green salads for a surprising flavor boost. Their briny notes enhance the freshness, making each bite more exciting.
-
Spicy Bloody Marys: Looking for a tasty drink pairing? Garnish your Bloody Mary with a dill pickle. The pickle's tangy flavor and crunch elevate this classic brunch cocktail to new heights.
Dive into the deliciousness of these pairings and watch how they transform your dining experience, making every meal feel special and memorable!
Expert Tips for Canned Dill Pickles
• Fresh Ingredients Matter: Choosing high-quality, fresh pickling cucumbers is crucial. Overripe cucumbers can lead to mushiness in your canned dill pickles.
• Avoid Cracked Jars: Always inspect your jars for cracks or chips. This ensures a proper seal and prevents spoilage, keeping your pickles safe and tasty.
• Tamper with Spice: Don’t hesitate to adjust the spice level! Adding extra garlic or crushed red pepper can help you customize your canned dill pickles to your flavor preference.
• Patience is Key: Allow the jars to sit for at least two weeks before opening. This curing time lets the flavors meld together beautifully.
• Test for Seals: After processing, make sure to check the seal by pressing in the center of each lid. If it pops back, it hasn't sealed properly, and you should refrigerate and consume within two weeks.
Make Ahead Options
These Easy Homemade Canned Dill Pickles are a fantastic meal prep solution for busy home cooks! You can prepare the brine (water, vinegar, salt, and sugar) and refrigerate it up to 3 days ahead of time, allowing you to save precious minutes when you're ready to can. Additionally, you can clean and cut your pickling cucumbers and store them in a sealed container in the refrigerator for up to 24 hours before canning. To maintain quality, ensure your jars are sterilized properly and always use fresh ingredients. When you’re ready to finish, simply pack the cucumbers in jars, pour the chilled brine over them, seal, and process. You’ll enjoy the effortless pleasure of homemade pickles anytime!
Canned Dill Pickles Recipe FAQs
What types of cucumbers are best for pickling?
Choosing the right cucumbers is crucial for achieving that satisfying crunch in your canned dill pickles. Go for fresh pickling cucumbers—look for firm, bumpy specimens that feel heavy for their size. Steer clear of any that have dark spots or are overly ripe, as these can lead to mushy pickles. I often find that shorter cucumbers give a better texture!
How should I store my canned dill pickles?
Once your jars are processed and sealed, store them in a cool, dark place, like a pantry or cupboard, where they can last up to a year unopened. After you open a jar, refrigerate it and consume the pickles within 2 months for the best taste and crunch. Remember to keep the lid tightly sealed to help retain freshness!
Can I freeze canned dill pickles?
Freezing canned dill pickles isn't typically recommended because it can change their crunchy texture. However, if you find yourself with too many cucumbers, consider freezing them before pickling instead! Simply wash and slice the cucumbers, place them in airtight containers, and they can last up to 3 months in the freezer. When you're ready, thaw them and then make your pickles fresh!
What should I do if my pickles don't seal properly?
If you discover that one or more jars haven't sealed properly, don’t panic! You can reprocess them within 24 hours by boiling the jars again. Simply remove the lid, check for any food particles, wipe the rim, and reseal with a new lid before processing again. Alternatively, if they still don’t seal, store them in the refrigerator and enjoy within two weeks.
Are there any dietary considerations for canned dill pickles?
Absolutely! When canning dill pickles, be mindful of dietary restrictions, especially regarding sodium levels. If you're watching your salt intake, you can reduce the amount of salt in the brine recipe, but keep in mind that salt also helps with preservation. Additionally, if you have allergies to garlic or other spices, feel free to omit them or adjust the recipe accordingly. Always check ingredients used for any potential allergens!
Crispy Canned Dill Pickle Recipe That's Bursting with Flavor
Ingredients
Equipment
Method
- Sterilize your jars and lids by boiling them in water for about 10 minutes, then let them cool.
- Wash fresh pickling cucumbers and cut them into spears or slices.
- Combine water, white vinegar, salt, and sugar in a medium saucepan and bring to a boil.
- Layer cucumber pieces, garlic, and dill in your jars, leaving half an inch of headspace.
- Pour hot brine over cucumbers, remove air bubbles, and wipe jar rims clean.
- Seal jars with sterilized lids and metal bands, tightening them securely.
- Process jars in boiling water for about 10 minutes for preservation.
- Let the jars cool on a clean cloth or wire rack and check seals after 24 hours.
- Store sealed jars in a cool, dark place for at least two weeks to develop flavors.

Leave a Reply