
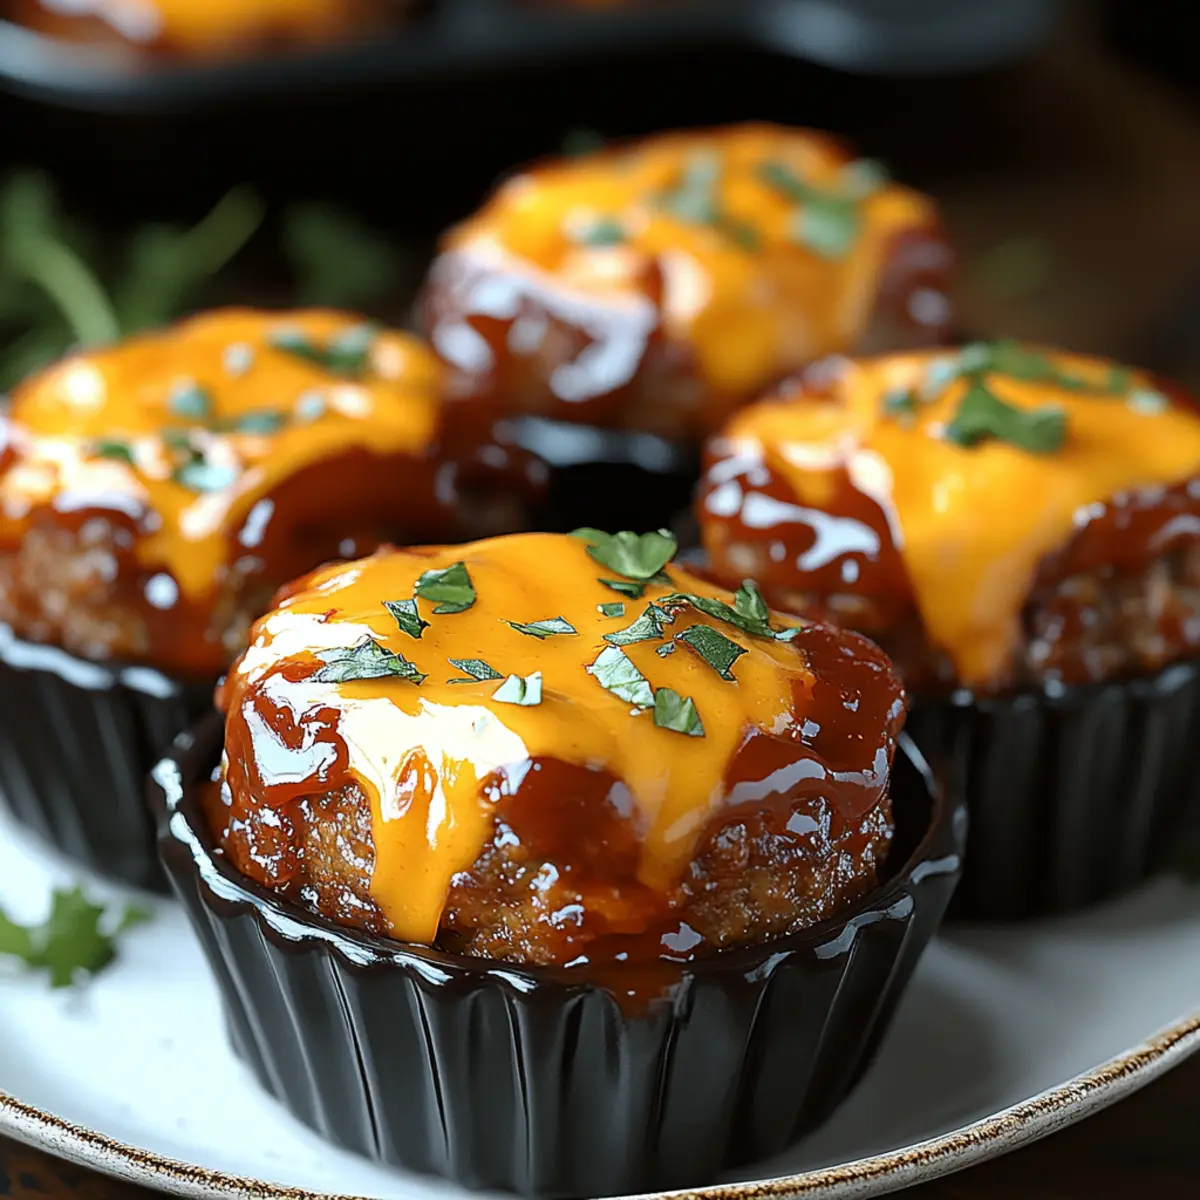
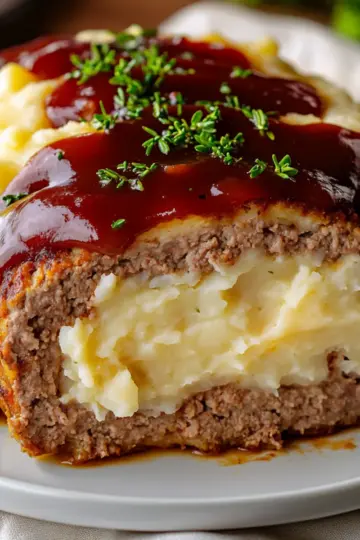
As the aroma of smoky BBQ sauce wafts through the kitchen, I can’t help but feel a wave of nostalgia wash over me. These Cheesy BBQ Meatloaf Cups are my cozy twist on a classic comfort dish, bringing back memories of family dinners gathered around the table. Each individual cup is not only quick to prepare—ideal for those busy weeknights—but also completely customizable to fit every palate. Whether you’re feeding a crowd or meal prepping for yourself, they make for a crowd-pleasing solution that’s as delicious as it is practical. Ready to dive into this delightful recipe? Let’s explore how you can transform simple ingredients into a comforting feast!
Why Are These Meatloaf Cups a Must-Try?
Deliciously customizable: Each cup is a blank canvas, allowing you to play with different meats, cheeses, and BBQ sauces.
Perfectly portioned: Individual servings make for easy sharing at gatherings or for meal prepping your week ahead.
Comforting flavor: The rich combination of savory meat and melty cheese creates a taste sensation that warms the soul.
Quick and easy: With minimal prep time and straightforward instructions, you can have these delightful cups ready in no time!
Nostalgic twist: They deliver all the comfort of traditional meatloaf while offering a fun and modern presentation. For more delicious comfort foods, check out Cheesy Chicken Spaghetti.
Cheesy BBQ Meatloaf Cups Ingredients
For the Meatloaf Mixture
• Ground Beef – Main protein providing richness; substitute with ground turkey or plant-based options for a lighter meal.
• Breadcrumbs – Adds structure and texture; consider using oats or gluten-free breadcrumbs as alternatives.
• Milk – Moistens and binds ingredients; can be replaced with non-dairy milk for lactose-free options.
• Large Egg – Binds the mixture together; if avoiding eggs, a flax egg works well.
• Worcestershire Sauce – Enhances Umami flavor; replace with soy sauce or tamari for a gluten-free version.
• Onion – Provides aromatic flavor; use shallots or omit if not preferred.
• Garlic Powder – Adds depth of flavor; fresh minced garlic can also be used.
• Salt & Black Pepper – Essential for basic seasoning; adjust to taste.
For Topping
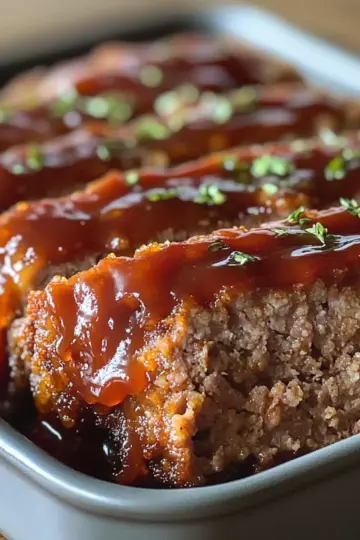
• BBQ Sauce – Adds tangy sweetness; try different flavors like smoky, sweet, or spicy for your Cheesy BBQ Meatloaf Cups.
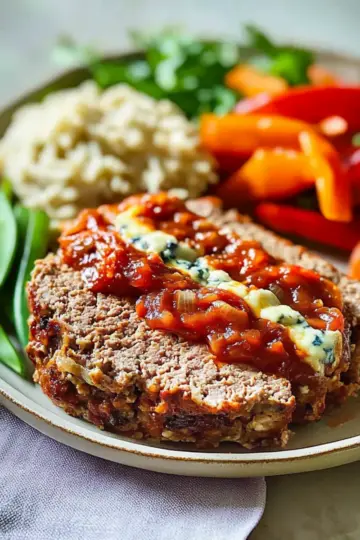
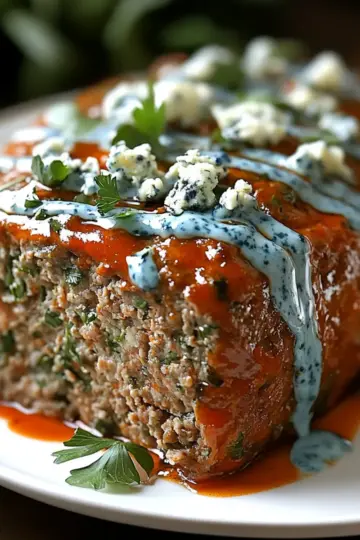
• Shredded Cheddar Cheese – Melty topping for flavor and richness; swap for mozzarella or blue cheese for variety.
• Fresh Parsley – For garnish and a touch of freshness; can be substituted with chives or omitted.
These ingredients come together beautifully to create a dish that’s not only simple but also comforting and customizable for all family members. Happy cooking!
Step‑by‑Step Instructions for Cheesy BBQ Meatloaf Cups
Step 1: Preheat and Prepare
Start by preheating your oven to 375°F (190°C). While the oven warms up, take a muffin tin and generously coat each cup with cooking spray to prevent sticking. This ensures that your Cheesy BBQ Meatloaf Cups will slide out effortlessly once cooked.
Step 2: Mix the Meatloaf Ingredients
In a large mixing bowl, combine the ground beef, breadcrumbs, milk, egg, Worcestershire sauce, finely chopped onion, garlic powder, salt, and black pepper. Use your hands or a spatula to mix everything thoroughly until well blended, ensuring that all ingredients are evenly distributed for delicious flavor in every bite.
Step 3: Form the Meatloaf Cups
Scoop the mixture into the prepared muffin tin, dividing it evenly among the cups. With your fingers, press the mixture gently into each cup, forming a little well in the center to hold the toppings later. This shape helps the Cheesy BBQ Meatloaf Cups cook evenly and maintain their delightful form while baking.
Step 4: Bake the Meatloaf
Place the muffin tin in your preheated oven and bake for 20-25 minutes. Keep an eye on them; the cups should appear browned and firm to the touch. Ensure they are cooked through by checking that they are no longer pink in the center.
Step 5: Add BBQ Sauce and Cheese
Once baked, carefully remove the muffin tin from the oven. Using a brush, generously coat each meatloaf cup with your preferred BBQ sauce, adding a sweet and tangy layer of flavor. Next, sprinkle a generous amount of shredded cheddar cheese on top of each cup to create a deliciously melty topping.
Step 6: Melt the Cheese
Return the muffin tin to the oven for an additional 5-7 minutes, or until the cheese is melted and bubbly, creating a beautiful golden layer on top of your Cheesy BBQ Meatloaf Cups. This step enhances the flavors and finishes the dish perfectly.
Step 7: Garnish and Serve
Once your meatloaf cups are ready, remove them from the oven and let them cool for a few minutes. Garnish with freshly chopped parsley for a pop of color and a hint of freshness. These gorgeous individual servings are now ready to serve, making for a comforting meal everyone will enjoy!
Make Ahead Options
These Cheesy BBQ Meatloaf Cups are perfect for meal prep enthusiasts! You can mix the meatloaf filling and shape it into cups up to 24 hours in advance. Just store the formed cups in an airtight container in the refrigerator to maintain their freshness. When you’re ready to cook, simply bake them as directed, topping with BBQ sauce and cheese just before the end of cooking to maintain that gooey finish. For longer storage, you can freeze the uncooked cups for up to 3 months—just thaw in the fridge overnight before baking. This way, you’ll have delicious comfort food ready for easy weeknight dinners!
Cheesy BBQ Meatloaf Cups Variations
Feel free to unleash your creativity by customizing these delicious Cheesy BBQ Meatloaf Cups to suit your family’s tastes and dietary needs!
-
Dairy-Free: Replace shredded cheese with vegan cheese alternatives or nutritional yeast for a flavorful twist without dairy.
-
Meat Options: Substitute ground beef with ground turkey, chicken, or even crumbled tofu for a lighter option, keeping the same great flavors.
-
Sauce Swaps: Experiment with various BBQ sauces like smoky chipotle, zesty honey mustard, or even teriyaki for a unique flavor explosion. Each version brings its own character to the dish!
-
Veggie Boost: Fold in diced vegetables like bell peppers, zuchinni, or spinach to add extra nutrition and texture. They not only elevate the dish visually but also enhance the flavor.
-
Spicy Kick: Add a teaspoon of chili powder, cayenne pepper, or diced jalapeños to bring a delightful heat to your cups. This variation is perfect for those who enjoy a little spice!
-
Carb-Free: For a low-carb option, replace breadcrumbs with crushed pork rinds or almond flour. This keeps the moisture while reducing carbs.
-
Herb Infusion: Incorporate fresh herbs like basil or oregano into the meat mixture for a fragrant twist. It’s an easy way to elevate the flavor profile and impress with freshness!
For more tasty inspirations, don’t forget to check out these other delightful recipes like Cheesy Garlic Chicken Wraps or Cheesy Beef Potato Soup. Happy cooking!
How to Store and Freeze Cheesy BBQ Meatloaf Cups
Fridge: Store leftover Cheesy BBQ Meatloaf Cups in an airtight container for up to 3 days. They'll remain moist and flavorful, ready for quick reheating.
Freezer: For longer storage, freeze the meatloaf cups in a single layer on a baking sheet, then transfer to a freezer-safe container for up to 3 months.
Reheating: Reheat from frozen or thawed in the oven at 350°F (175°C) for best results, about 15-20 minutes, until heated through and the cheese is melty.
Meal Prep Tips: These meatloaf cups are ideal for meal prep; simply make a batch in advance and enjoy comforting homemade meals throughout the week!
Expert Tips for Cheesy BBQ Meatloaf Cups
Press Firmly: Ensure your meatloaf cups are pressed firmly in the muffin tin to maintain their shape and ensure even cooking.
Adjust BBQ Sauce: Tailor the BBQ sauce quantity to your preference; taste-testing during assembly can help balance sweetness and tanginess.
Safety First: Always check that the internal temperature of your Cheesy BBQ Meatloaf Cups reaches 160°F (71°C) for beef safety.
Meal Prep Friendly: These cups are perfect for meal prep; make a batch ahead of time and store in airtight containers for easy weekday meals.
Experiment with Ingredients: Don’t hesitate to add diced vegetables or a dash of spice to the mixture for added nutrition and flavor.
What to Serve with Cheesy BBQ Meatloaf Cups
To elevate your meal and create a delightful dining experience, consider pairing these savory meatloaf cups with complementary sides.
- Creamy Mashed Potatoes: Their fluffy, buttery texture provides a comforting contrast and pairs perfectly with the savory flavors of the meatloaf cups.
- Tangy Coleslaw: The crispness and acidity of coleslaw offer a refreshing balance, enhancing the overall meal with pop and crunch.
- Roasted Vegetables: Sweet, caramelized veggies add a nutritious element and a beautiful color contrast to your plate.
- Mac and Cheese: Indulge in rich, cheesy goodness. Creamy pasta enhances the comfort level, making your meal extra hearty.
- Sweet Potato Fries: The natural sweetness and crunchiness of sweet potato fries make for a fun side with a mouthwatering mix of flavors.
- Pickles or Pickled Vegetables: A tangy pickle bite cuts through the richness of the meatloaf cups, offering a delightful tang that elevates each bite.
- Cornbread: This classic addition provides a sweet and crumbly counterpart, perfect for sopping up any extra BBQ sauce.
- Refreshing Salad: A light mixed green salad dressed in a vinaigrette adds freshness, helping to balance the savory and rich flavors on your plate.
Cheesy BBQ Meatloaf Cups Recipe FAQs
What is the best way to select ripe ingredients for my Cheesy BBQ Meatloaf Cups?
Absolutely! For the best results, choose ground beef that appears bright red with no gray areas, indicating freshness. If you’re opting for vegetables, pick onions that are firm and free from dark spots. Fresh parsley should be bright green and vibrant.
How should I store leftover Cheesy BBQ Meatloaf Cups?
It's super easy! Simply place your leftovers in an airtight container and store them in the fridge for up to 3 days. For optimal flavor and moisture, ensure the lid seals tightly. I often make a batch and enjoy them for lunch throughout the week—just a quick reheat, and you’re good to go!
Can I freeze Cheesy BBQ Meatloaf Cups? How do I do it?
Yes, you can! To freeze them, first allow the meatloaf cups to cool completely. Then, arrange them in a single layer on a baking sheet and freeze until solid—about 1-2 hours. Once frozen, transfer them to a freezer-safe container or ziplock bag and freeze for up to 3 months. To reheat, place them directly in the oven at 350°F (175°C) for 15-20 minutes until heated through and the cheese is melty.
What should I do if my meatloaf cups are falling apart?
No worries, this happens! Be sure that you're mixing all the ingredients thoroughly, especially the binders like egg and breadcrumbs, which help hold everything together. If they’re still crumbly, consider adding a bit more milk or another egg to add moisture and binding power. Additionally, pressing the mixture firmly into the muffin tin is crucial for helping them hold their shape.
Are Cheesy BBQ Meatloaf Cups suitable for dietary restrictions?
Very much so! If you have dietary considerations, you can easily adapt this recipe. Use ground turkey, chicken, or even plant-based alternatives to make them lighter or vegetarian. For gluten-free needs, selecting gluten-free breadcrumbs or oats along with tamari instead of Worcestershire sauce will keep everyone happy. Just remember to always check labels for allergen information when selecting sauces and cheese!
Deliciously Cheesy BBQ Meatloaf Cups for Ultimate Comfort
Ingredients
Equipment
Method
- Preheat your oven to 375°F (190°C) and coat a muffin tin with cooking spray.
- In a mixing bowl, combine ground beef, breadcrumbs, milk, egg, Worcestershire sauce, onion, garlic powder, salt, and black pepper.
- Scoop the mixture into the muffin tin, pressing gently to form cups.
- Bake for 20-25 minutes until browned and firm to the touch.
- Remove from oven and coat each cup with BBQ sauce, then top with shredded cheddar cheese.
- Return the tin to the oven for another 5-7 minutes until cheese is melted.
- Let cool briefly before garnishing with parsley and serving.
Leave a Reply