
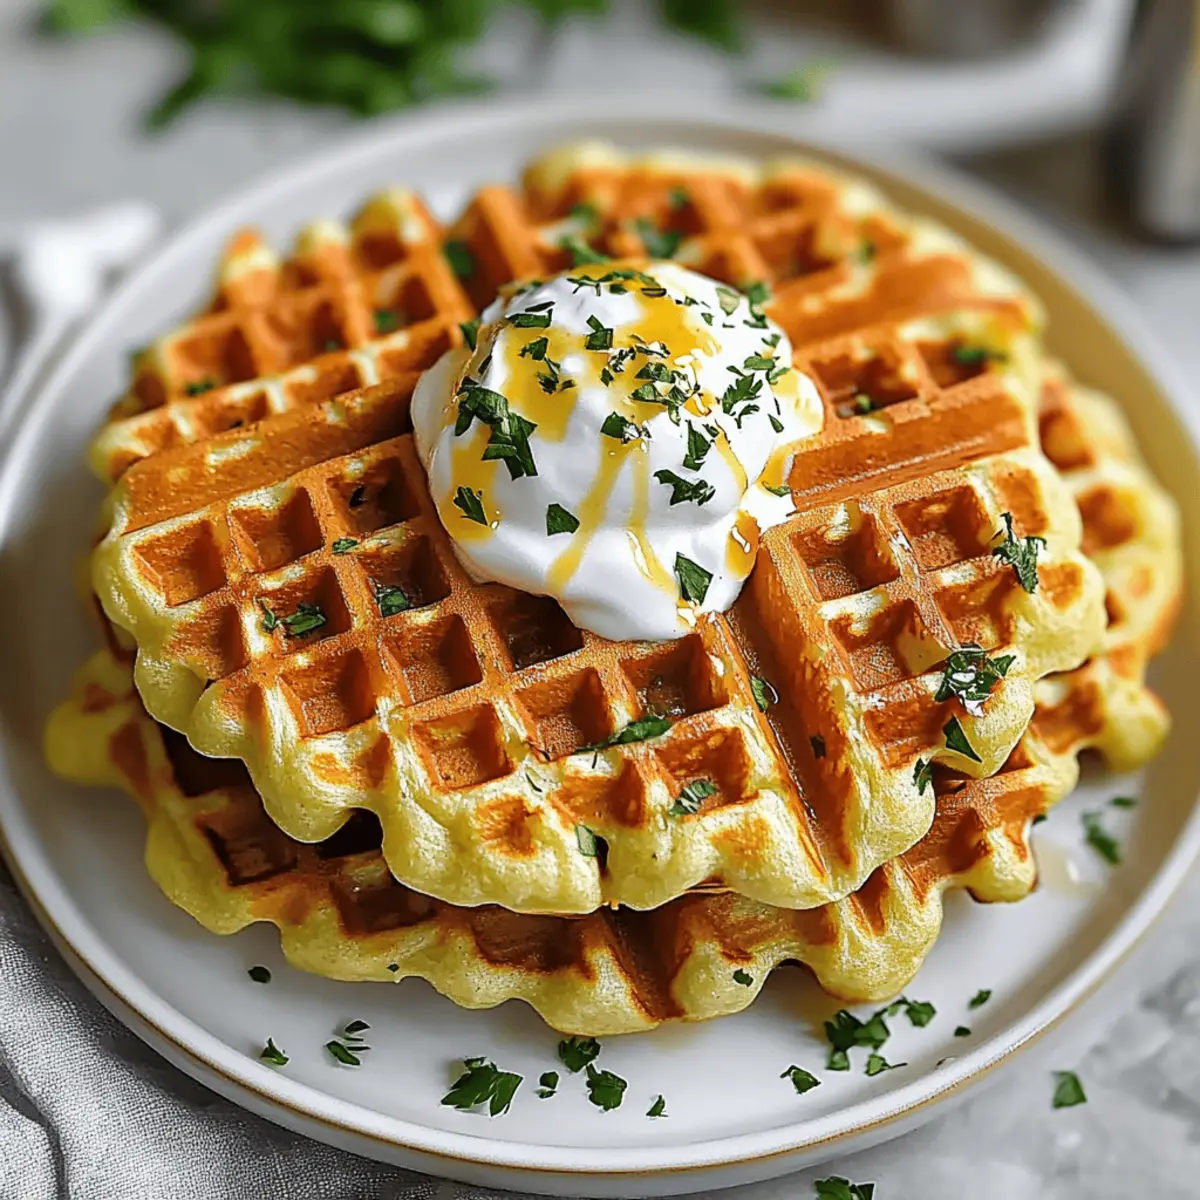
As I whisked together the ingredients for my breakfast, the kitchen filled with the enticing aroma of crispy, cheesy goodness. Today, I’m all about Cheesy Cauliflower Waffles—a delightful twist on a classic comfort food. These gluten-free wonders combine the lightness of cauliflower with melted cheese, delivering a satisfying crunch and fluffiness that’s hard to resist. In just under 30 minutes, you can craft a healthy, low-carb dish that will leave you feeling full and nourished. Plus, they are incredibly versatile; top them with poached eggs for brunch or enjoy them solo as a snack! Ready to transform your morning routine with this delicious recipe?
Why Are Cheesy Cauliflower Waffles a Must-Try?
Irresistible Flavor: These Cheesy Cauliflower Waffles pack a punch with their cheesy, savory taste that will make your taste buds dance.
Healthy Twist: Enjoy a low-carb, gluten-free meal that doesn’t skimp on deliciousness—perfect for those looking to eat healthier without sacrificing flavor.
Quick and Easy: With preparation time under 30 minutes, these waffles are a satisfying option for busy mornings when you need something wholesome yet delicious.
Versatile Treat: Serve them as a hearty breakfast or a fun side dish at dinner. Top with your favorites—like avocado or a poached egg—for added flair!
Crowd-Pleaser: Whether you're cooking for the family or hosting friends, these waffles are sure to be a hit. Try pairing them with Cheesy Hamburger Green or a side of Hash Brown Waffles for a total comfort food feast!
Cheesy Cauliflower Waffles Ingredients
• Discover the flavorful essentials you’ll need to craft these delicious Cheesy Cauliflower Waffles.
For the Waffles
- Cauliflower – Provides structure and the base for this low-carb delight; you can swap it for broccoli for an interesting twist.
- Cheese – Adds creamy richness; try feta or vegan cheese for a different flavor profile.
- Eggs – Binds everything together and ensures a moist texture; flax eggs work well for a vegan option.
- Almond Flour – Keeps it gluten-free while offering a nice texture; make sure not to substitute with all-purpose flour without adjusting the wet/dry balance.
- Seasonings (e.g., garlic powder, salt, pepper) – Enhance the overall flavor; feel free to get creative with spices like smoked paprika or Italian herbs.
With these simple yet essential ingredients, you'll be ready to whip up a batch of Cheesy Cauliflower Waffles that are not only healthy but irresistibly tasty!
Step‑by‑Step Instructions for Cheesy Cauliflower Waffles
Step 1: Preheat the Waffle Maker
Begin by preheating your waffle maker according to the manufacturer's instructions. This usually takes about 5 minutes, but consult your model for specific details. A hot waffle maker is crucial for achieving that perfect golden-brown, crispy exterior on your Cheesy Cauliflower Waffles.
Step 2: Prepare the Cauliflower
While the waffle maker heats up, steam or microwave the cauliflower florets until they are tender—usually about 5-7 minutes. Once cooked, allow it to cool slightly, then chop or rice it using a food processor. The riced cauliflower will be the star ingredient in your waffles, providing both texture and flavor.
Step 3: Mix the Ingredients
In a mixing bowl, combine the riced cauliflower, beaten eggs, shredded cheese, almond flour, and your preferred seasonings, such as garlic powder, salt, and pepper. Stir well until all ingredients are evenly mixed, creating a batter-like consistency. This mixture should be moist but not overly wet to ensure your Cheesy Cauliflower Waffles hold together while cooking.
Step 4: Cook the Waffles
Carefully pour an appropriate amount of the batter into the preheated waffle maker, spreading it slightly but not overfilling. Close the lid and cook for approximately 5-7 minutes or until the waffles are golden brown and crisp. Keep an eye on them to prevent overcooking while they develop a lovely texture.
Step 5: Serve and Enjoy
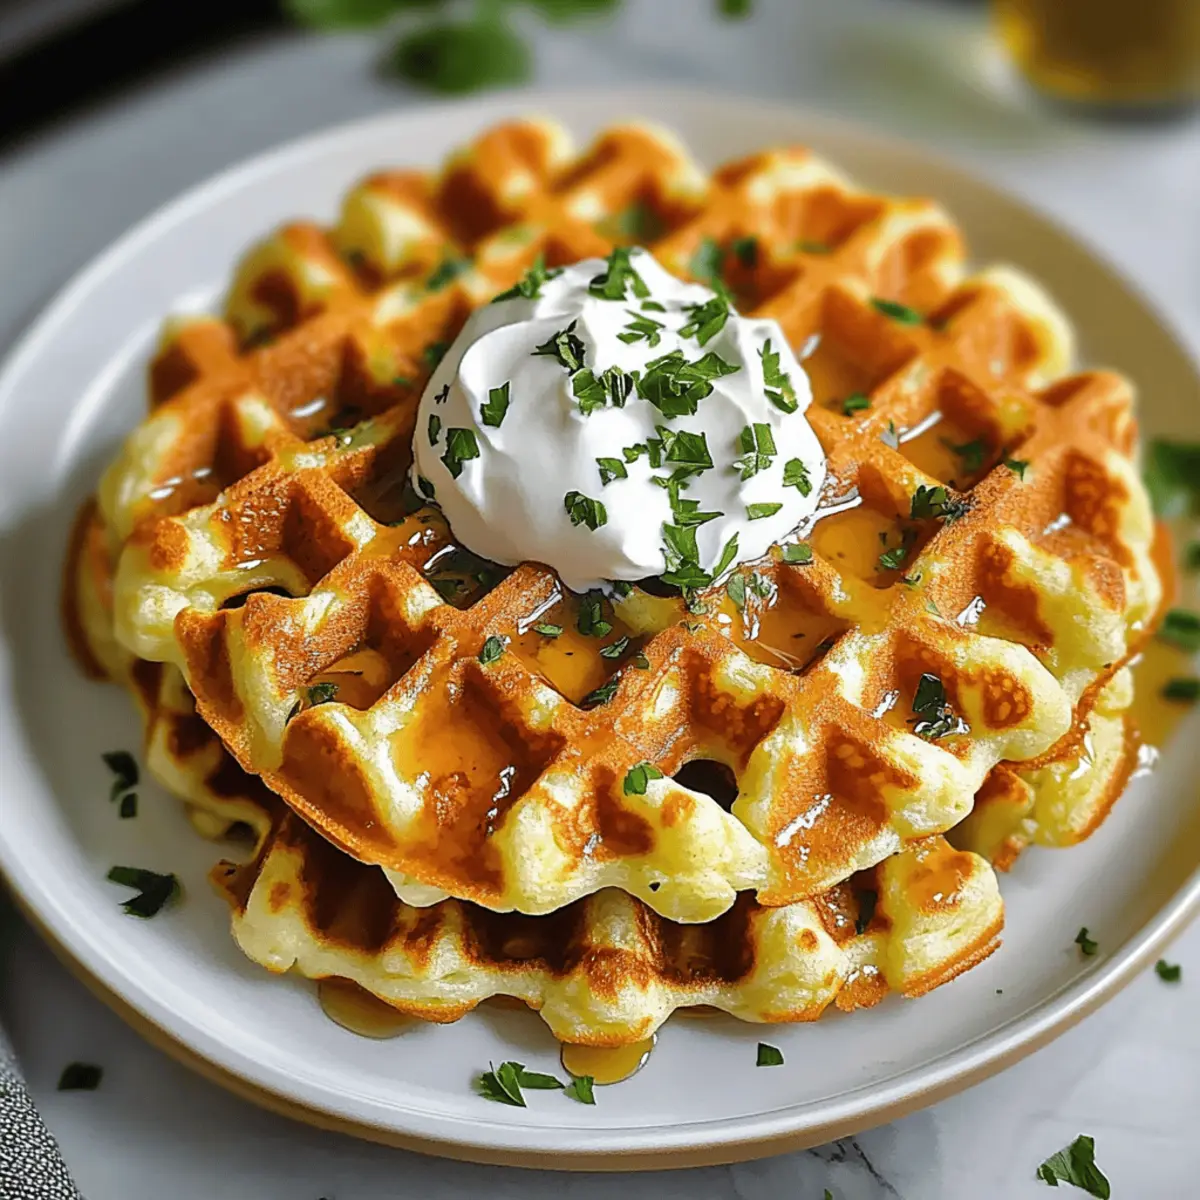
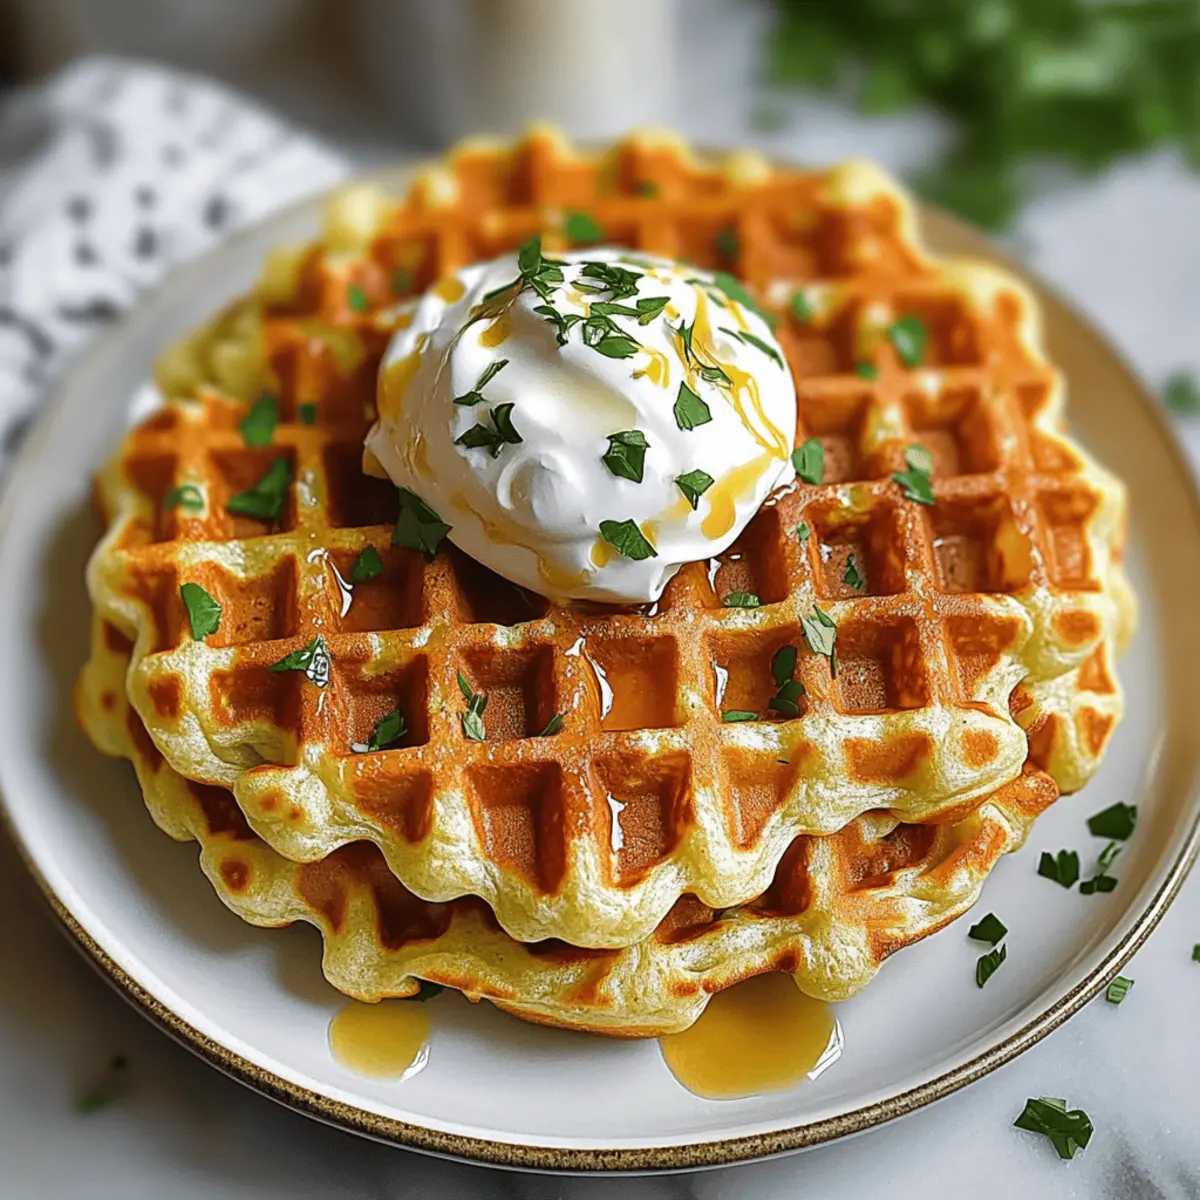
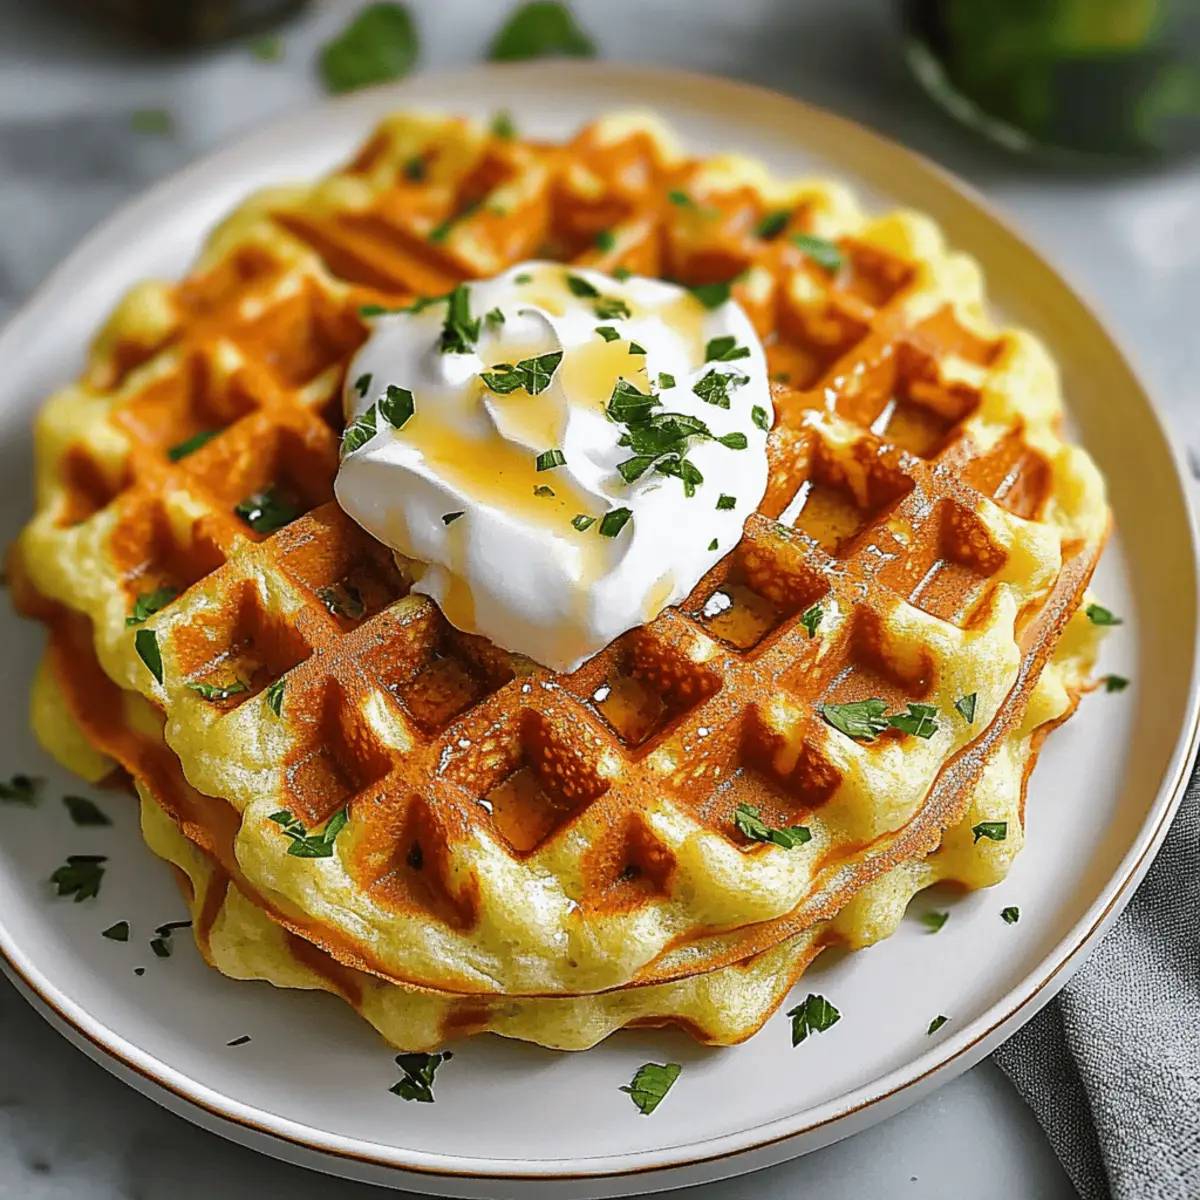
Once cooked, gently remove the Cheesy Cauliflower Waffles from the waffle maker using a fork or spatula. Allow them to cool for a minute on a wire rack to maintain their shape and crispness. Serve them hot with your favorite toppings, such as poached eggs, avocado, or a dollop of sour cream, and enjoy a delicious, healthy meal!
Expert Tips for Cheesy Cauliflower Waffles
- Preheat Perfectly: Ensure your waffle maker is fully heated before adding the batter to achieve that crispy, golden finish on your Cheesy Cauliflower Waffles.
- Avoid Overcooking: Steaming cauliflower just until tender is key; overcooked cauliflower can lead to mushy waffles. They need moisture, but not too much!
- Use a Wire Rack: After cooking, place waffles on a wire rack for a minute to cool slightly. This prevents steaming and keeps them crispy longer.
- Experiment Wisely: Don’t hesitate to swap cheese or add spices, but remember to keep a balance—too many additions can alter the texture of your waffles.
- Batch Cooking: Make a larger batch and freeze for quick meals; simply reheat in a toaster to bring back that delightful crunch.
Cheesy Cauliflower Waffles Variations & Substitutions
Feel free to sprinkle your culinary creativity into these Cheesy Cauliflower Waffles to make them your own!
- Broccoli Swap: Replace cauliflower with riced broccoli for a vibrant and nutrient-packed alternative.
- Cheddar Change: Use sharp cheddar for a bolder flavor, or experiment with pepper jack to add a kick. You’ll love how it transforms the profile!
- Flax Egg Substitute: For a vegan option, replace eggs with flax eggs (1 tablespoon of flaxseed meal mixed with 2.5 tablespoons of water). This keeps the waffles cohesive while staying plant-based.
- Nut-Free Flour: Substitute almond flour with sunflower seed flour for a nut-free option that maintains that delightful texture.
- Sizzling Jalapeños: Add diced jalapeños for an irresistible twist! This addition will unleash a spicy flavor that beautifully complements the cheese.
- Mediterranean Flair: Incorporate diced sun-dried tomatoes and feta cheese for a Mediterranean-inspired delight; flavor takes on a whole new dimension.
- Herb Infusion: Experiment with fresh herbs like chopped basil or parsley for a fresh aroma that elevates every bite. Pair with a dollop of sour cream or a refreshing yogurt sauce!
- Dipping Sauce Delight: Serve with a tangy garlic aioli or zesty salsa to add an explosion of flavor; they make every waffle irresistible!
With these creative twists, your Cheesy Cauliflower Waffles will never get boring! For more cheesy ideas, check out Cheesy Chicken Spaghetti or indulge in a warm bowl of Cheesy Beef Potato. Enjoy the exploration!
How to Store and Freeze Cheesy Cauliflower Waffles
- Fridge: Store cooked Cheesy Cauliflower Waffles in an airtight container for up to 3 days. Separate layers with parchment paper to keep them from sticking.
- Freezer: For longer storage, freeze the waffles on a baking sheet until solid, then transfer them to a freezer bag or airtight container for up to a month.
- Reheating: To reheat, toast the waffles in a toaster or an oven preheated to 375°F (190°C) for about 5-7 minutes, until crispy.
- Make-Ahead: You can also prepare the batter ahead of time and refrigerate it for up to 24 hours before cooking.
What to Serve with Cheesy Cauliflower Waffles
The perfect meal comes together with delightful pairings that elevate the flavors and textures of your dish.
- Fresh Green Salad: A light, crisp salad can balance the savory richness of the waffles, adding a refreshing contrast. Toss mixed greens with a zesty vinaigrette to brighten every bite.
- Poached Eggs: Topping your waffles with a perfectly poached egg creates a luscious, runny yolk that complements the crispy texture beautifully. It's a breakfast classic that’s hard to resist!
- Avocado Slices: Creamy avocado adds a smooth, buttery richness and healthy fats that pair wonderfully with the cheesiness of the waffles. It’s both nutritious and tasty!
- Sour Cream or Greek Yogurt: A dollop of sour cream or yogurt provides a tangy contrast that enhances the overall flavor, making each bite indulgent yet light.
- Bacon or Sausage: For a heartier approach, crispy bacon or savory sausage brings a satisfying crunch and additional flavor, perfect for brunch gatherings.
- Herbed Yogurt Sauce: Whip up a quick sauce with yogurt, fresh herbs, and a squeeze of lemon. This creamy drizzle adds brightness while enhancing the flavor profile.
- Tomato Salsa: A fresh tomato salsa adds a punch of flavor and freshness, balancing the richness of the waffles with a lovely zing.
- Spicy Dipping Sauce: For an exciting twist, serve with a spicy dipping sauce—think sriracha or chipotle mayo—for those who love a kick!
- Fresh Fruit: A side of seasonal fruit dances with sweetness, providing a delightful contrast to the savory waffles and adds vibrant color to your plate.
With these thoughtful pairings, your Cheesy Cauliflower Waffles will shine at breakfast, brunch, or any meal!
Make Ahead Options
These Cheesy Cauliflower Waffles are a fantastic choice for meal prep enthusiasts! You can prepare the batter up to 24 hours in advance by mixing all the ingredients and storing it in an airtight container in the refrigerator to maintain freshness. Alternatively, fully cooked waffles can be refrigerated for up to 3 days or frozen individually on a baking sheet before transferring to a freezer bag for up to a month. To reheat, simply pop them in the toaster for a crispy finish or warm them in the oven. This way, you can enjoy these scrumptious waffles straight from the kitchen with minimal effort on busy mornings!
Cheesy Cauliflower Waffles Recipe FAQs
What type of cauliflower should I use for the best results?
Absolutely! Fresh cauliflower is best for making Cheesy Cauliflower Waffles. Look for heads that are firm and white with no dark spots. If you want to switch things up, you can also use broccoli or sweet potato for a different flavor and texture.
How should I store leftover Cheesy Cauliflower Waffles?
Great question! Store your leftover waffles in an airtight container in the refrigerator for up to 3 days. To prevent them from sticking together, layer them with parchment paper.
Can I freeze Cheesy Cauliflower Waffles? How do I do that?
Yes, you can! To freeze your Cheesy Cauliflower Waffles, first, place them on a baking sheet in a single layer and freeze them until solid—about 1-2 hours. Then transfer them to a freezer bag or an airtight container and store them for up to 1 month. When you're ready to enjoy, simply toast them in a toaster or heat them in an oven preheated to 375°F (190°C) for about 5-7 minutes.
What should I do if my waffles are soggy?
If your waffles turn out soggy, it may have been due to overcooking the cauliflower, which adds too much moisture. To troubleshoot, ensure you steam until just tender and thoroughly dry before ricing. Additionally, make sure your waffle maker is properly preheated and consider extending the cooking time slightly for a crispier result.
Are Cheesy Cauliflower Waffles safe for my dog?
While the ingredients are generally safe for dogs, it’s best to avoid giving them the waffles if you're using seasoning or cheese, as some dogs may be sensitive to dairy. Always consult your vet before introducing new foods to your pet's diet, especially those that are human treats.
How can I customize the flavor of my Cheesy Cauliflower Waffles?
Very easily! You can try different types of cheese like cheddar or pepper jack for a spicy kick. Additionally, feel free to add ingredients like cooked bacon bits, chopped spinach, or herbs like oregano or thyme to the batter for an extra flavor boost!
Cheesy Cauliflower Waffles That Make Healthy Fun Again
Ingredients
Equipment
Method
- Preheat the Waffle Maker according to the manufacturer's directions, about 5 minutes.
- Steam or microwave the cauliflower florets until tender, about 5-7 minutes. Cool and rice it.
- In a mixing bowl, combine riced cauliflower, beaten eggs, shredded cheese, almond flour, and seasonings. Mix until a batter consistency.
- Pour the batter into the preheated waffle maker and cook for 5-7 minutes until golden brown and crisp.
- Remove the waffles carefully, cool slightly on a wire rack, and serve with desired toppings.


Leave a Reply