
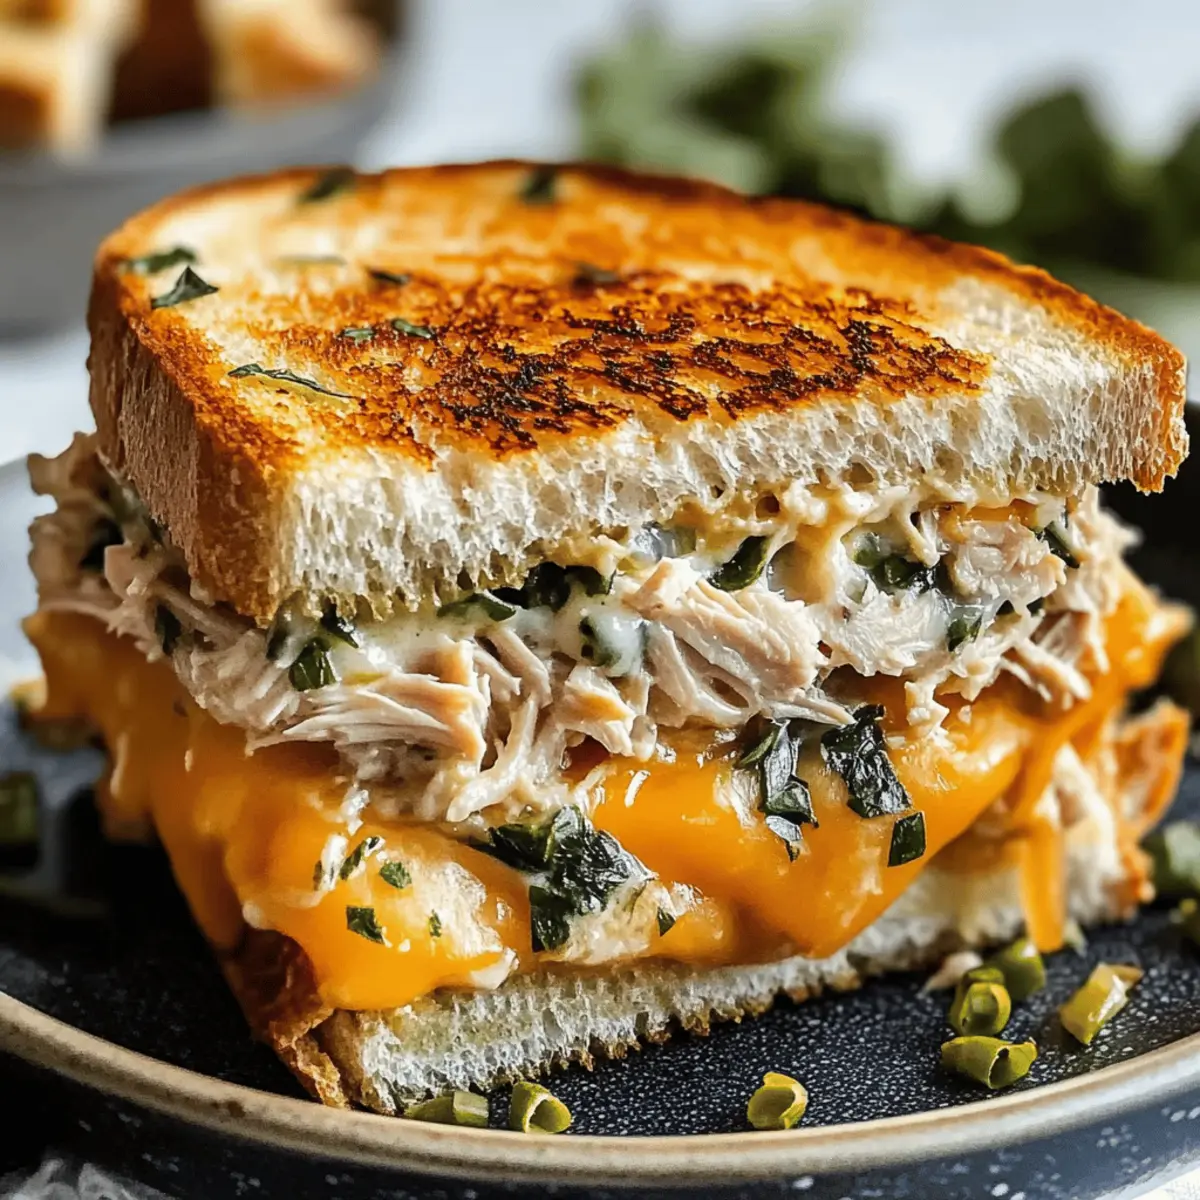
As I stood in my kitchen, the comforting aroma of grilled bread and melted cheese filled the air, instantly whisking me back to sun-drenched afternoons spent with family. Today, I’m excited to share my take on a beloved classic: Cheesy Tuna Melts. This quick and easy recipe brings together creamy, savory tuna with the irresistible brilliance of melted cheese, all enveloped in crispy, toasted bread. Not only is this dish a crowd-pleaser that's perfect for a cozy lunch or snack, but it's also packed with protein, making it a satisfying choice for any time of day. Plus, with options to customize using gluten-free bread or even swapping in salmon or chicken, you can tailor it to fit your pantry and preferences. Are you ready to indulge in this nostalgic delight? Let’s dive into the recipe!
Why Are Cheesy Tuna Melts So Irresistible?
Comforting, these Cheesy Tuna Melts are sure to evoke childhood memories with every bite! Quick and Easy: They come together in just a few minutes, perfect for busy days. Protein-Packed: Tuna provides a satisfying boost to keep you energized. Versatile: Customize with gluten-free bread or swap the tuna for chicken or salmon for unlimited variations. Crowd-Pleaser: Serve alongside a fresh side salad or classic tomato soup to impress friends and family. You won't want to miss out on this cozy meal!
Cheesy Tuna Melt Ingredients
• When you're ready to create this nostalgic dish, gather the essentials for a perfect Cheesy Tuna Melt!
For the Filling
- Canned Tuna – A protein source for satisfying, hearty melts; drain thoroughly to prevent sogginess.
- Mayonnaise – Adds creamy texture and binds the filling together; adjust to your taste preference.
- Shredded Cheese – For that irresistible gooeyness; cheddar or a blend works beautifully.
- Fresh Herbs (e.g., parsley, dill) – These add a fresh burst of flavor to your creamy filling.
For the Assembly
- Bread – The backbone of every melt; choose from regular or gluten-free to suit your needs.
- Butter – Essential for grilling, providing a golden, crispy exterior you’ll love.
Let’s blend these ingredients into a comforting classic that’s both delightful and satisfying!
Step‑by‑Step Instructions for Cheesy Tuna Melts
Step 1: Prep the Filling
In a medium bowl, drain the canned tuna thoroughly, ensuring no moisture remains. Add a dollop of mayonnaise, shredded cheese, and freshly chopped herbs like parsley or dill. Mix everything together until all ingredients are well combined and creamy. This filling will be the heart of your Cheesy Tuna Melts, so make sure it's flavorful!
Step 2: Assemble the Sandwiches
Take two slices of your chosen bread and generously spread the creamy tuna mixture between them, creating a satisfying layer. Ensure the mixture is evenly distributed to provide a delicious bite every time. If you prefer a crunchier texture, lightly toast the bread before adding the filling.
Step 3: Grill the Sandwiches
Preheat a skillet over medium-low heat and add a pat of butter, allowing it to melt and coat the bottom. Once the butter is bubbly, gently place the assembled sandwich in the skillet. Grill for about 3–4 minutes, or until the bottom is golden brown and crispy. This heat allows the cheese within the melts to begin melting beautifully.
Step 4: Flip and Finish
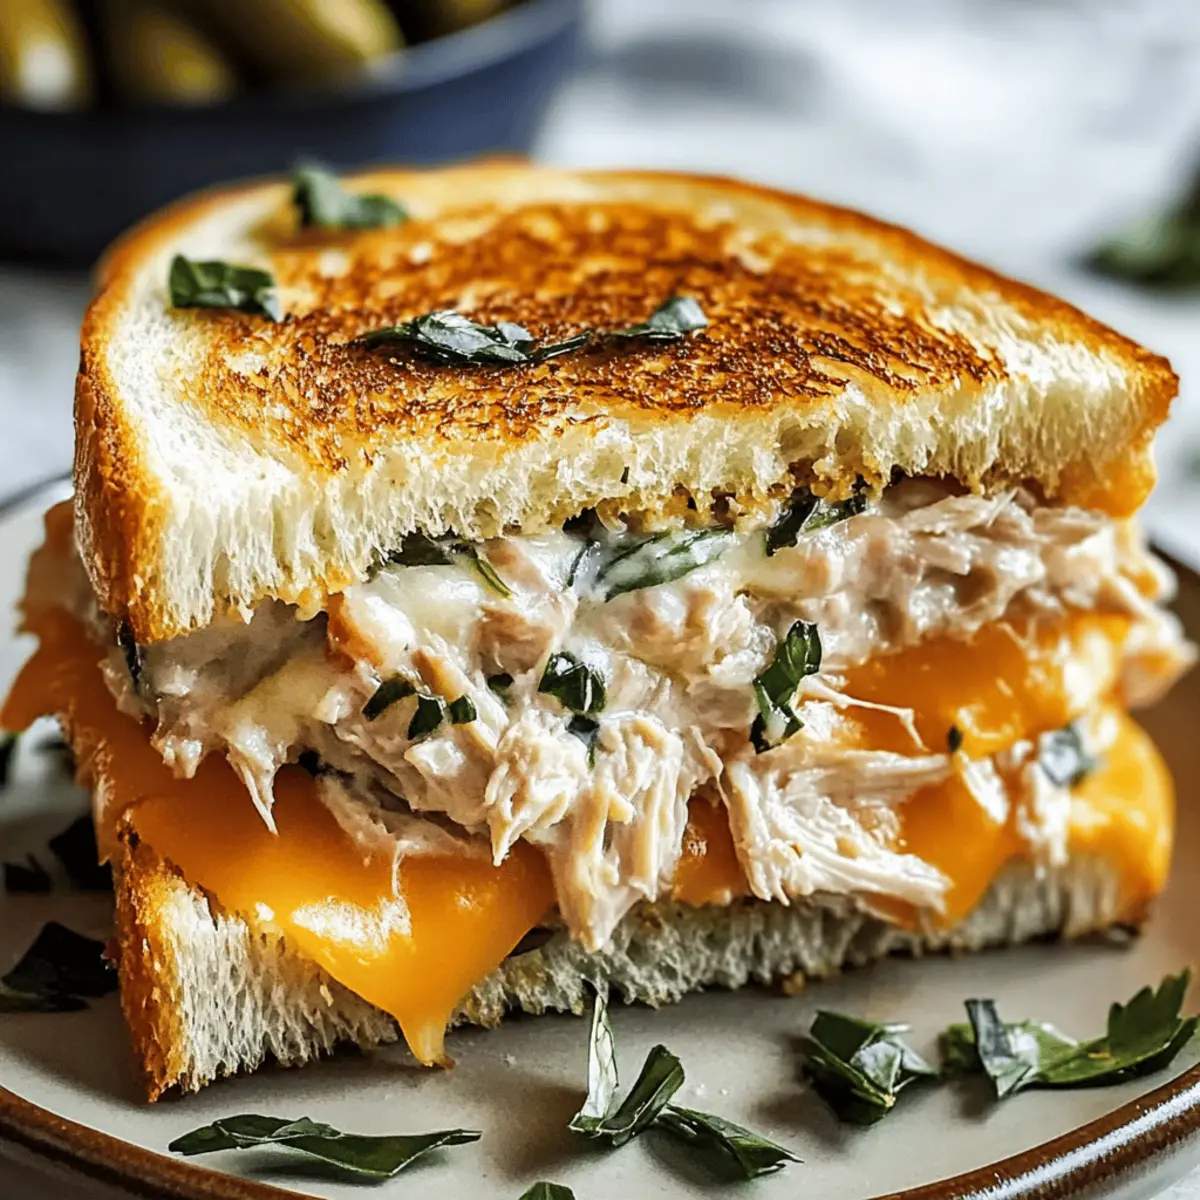
Carefully flip the sandwich over using a spatula, adding another small amount of butter if you desire extra crispiness. Grill the second side for another 3–4 minutes, watching for that delicious golden hue. The Cheesy Tuna Melts are done when the cheese has melted and is oozing out slightly.
Step 5: Serve
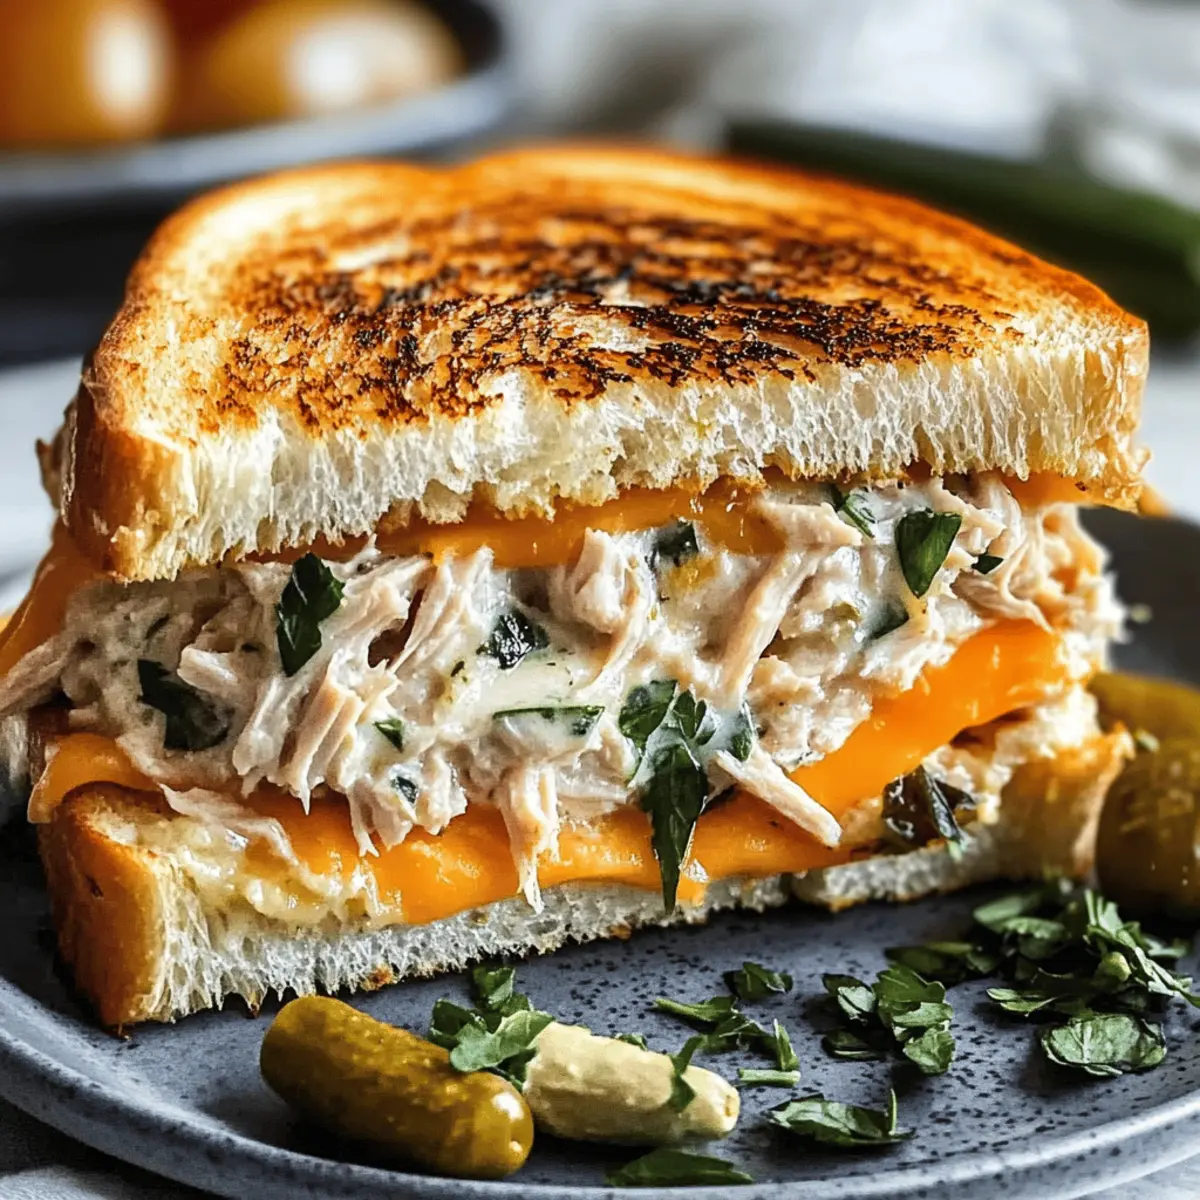
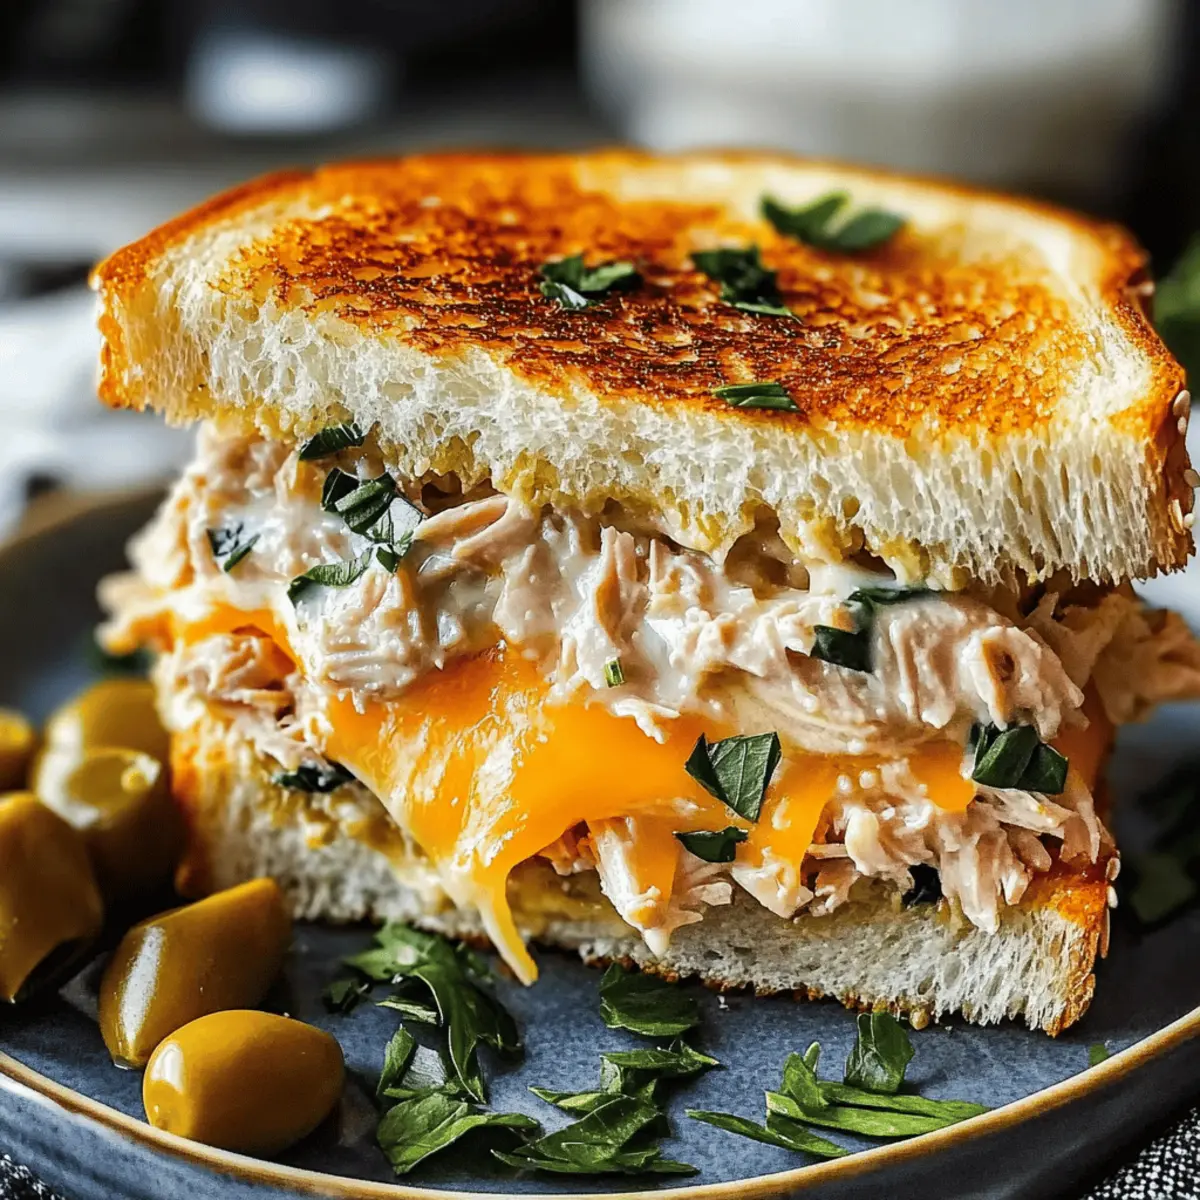
Once perfectly grilled, remove the Cheesy Tuna Melts from the skillet and let them rest for a minute. Slice each sandwich in half to reveal the gooey cheese and creamy tuna filling. Serve hot, ideally paired with a fresh side salad or a comforting bowl of tomato soup for a nostalgic meal that warms the heart.
Cheesy Tuna Melts: Variations & Substitutions
Feel free to experiment with these tasty alternatives that enhance flavor and cater to your preferences!
-
Protein Swap: Substitute canned salmon or chicken for tuna to change things up. These options also pack a protein punch and create a unique flavor profile.
-
Gluten-Free: Use gluten-free bread if you’re watching your gluten intake. It’ll still be just as tasty and satisfying as the original!
-
Veggie Booster: Add sliced tomatoes, pickles, or even avocados inside your sandwich for a fresh twist. These add a delightful crunch and are a wonderful complement to the creamy filling.
-
Herb Variations: Experiment with different fresh herbs like basil or chives instead of parsley or dill. These fresh notes can elevate the overall flavor of your melts.
-
Cheese Blend: Try a combination of cheeses, such as mozzarella for stretchiness or pepper jack for some heat. Mixing flavors can add a gourmet element to your dish.
-
Extra Crunch: Sprinkle in crushed tortilla chips or breadcrumbs into the filling for added texture. It’s a fun surprise and takes your melt to the next level!
-
Heat It Up: Add diced jalapeños or a dash of hot sauce to the filling for a spicy kick. This will surely fire up your taste buds and keep things exciting!
For even more cheesy goodness, you can also explore variations like my Cheesy Garlic Chicken Wraps or indulge in a comforting Cheesy Beef Potato Soup alongside your melt! Enjoy making your Cheesy Tuna Melts your very own!
What to Serve with Cheesy Tuna Melts
Prepare to create a delightful meal experience that embraces comforting textures and flavors!
-
Crispy Side Salad: A fresh, vibrant salad adds crunch and contrasts beautifully with the warm, gooey melts. Toss some mixed greens with a light vinaigrette for a refreshing pairing.
-
Classic Tomato Soup: Nothing says comfort like pairing your Cheesy Tuna Melts with a warm bowl of tomato soup. Its rich, tangy flavor complements the creamy filling perfectly!
-
Potato Chips: For a satisfying crunch, serve up a side of salty, crispy potato chips. They add an extra layer of texture that balances well with the melty goodness of the sandwich.
-
Sweet Pickles: A side of tangy sweet pickles can enhance the flavor profile of the meal, adding a delightful contrast to the savory tuna and cheese.
-
Grilled Veggies: Charred vegetables like zucchini or bell peppers provide a delicious, smoky side that not only looks vibrant but also adds layers of flavor and nutrition.
-
Crunchy Coleslaw: A tangy coleslaw brings a refreshing crunch and balances the richness of the Cheesy Tuna Melts with its crispness.
-
Herbal Iced Tea: Wash it all down with a chilled herbal iced tea for a refreshing sip that pairs well with the warmth of the melts and soothes the palate.
-
Sliced Avocado: Add creaminess and a touch of elegance to your meal by including avocado slices. Their buttery texture harmonizes beautifully with the cheesy filling.
Make Ahead Options
These Cheesy Tuna Melts are perfect for meal prep enthusiasts! You can prepare the filling up to 24 hours in advance by combining the drained tuna, mayonnaise, shredded cheese, and fresh herbs in an airtight container. Just be sure to mix everything well to ensure the flavors meld, and refrigerate to keep it fresh. Additionally, you can assemble the sandwiches in advance and store them (wrapped in plastic wrap) for up to 12 hours. When you're ready to enjoy your melts, simply grill them on medium-low heat, ensuring they reach that golden-brown perfection while melting the cheese inside. By prepping ahead, you’ll have a comforting meal ready in no time, just as delicious as if made fresh that day!
Expert Tips for Cheesy Tuna Melts
- Drain Tuna Well: Properly draining the canned tuna ensures your filling isn’t soggy, keeping your Cheesy Tuna Melts perfectly crispy.
- Toast Your Bread: Lightly toasting the bread before adding the filling can enhance the crunchiness and prevent it from getting too soft.
- Low and Slow Grilling: Keep the heat on medium-low while grilling; this allows the cheese to melt beautifully without burning the bread.
- Experiment with Cheese: Try different cheese blends like Gouda or pepper jack for added flavor variations in your Cheesy Tuna Melts.
- Add More Veggies: Include sliced tomatoes or pickles inside the melt for an extra crunch and fresh twist that complements the rich filling.
Storage Tips for Cheesy Tuna Melts
- Room Temperature: Cheesy Tuna Melts should be enjoyed fresh, but if you must keep them at room temperature, aim for no longer than 2 hours to ensure food safety.
- Fridge: Store leftover melts in an airtight container in the fridge for up to 2 days. Reheat in a skillet with a touch of butter for the best texture.
- Freezer: You can freeze assembled but ungrilled Cheesy Tuna Melts for up to 1 month. Wrap each sandwich tightly in plastic wrap, then in foil for added protection.
- Reheating: When ready to enjoy, grill the frozen melts directly from the freezer on medium-low heat, adding a bit of butter to achieve that golden-brown crunch.
Cheesy Tuna Melts Recipe FAQs
How do I select the best canned tuna for my melts?
Absolutely! When choosing canned tuna, look for brands that use pole-and-line fishing methods, as they tend to have better flavor and texture. Additionally, opt for tuna packed in water for a lighter dish, or choose those packed in oil for a richer taste. Always check for any dark spots on the tuna or the can, signaling it may not be fresh.
How should I store leftover Cheesy Tuna Melts?
Very good question! Leftover Cheesy Tuna Melts should be kept in an airtight container in the refrigerator, where they’ll stay fresh for up to 2 days. When reheating, I recommend using a skillet with a small pat of butter to rejuvenate that crispy exterior and melty interior. This method gives you the best texture and flavor compared to microwaving, which can make them soggy.
Can I freeze Cheesy Tuna Melts? How?
Of course! To freeze Cheesy Tuna Melts, assemble the sandwiches but leave them ungrilled. Wrap each sandwich tightly in plastic wrap, then in foil to prevent freezer burn. They can be frozen for up to 1 month. When you're ready to enjoy them, grill the sandwiches straight from the freezer on medium-low heat, adding a bit of butter for that perfect golden crunch. Allow for a few extra minutes for grilling to ensure the cheese melts thoroughly.
What dietary considerations should I be aware of with Cheesy Tuna Melts?
Great question! If you're serving Cheesy Tuna Melts to anyone with dietary restrictions, consider using gluten-free bread to accommodate those needing a gluten-free option. Additionally, always check the canned tuna's label for potential allergens. If you're preparing these for pets, make sure to limit dairy, as many pets can't digest it properly.
What should I do if my Cheesy Tuna Melts turn out soggy?
No worries, we've all been there! To prevent sogginess, make sure to drain the tuna thoroughly and avoid overloading with mayonnaise. You can also lightly toast the bread before adding the filling for extra structure. If you've already made a soggy melt, try toasting it on a skillet for a bit to help crisp it back up!
Can I customize my Cheesy Tuna Melts with other ingredients?
Absolutely! The beauty of the Cheesy Tuna Melt lies in its versatility. You can substitute canned salmon or chicken for a different protein, and adding ingredients like sliced tomatoes, onions, or even pickles can bring a delightful twist to the traditional recipe. Feel free to experiment and make it your own!
Cheesy Tuna Melts That Melt in Your Mouth – Quick Comfort!
Ingredients
Equipment
Method
- In a medium bowl, drain the canned tuna thoroughly, ensuring no moisture remains. Add mayonnaise, shredded cheese, and freshly chopped herbs. Mix until creamy.
- Take two slices of bread and spread the tuna mixture generously between them.
- Preheat a skillet over medium-low heat, adding a pat of butter to coat.
- Place the sandwich in the skillet and grill for 3–4 minutes, until golden brown.
- Flip the sandwich and grill the other side for another 3–4 minutes until the cheese melts.
- Remove from skillet, slice in half, and serve hot.


Leave a Reply