
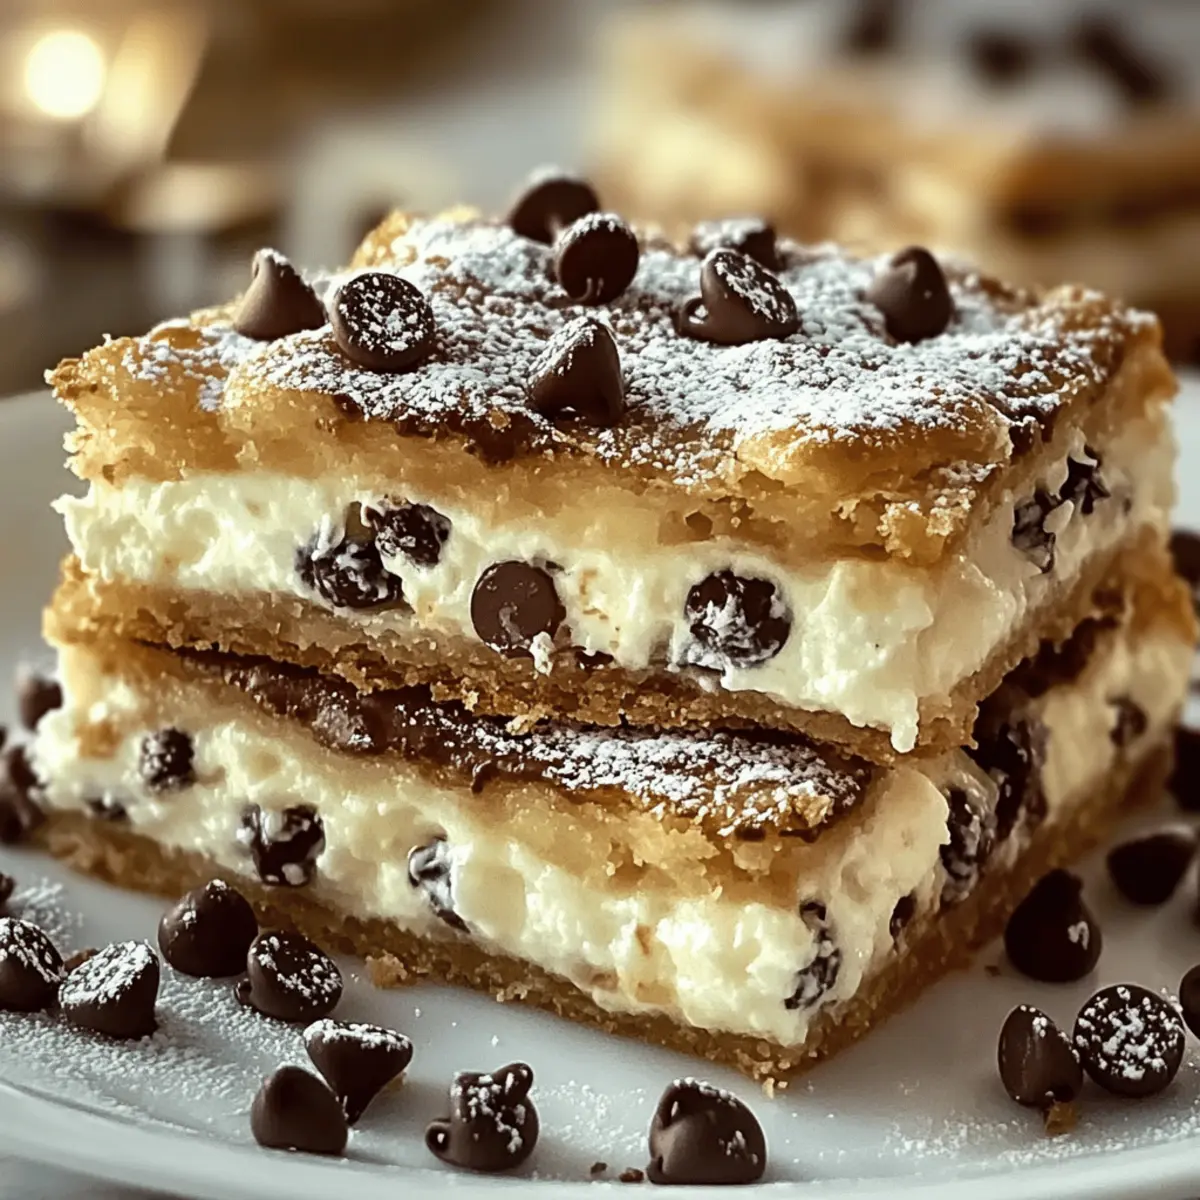
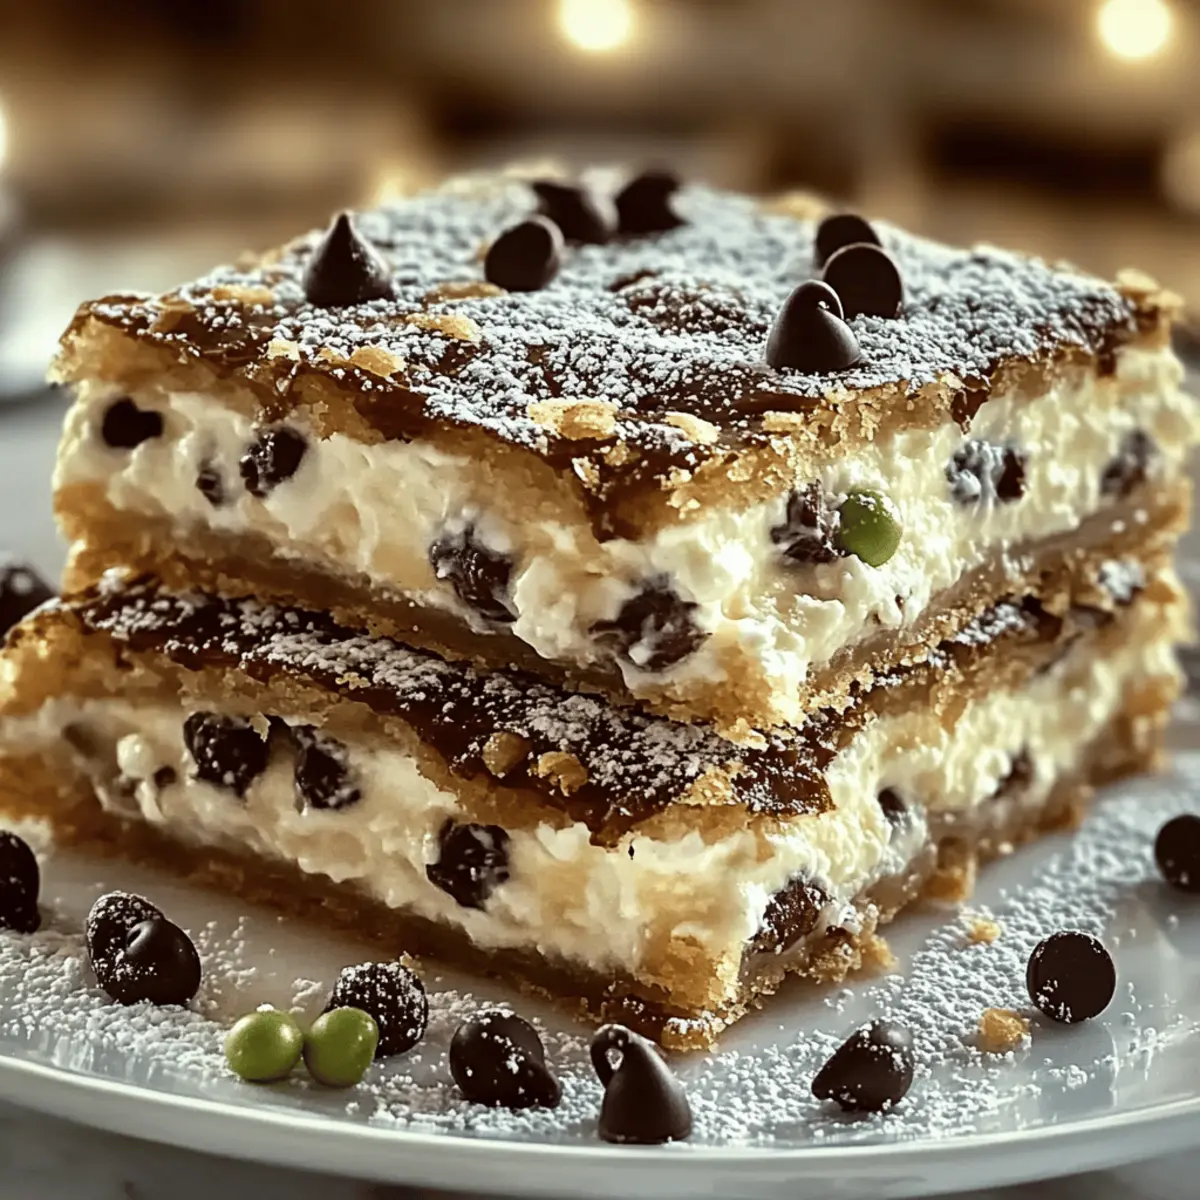
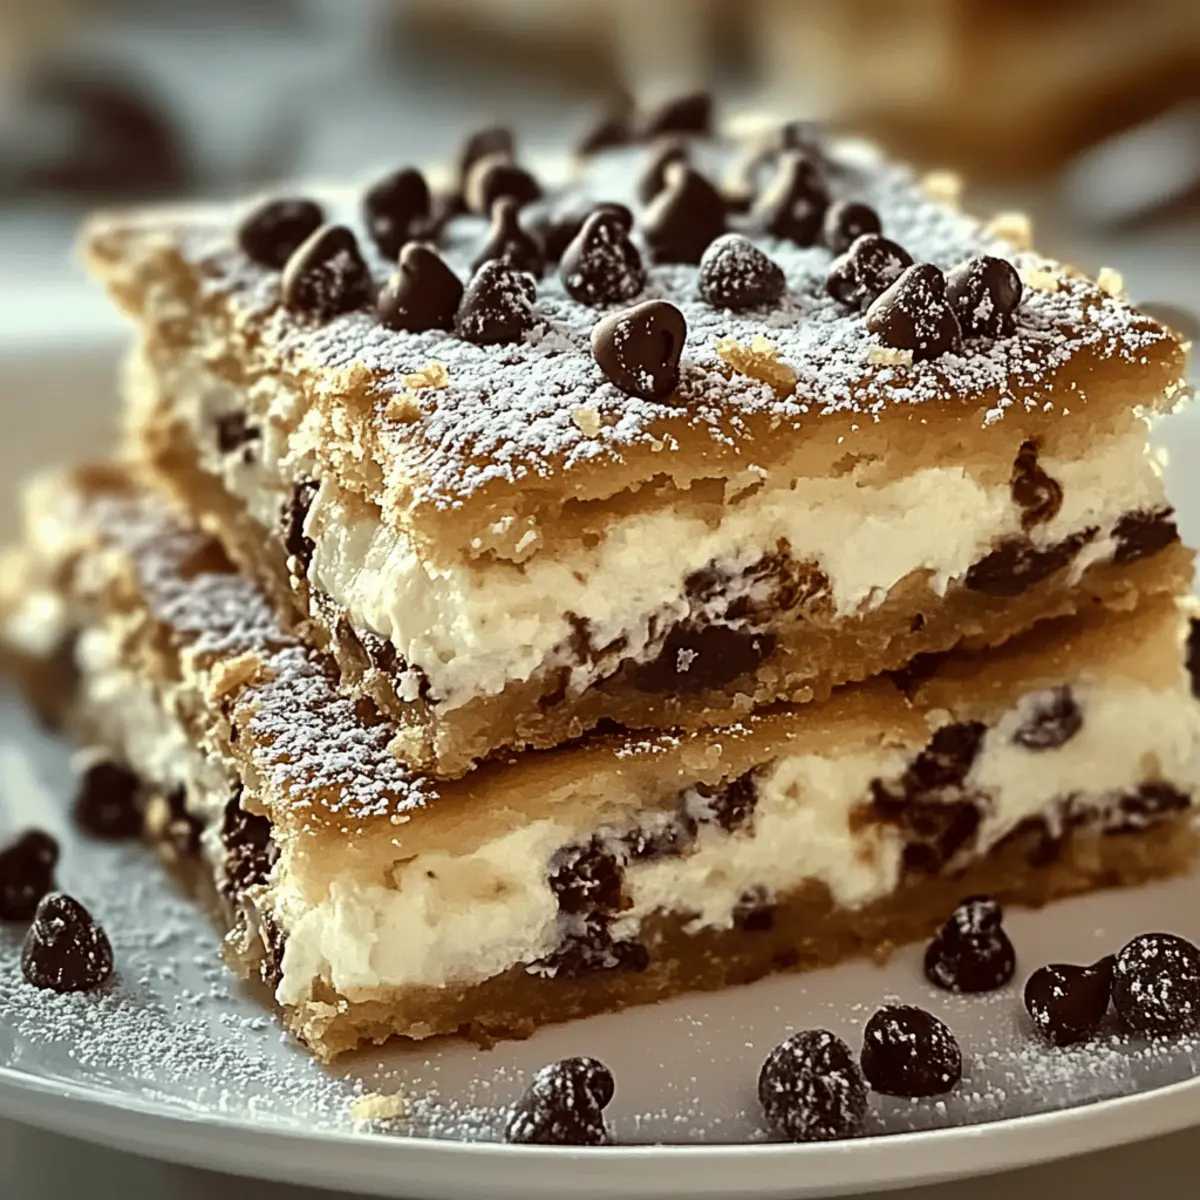
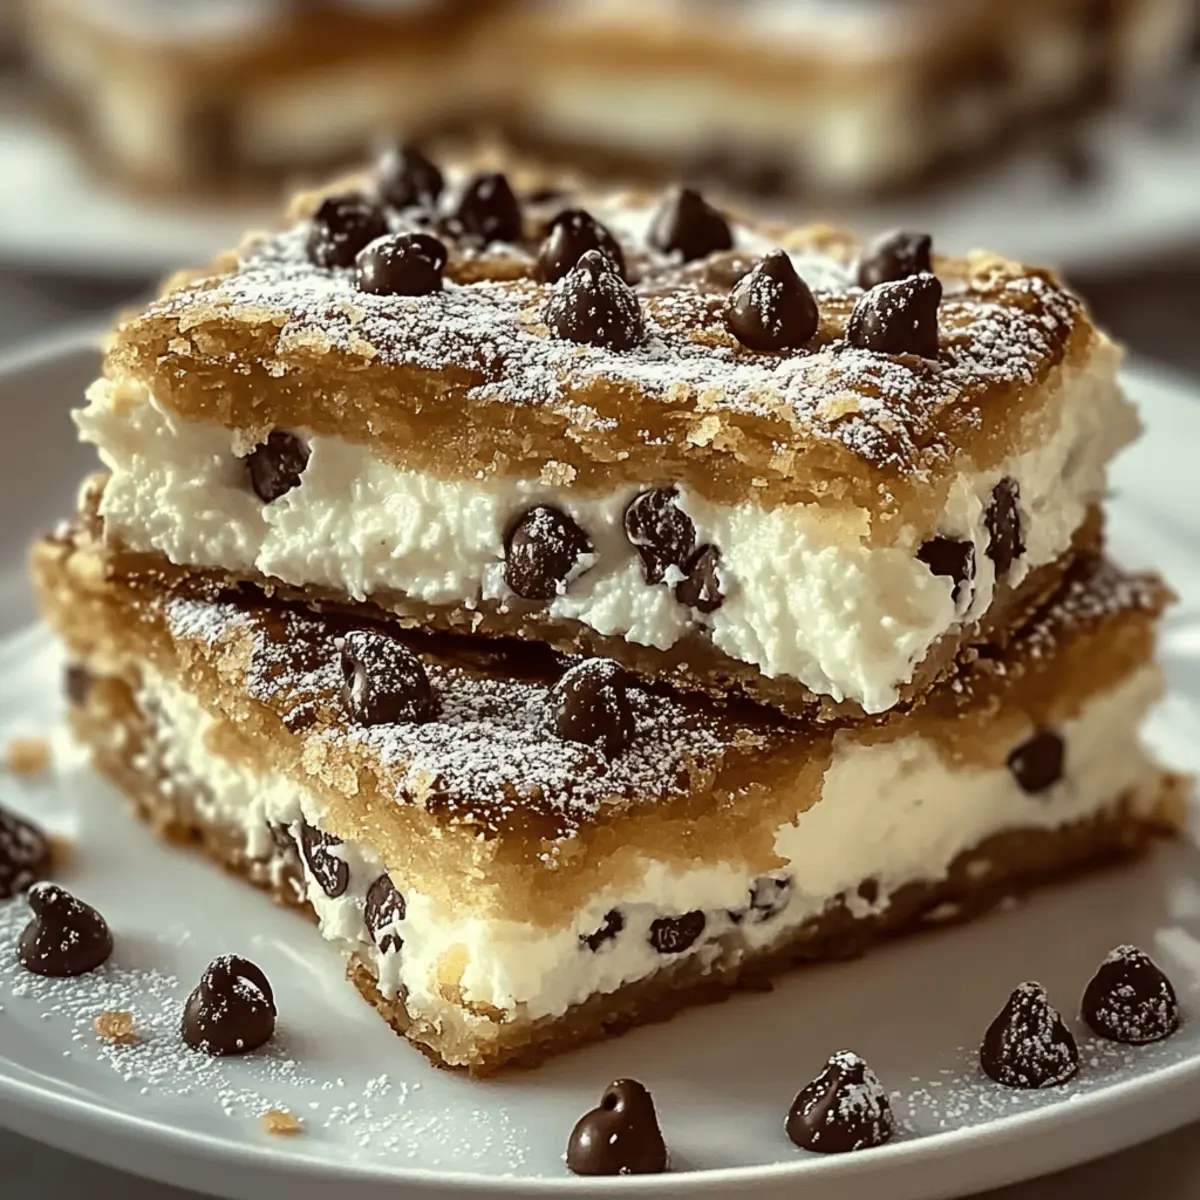
As I flipped through my grandmother's old recipe book, the pages fluttered softly, revealing a cherished gem: Classic Cannoli Squares. This Italian dessert captures the heart of family gatherings with its blend of creamy ricotta and crispy crust, making it a comforting choice for any sweet tooth. Not only are these squares incredibly easy to whip up for a crowd-pleasing treat, but they can also adapt to various dietary needs—think gluten-free or even dairy-free! So whether you're planning a festive celebration or just craving something indulgent at home, this recipe is a delicious way to satisfy those dessert dreams. Ready to create a sweet masterpiece that will leave your guests clamoring for more? Let’s dive into the delightful world of cannoli squares!
Why Are Classic Cannoli Squares So Irresistible?
Simplicity at Its Core: This recipe requires minimal effort, making it perfect for beginner bakers and seasoned chefs alike.
Deliciously Creamy Filling: The rich ricotta mixed with chocolate chips creates a mouthwatering explosion of flavor in every bite.
Versatile Adaptations: Want it gluten-free or dairy-free? You can easily customize the ingredients to suit your dietary needs without sacrificing taste.
Perfectly Crispy Crust: The golden crust not only gives a satisfying crunch but also beautifully contrasts with the smooth filling.
Make-Ahead Friendly: Prepare these squares in advance for parties or gatherings, and enjoy more time with your loved ones.
Crowd-Pleaser: With their undeniable charm and delicious flavor, these cannoli squares are sure to impress guests at any event. Want more sweet inspiration? Check out our article on Easy Dessert Ideas.
Classic Cannoli Squares Ingredients
Dive into the delightful flavors of Classic Cannoli Squares with these essential ingredients!
For the Filling
- Ricotta Cheese – Provides creaminess and richness; for a luxurious texture, use whole milk.
- Powdered Sugar – Adds just the right sweetness; swap with coconut sugar for a healthier alternative.
- Vanilla Extract – Enhances flavor; opt for pure vanilla for greater depth.
- Cinnamon – Adds warmth to the filling; feel free to omit for a traditional cannoli taste.
- Mini Chocolate Chips – Enhance the richness and texture; dark chocolate is especially indulgent.
For the Crust
- Pre-made Pie Crusts – Forms the base and top crust; making your own crust is a flavorful option.
- Large Egg – Used for the egg wash, giving a beautiful golden hue to the top crust.
For Toppings
- Sugar – Sprinkled on the crust for extra sweetness and a delightful crunch.
- Chopped Pistachios (optional) – Offers a nice crunch and vibrant color.
- Maraschino Cherries (optional) – Fantastic for decoration and an added hint of sweetness.
- Extra Chocolate Chips (optional) – Perfect for adding an extra layer of rich chocolate flavor.
With these ingredients, you're set to create a scrumptious dessert that will have everyone asking for seconds!
Step‑by‑Step Instructions for Classic Cannoli Squares
Step 1: Prepare the Filling
In a mixing bowl, combine 2 cups of ricotta cheese, 1 cup of powdered sugar, 1 teaspoon of vanilla extract, ½ teaspoon of cinnamon, and ½ cup of mini chocolate chips. Whisk the mixture until it's smooth and creamy, making sure there are no lumps. This luscious filling will be the heart of your Classic Cannoli Squares, so ensure it’s well combined.
Step 2: Preheat the Oven
Preheat your oven to 375°F (190°C) to create the perfect baking environment for your Classic Cannoli Squares. This temperature will help achieve that beautiful golden crust while keeping the filling perfectly creamy. Make sure the oven is fully heated before you place the squares inside to ensure even baking.
Step 3: Roll Out Crust
Take one pre-made pie crust and gently roll it out to fit a 9x9-inch baking dish. Once rolled, place the crust snugly into the dish, pressing it into the corners to ensure there are no gaps. This crust will serve as the base, and its edges are crucial for sealing in the delicious filling later on.
Step 4: Add Filling
Spoon the ricotta mixture onto the prepared pie crust, spreading it evenly while leaving about an inch of space around the edges. This ensures that the filling stays neatly contained as it bakes. The rich, creamy filling is the star of your Classic Cannoli Squares, so make sure it's evenly distributed to enhance every bite.
Step 5: Top Crust Preparation
Place the second pie crust over the filling, ensuring it's centered and fully covers the ricotta mixture. Seal the edges of the two crusts by pinching them together firmly to avoid any filling leakage. Brush the top crust with a beaten egg for a golden finish, then sprinkle sugar on top to create a delightful crunch as it bakes.
Step 6: Bake
Carefully place the baking dish in the preheated oven and bake for 30-35 minutes. Keep an eye on the squares during the last few minutes; you want the top to be a beautiful golden brown, and the filling should be bubbling slightly at the edges. This indicates that your Classic Cannoli Squares are cooked to perfection.
Step 7: Cool and Serve
After baking, remove the dish from the oven and allow the squares to cool for at least 30 minutes. This cooling period is crucial, as it allows the filling to set, making slicing much easier. Once cooled, cut them into squares, and they’re ready to be enjoyed as a delightful dessert.
Make Ahead Options
These Classic Cannoli Squares are perfect for meal prep enthusiasts! You can prepare the filling (ricotta, powdered sugar, vanilla, cinnamon, and mini chocolate chips) up to 24 hours in advance. Simply combine the ingredients in a bowl and refrigerate them in an airtight container. Additionally, you can roll out the pie crusts and store them in the fridge for up to 3 days. When you're ready to bake, simply spread the filling between the crusts, brush with egg wash, sprinkle with sugar, and bake as instructed. By doing this, you’ll have a delicious, crowd-pleasing dessert with minimal effort—perfect for busy weeknights or unexpected guests!
Expert Tips for Classic Cannoli Squares
• Quality Matters: Use fresh, high-quality ricotta cheese for an unbeatable flavor and creamy texture that truly shines in these Classic Cannoli Squares.
• Drain It Right: Prior to mixing, drain excess moisture from ricotta using a fine-mesh sieve to prevent a watery filling that could ruin your dessert.
• Don’t Rush the Bake: Keep an eye on the baking process, especially the last few minutes, to ensure the crust doesn't over-brown while the filling remains creamy.
• Cool Down Period: Allow your squares to cool for at least 30 minutes before slicing. This helps the filling set properly, making cutting neat and easy.
• Endless Variations: Feel free to experiment with different fillings and toppings, like adding lemon zest or folding in nuts, while keeping the essence of Classic Cannoli Squares intact.
Classic Cannoli Squares Variations & Substitutions
Feel free to explore these delightful twists, allowing your creativity to shine through in each delicious bite!
-
Dairy-Free: Replace ricotta with blended silken tofu for a creamy texture without the dairy.
Experience the same indulgent flavors while accommodating your dietary needs. -
Gluten-Free: Swap regular pie crusts for gluten-free varieties to cater to gluten sensitivities.
This allows everyone to savor the treat without worries about dietary restrictions. -
Zesty Flavor: Add fresh lemon zest to the filling for a bright, refreshing twist.
The citrus note pairs beautifully with the rich ricotta, offering an unexpected delight. -
Nutty Addition: Fold in finely chopped walnuts or pistachios into the filling for extra crunch and flavor.
This enhances the textural contrast, making each bite an exciting experience. -
Fruit Layers: Layer in sliced strawberries or raspberries before adding the filling for a fruity surprise.
The added freshness balances perfectly with the creamy richness of the squares. -
Chocolate Lovers: Use chocolate pudding mix in place of some ricotta for a deeply chocolatey filling.
This delightful swap will surely captivate the hearts of any chocolate fanatic. -
Spicy Kick: Infuse a pinch of cayenne pepper or red pepper flakes into the filling for a unique heat.
This surprising element can elevate the flavor profile, making it a memorable treat. -
Make-Ahead Magic: Prepare the filling a day in advance and store it in the fridge for improved flavor.
This will allow the ingredients to meld beautifully, ensuring a more delicious outcome.
Looking for more creative inspiration? Don’t forget to check out our list of Easy Dessert Ideas for new sweet delights!
What to Serve with Classic Cannoli Squares?
Indulging in a plate of these creamy squares opens up a world of delightful pairings that elevate your dessert experience.
-
Gelato: A scoop of rich gelato complements the cannoli’s creamy filling, creating a truly decadent treat. Go for traditional flavors like pistachio or chocolate.
-
Fresh Berries: Juicy strawberries or mixed berries add a refreshing tartness that perfectly balances the sweetness of the squares. Their vibrant colors make for an attractive plate!
-
Espresso: A strong cup of Italian espresso pairs beautifully, cutting through the sweet richness and enhancing the overall flavor experience. It’s a classic combination that coffee lovers will adore.
-
Chocolate Sauce: Drizzle some warm chocolate sauce over each square for added indulgence. The velvety chocolate adds another layer of bliss while injecting some extra sweetness.
-
Chopped Nuts: Sprinkle toasted pistachios or walnuts on top for a satisfying crunch that provides a delightful contrast to the soft filling, enriching your cannoli experience further.
-
Whipped Cream: A dollop of freshly whipped cream adds lightness and creaminess, making each bite feel airy and luxurious. Consider flavoring the cream with a hint of vanilla for added depth.
Choosing any of these delectable accompaniments will enhance your Classic Cannoli Squares, turning a simple dessert into a spectacular experience worthy of celebration!
Storage Tips for Classic Cannoli Squares
- Room Temperature: Best enjoyed within 2 hours at room temperature to maintain the freshness of the crust and the creamy filling.
- Refrigeration: Store leftovers in an airtight container for up to 3 days; this will keep the cannoli squares moist and flavorful.
- Freezing: Individually wrap squares in plastic wrap or foil and freeze for up to 2 months. Thaw in the fridge overnight before serving for the best texture.
- Reheating: If you prefer to warm them up, gently reheat in a preheated oven at 300°F (150°C) for about 10 minutes to revive that fresh-out-of-the-oven taste.
Classic Cannoli Squares Recipe FAQs
How do I select ripe ricotta cheese?
Absolutely! When choosing ricotta cheese, look for fresh options in the dairy section. Avoid any containers with dark spots or excess liquid, as these can indicate a less-than-ideal quality. For the creamiest texture, whole milk ricotta is preferred.
What is the best way to store leftover cannoli squares?
Very! After allowing the squares to cool, store them in an airtight container in the refrigerator for up to 3 days. This will help maintain their deliciousness and keep the crust from becoming soggy. Always remember to cover the container well to prevent any odors from the fridge from seeping in.
Can I freeze Classic Cannoli Squares?
Absolutely! To freeze, wrap individual squares tightly in plastic wrap or aluminum foil. Place them in a freezer-safe bag or container. They can be frozen for up to 2 months. When you're ready to enjoy, simply thaw them in the fridge overnight for the best texture.
What if my filling turns out watery?
If your filling is too watery, the main culprit might be excess moisture in your ricotta. To fix this, drain the ricotta in a fine-mesh sieve for about 30 minutes before mixing it with other ingredients. This helps create a thicker, creamier filling, perfect for your cannoli squares.
Are there any dietary considerations I should be aware of?
Very! If you’re accommodating allergies or dietary preferences, consider using a dairy-free ricotta alternative made from blended silken tofu. For gluten-free options, simply swap the pre-made pie crusts with gluten-free alternatives. Be sure to check all labels for potential allergens.
How long do these squares last at room temperature?
Best enjoyed within 2 hours at room temperature, this will ensure that the crust remains crisp while the filling retains its creamy goodness. If you're at a gathering, have fun serving them fresh to avoid any sogginess!
Classic Cannoli Squares: Irresistibly Creamy & Easy to Make
Ingredients
Equipment
Method
- Prepare the filling by mixing ricotta, powdered sugar, vanilla, cinnamon, and chocolate chips until smooth.
- Preheat the oven to 375°F (190°C).
- Roll out one pie crust to fit a 9x9-inch baking dish and place it in the dish.
- Spoon the ricotta filling onto the prepared crust.
- Top with the second crust, sealing edges, and brush with egg wash before sprinkling sugar.
- Bake for 30-35 minutes until golden brown.
- Cool for at least 30 minutes before slicing into squares.


Leave a Reply