
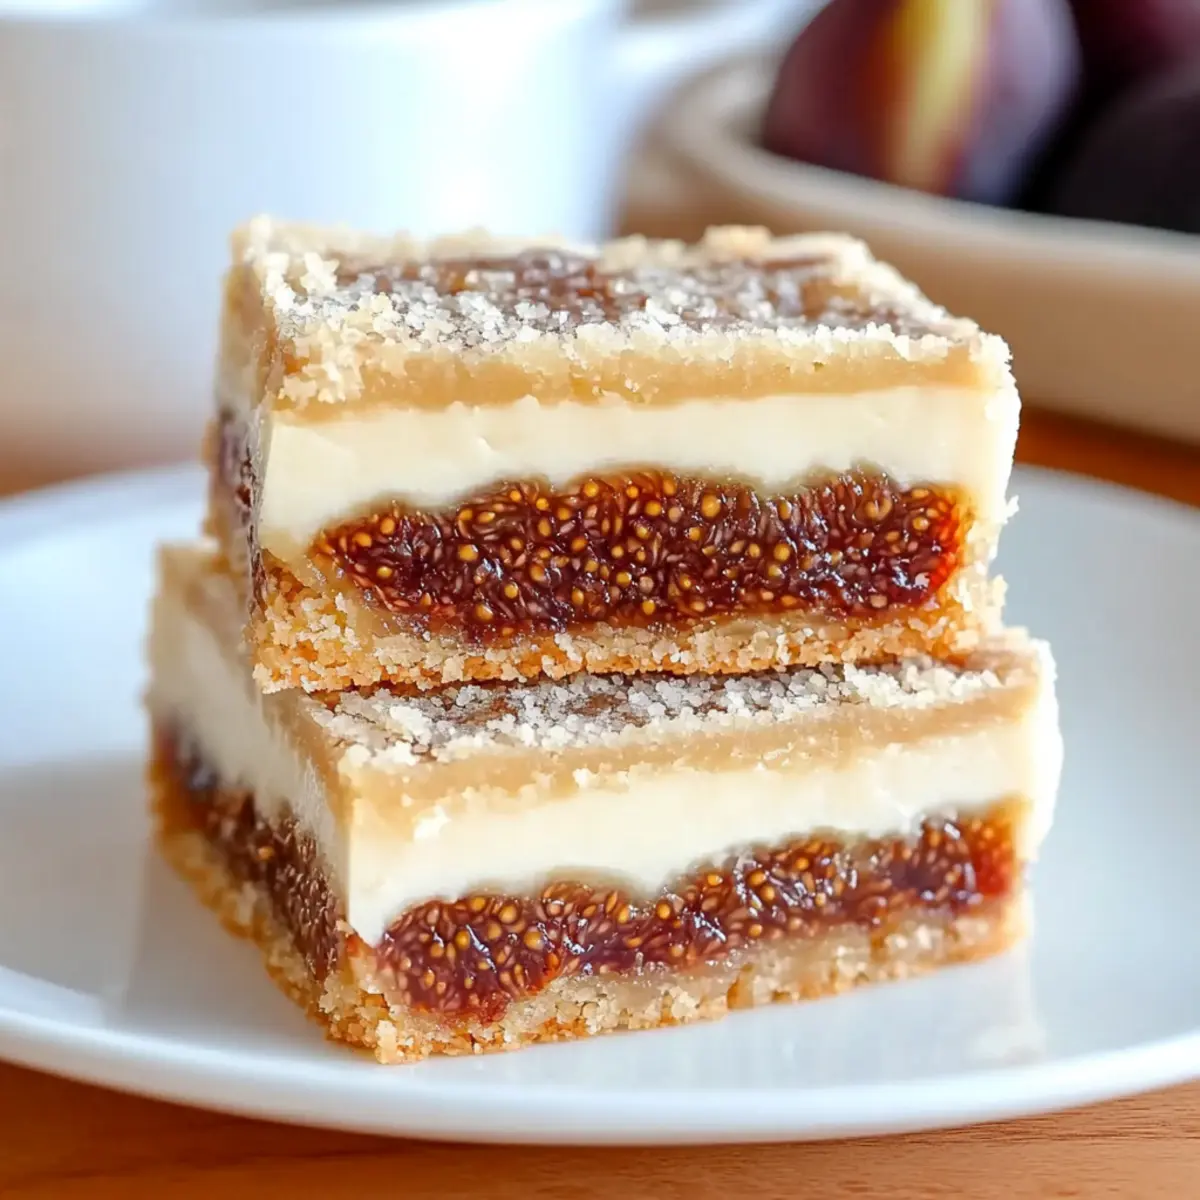
As I layered the sweet fig puree over the buttery crust, the kitchen transformed into a cozy haven, filled with the promise of my Decadent Fig and Cream Cheese Bars. This easy dessert captures that inviting feeling with its creamy texture and deliciously balanced flavors. Perfect for busy schedules, it offers a quick prep time that seamlessly fits into your day, making it an ideal make-ahead treat for sharing at gatherings. Pair these delightful bars with a steaming cup of coffee or tea, and you’ll have a crowd-pleaser that everyone will love. Are you ready to dive into this delicious adventure?
Why are Fig and Cream Cheese Bars irresistible?
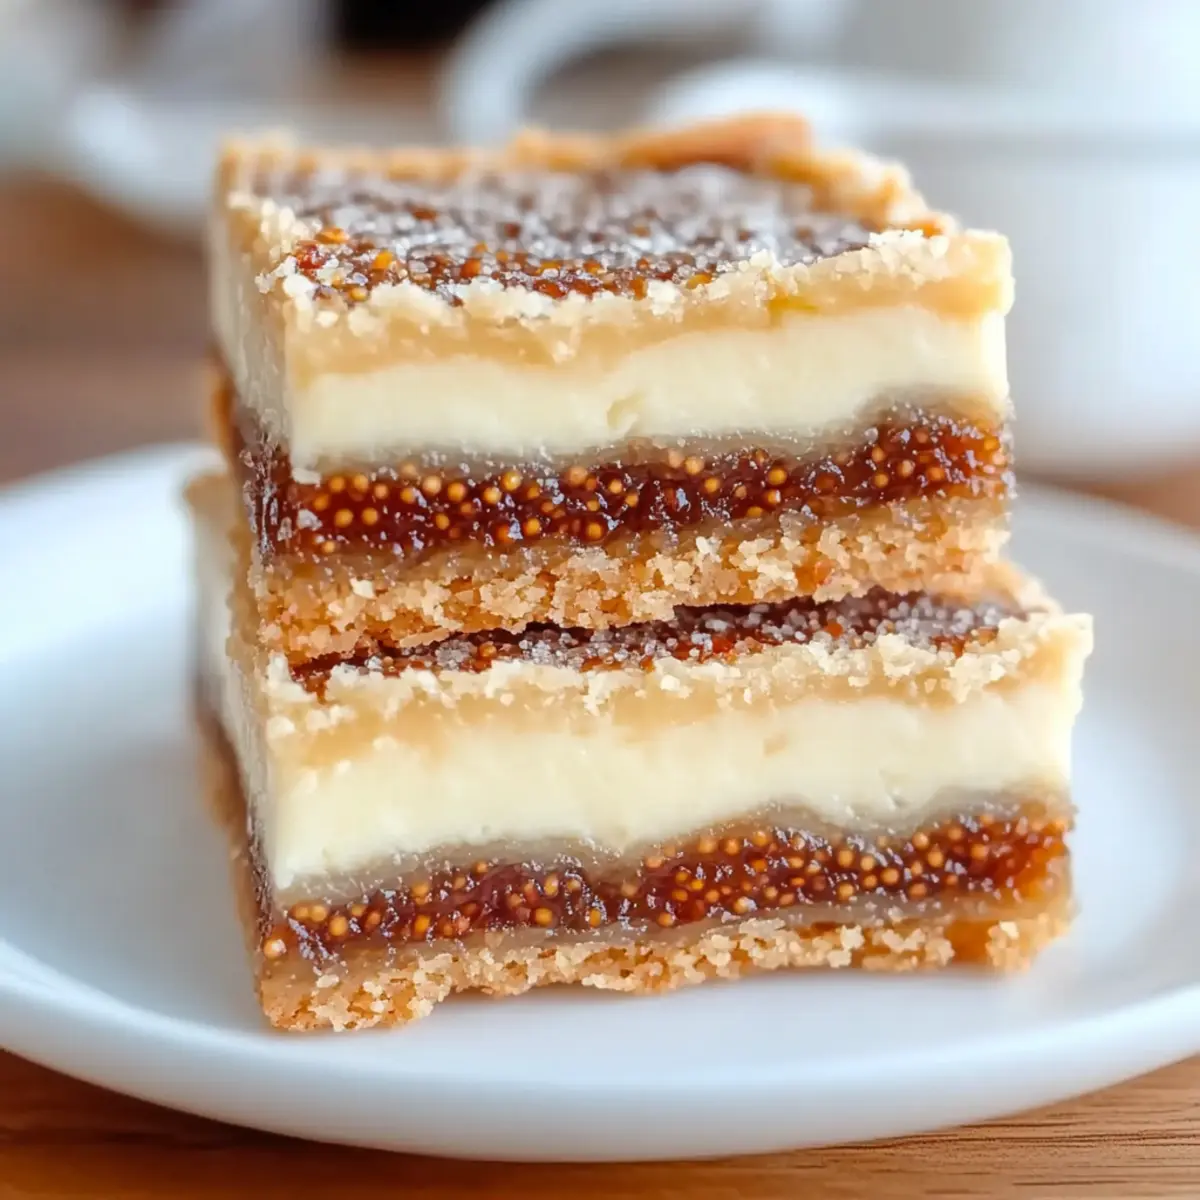
Creamy Delight: The luscious cream cheese topping perfectly complements the rich flavor of figs, creating a sensational dessert.
Easy to Make: This recipe is straightforward, making it accessible even for beginner bakers.
Make-Ahead Perfection: Prep it in advance, saving time for busy days or last-minute gatherings.
Crowd-Pleasing: Everyone will be reaching for seconds—the irresistible combination makes it a hit at any event!
Versatile Ingredients: Feel free to swap dried figs for jam or experiment with spices for a personal touch. Pair these bars with a scoop of vanilla ice cream for an indulgent treat or enjoy them with a warm cup of tea. If you love make-ahead desserts, check out these Soft Baked Bars or Peach Crumble Bars for more delightful options!
Fig and Cream Cheese Bars Ingredients
• Prepare these bars with simple ingredients for a delightful, easy dessert.
For the Crust
- Dried Figs – Offer natural sweetness and texture; soak in warm water if stiff to ensure easy blending.
- Flour – Forms the base of the crust, providing structure and stability.
- Brown Sugar – Adds moisture and depth of flavor to the crust.
- Cold Unsalted Butter – Essential for achieving a shortbread-like texture; keep it very cold for optimal crumbly results.
For the Cream Cheese Layer
- Cream Cheese – Provides creaminess and tang; opt for high-quality cream cheese for the best flavor.
- Sugar – Sweetens the filling; feel free to adjust based on your taste preferences.
- Vanilla Extract – Enhances the overall flavor; choose real vanilla for added richness.
- Egg – Binds the filling together; ensure it is blended until completely smooth.
You’ll be tasting the delightful flavors of the Fig and Cream Cheese Bars in no time!
Step‑by‑Step Instructions for Fig and Cream Cheese Bars
Step 1: Prepare the Crust
In a mixing bowl, combine flour, brown sugar, and a pinch of salt. Cut in very cold unsalted butter using a pastry cutter or your fingertips until the mixture resembles coarse crumbs. Press this crumbly dough evenly into an oiled or lined 20x30 cm baking pan, creating a smooth, firm base for your Fig and Cream Cheese Bars. Bake in a preheated oven at 180°C (356°F) for about 15 minutes, or until just lightly golden.
Step 2: Prep the Figs
While the crust bakes, remove stems and chop dried figs into smaller pieces for easier blending. Combine them in a saucepan with a splash of water and, if desired, a bit of sugar. Cook over medium heat for 5 minutes, stirring occasionally, until the figs soften and the mixture becomes syrupy. Carefully blend the soft figs with a dash of lemon juice until smooth, creating a luscious fig puree.
Step 3: Layer the Figs
Once the crust is pre-baked and slightly cooled, spread the smooth fig mixture evenly over the top of the crust. Use a spatula to ensure the fig layer covers the entire surface, reaching the edges. This fig layer will create a delightful fruity foundation for your Fig and Cream Cheese Bars, adding both sweetness and warmth to each bite.
Step 4: Make Cream Cheese Layer
In a mixing bowl, beat together the cream cheese, sugar, vanilla extract, and egg until the mixture is completely smooth and creamy. Use a hand mixer or stand mixer on medium speed to achieve a light and fluffy texture. Pour this velvety cream cheese mixture over the fig layer in the pan, using a spatula to spread it evenly for consistent creaminess in every slice.
Step 5: Bake
Place the assembled dessert back into the preheated oven and bake for an additional 30 minutes. Keep an eye on your Fig and Cream Cheese Bars; they’re done when the cream cheese layer is set but still has a slight jiggle in the center. The top should be just lightly golden, ensuring a rich depth of flavor without overcooking.
Step 6: Cool and Slice
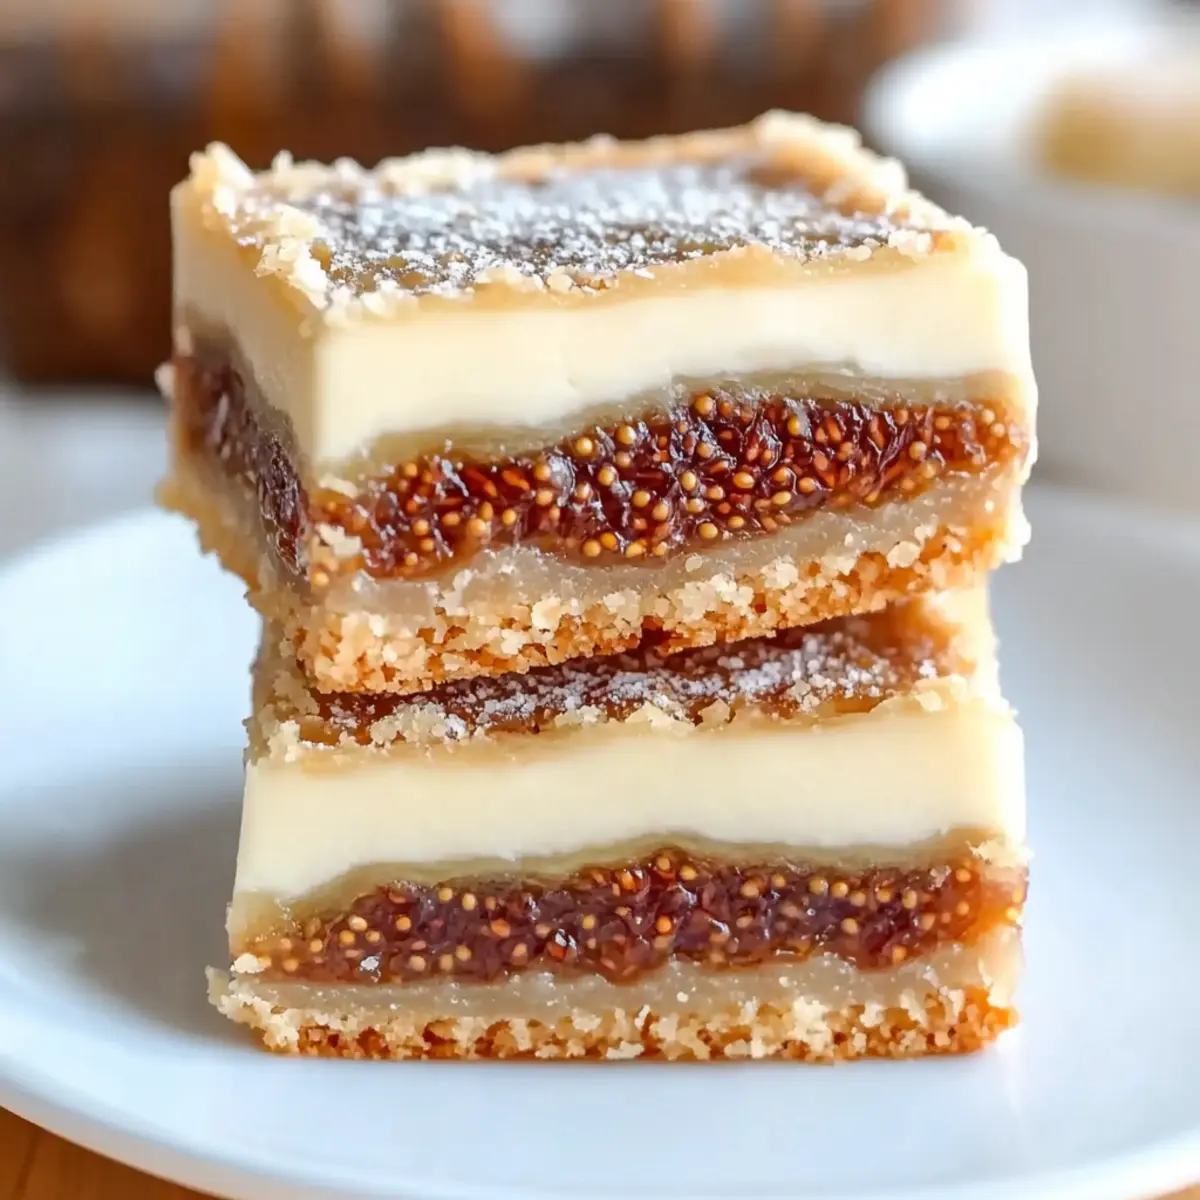
Once baked, remove the pan from the oven and allow the Fig and Cream Cheese Bars to cool completely in the pan on a wire rack. This step is crucial for achieving the perfect texture. Once fully cooled, cut into squares or rectangles using a sharp knife, enjoying the delightful layers of fig and creamy cheese in each bar.
What to Serve with Decadent Fig and Cream Cheese Bars
Indulging in these creamy bars opens the door to a world of delightful pairings that elevate your dessert experience.
-
Fresh Berries: Their tartness and juiciness beautifully contrast with the sweet fig layers, adding a refreshing element to each bite.
-
Vanilla Ice Cream: Creamy vanilla ice cream melts wonderfully over the warm bars, introducing an extra layer of indulgence and flavor harmony.
-
Whipped Cream: Light and airy, whipped cream enhances the richness of the cream cheese while providing a sumptuous texture to each serving.
-
Espresso or Coffee: The boldness of coffee cuts through the sweetness, creating a balanced dessert experience perfect for any time of day.
-
Nutty Granola: Sprinkle on top for added crunch; it complements the creaminess with a satisfying bite and earthy flavor.
-
Mint Leaves: A sprig of fresh mint adds a vibrant touch, brightening the dish and offering a cooling twist with each mouthful.
-
Dark Chocolate Drizzle: A little drizzle enhances the decedent nature of these bars with a rich, slightly bitter contrast that plays well against the sweet figs.
-
Sparkling Water: A refreshing glass of sparkling water cleanses the palate between bites, keeping every piece of the Fig and Cream Cheese Bars exciting.
Make Ahead Options
These Decadent Fig and Cream Cheese Bars are perfect for meal prep, allowing you to save time during busy weeks! You can prepare the crust and fig layer up to 24 hours in advance. Simply bake the crust and let it cool completely before spreading the fig mixture over the top. After layering, cover the pan tightly with plastic wrap and refrigerate until you're ready to add the cream cheese layer and bake. When you’re set to serve, just whip up the cream cheese mixture and bake as directed. These make-ahead options ensure that your bars are just as delicious and maintain their wonderful texture while saving you valuable time!
How to Store and Freeze Fig and Cream Cheese Bars
Fridge: Store the bars in an airtight container for up to 5 days in the refrigerator. Layer parchment paper between squares to prevent sticking.
Freezer: Cut into individual portions, wrap each piece in plastic wrap, and place them in a freezer bag. These delicious Fig and Cream Cheese Bars can be frozen for up to 3 months.
Thawing: Thaw frozen bars overnight in the fridge for the best texture, allowing them to return to that creamy goodness everyone loves.
Reheating: If desired, gently warm the bars in the microwave for about 10-15 seconds to enjoy that freshly-baked taste anytime!
Expert Tips for Fig and Cream Cheese Bars
• Perfect Dough: Don’t overwork the crust dough. Gently mix until it resembles coarse crumbs for the best texture.
• Soak Figs: If your dried figs feel too stiff, soak them in warm water for about 15 minutes before chopping. This ensures a silky fig puree.
• Smooth Filling: Blend the cream cheese filling until completely smooth; this avoids any lumps in your Fig and Cream Cheese Bars.
• Watch the Bake: Keep an eye on the bars while baking. They should jiggle slightly in the center when done, indicating a perfect creamy layer.
• Cool Completely: Allow your bars to cool fully in the pan before slicing, which helps maintain the layers and prevents messiness when serving.
Fig and Cream Cheese Bars Variations
Feel free to unleash your creativity with these delightful adaptations of the Fig and Cream Cheese Bars!
- Fresh Figs: Substitute dried figs with fresh figs for a juicier and lighter flavor. You may need to adjust the cooking time to avoid excess moisture.
- Fig Jam: Swap the fig filling for premade fig jam for a quicker and simpler version. This option ensures a sweet fruit layer with minimal effort.
- Spiced Cream Cheese: Add warm spices like cinnamon or nutmeg to the cream cheese mixture for an extra burst of cozy flavor. This adds a lovely depth that elevates your dessert.
- Nutty Crunch: Fold in chopped nuts such as walnuts or pecans into the cream cheese layer for added texture. Their crunchy contrast becomes a delightful surprise with every bite.
- Chocolate Drizzle: Drizzle melted dark chocolate on top of the baked bars for a decadent finish. This touch brings a touch of richness that pairs beautifully with the creamy filling.
- Gluten-Free Option: Substitute regular flour with a gluten-free flour blend to make these bars suitable for gluten-sensitive friends. It’s a delicious alternative that everyone can enjoy.
- Tangy Twist: Consider using flavored cream cheese, such as lemon or berry, to give a fruity zing to the bars. These subtle variations can transform the flavor profile entirely.
If you're in the mood for more make-ahead treats, check out these Soft Baked Bars or Peach Crumble Bars for additional scrumptious options!
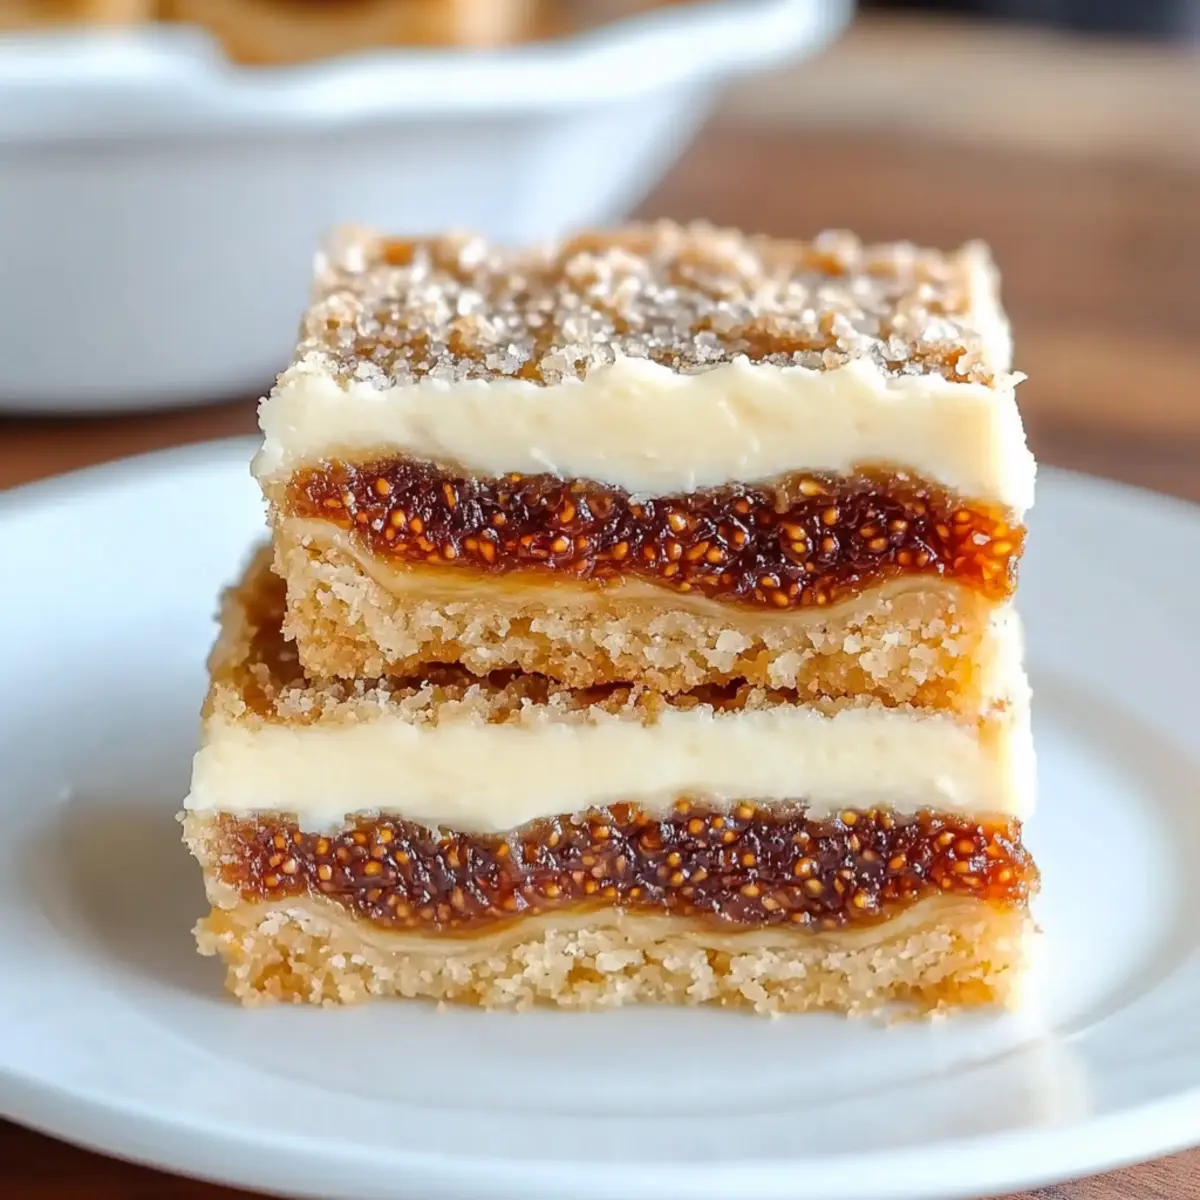
Fig and Cream Cheese Bars Recipe FAQs
How do I choose the perfect dried figs for this recipe?
Absolutely! When selecting dried figs, look for Turkish or Mission figs that are plump and have a rich color without any dark spots all over. If the figs are too hard, soak them in warm water for about 15 minutes to soften them before blending—this makes for a smoother fig layer!
How should I store leftovers of my Fig and Cream Cheese Bars?
Very! Store these delectable bars in an airtight container in the refrigerator for up to 5 days. To prevent sticking, I recommend placing parchment paper between the layers. This will keep them fresh and make them easy to serve later on.
Can I freeze my Fig and Cream Cheese Bars?
Certainly! For best results, cut the bars into individual portions, wrap each piece tightly in plastic wrap, and then place them in a freezer bag. These bars can be frozen for up to 3 months. When you’re ready to enjoy them, simply thaw overnight in the fridge for the best texture.
What should I do if my cream cheese filling turns out lumpy?
If your filling has lumps, don’t worry! This often happens when the cream cheese isn't softened enough. Make sure to let it sit at room temperature for about 30 minutes before mixing. Then beat it on medium speed with the sugar, vanilla, and egg until totally smooth—this will create that velvety filling we love!
Are these Fig and Cream Cheese Bars safe for individuals with allergies?
Very important! These bars contain dairy and gluten, so they're not suitable for those with lactose intolerance or gluten allergies. However, if you need a dairy-free option, you can try using vegan cream cheese and gluten-free flour to adjust the recipe while keeping it delicious.
Can I make any substitutions for the ingredients in Fig and Cream Cheese Bars?
Absolutely! You can substitute fresh figs for dried figs; however, you'll want to adjust the cooking time since fresh figs might need less time to soften. Additionally, using premade fig jam can be a time saver, and you might experiment with flavored cream cheeses or add spices like cinnamon to the cream cheese layer for an extra flavor twist!
Decadent Fig and Cream Cheese Bars You'll Love to Share
Ingredients
Equipment
Method
- In a mixing bowl, combine flour, brown sugar, and a pinch of salt. Cut in very cold unsalted butter until crumbly. Press into an oiled baking pan.
- Chop dried figs and cook with water until softened. Blend with lemon juice to make fig puree.
- Spread the fig mixture over the cooled crust.
- Beat together cream cheese, sugar, vanilla, and egg until smooth. Pour over the fig layer.
- Bake for 30 minutes until set but slightly jiggly. Cool completely before slicing.


Leave a Reply