
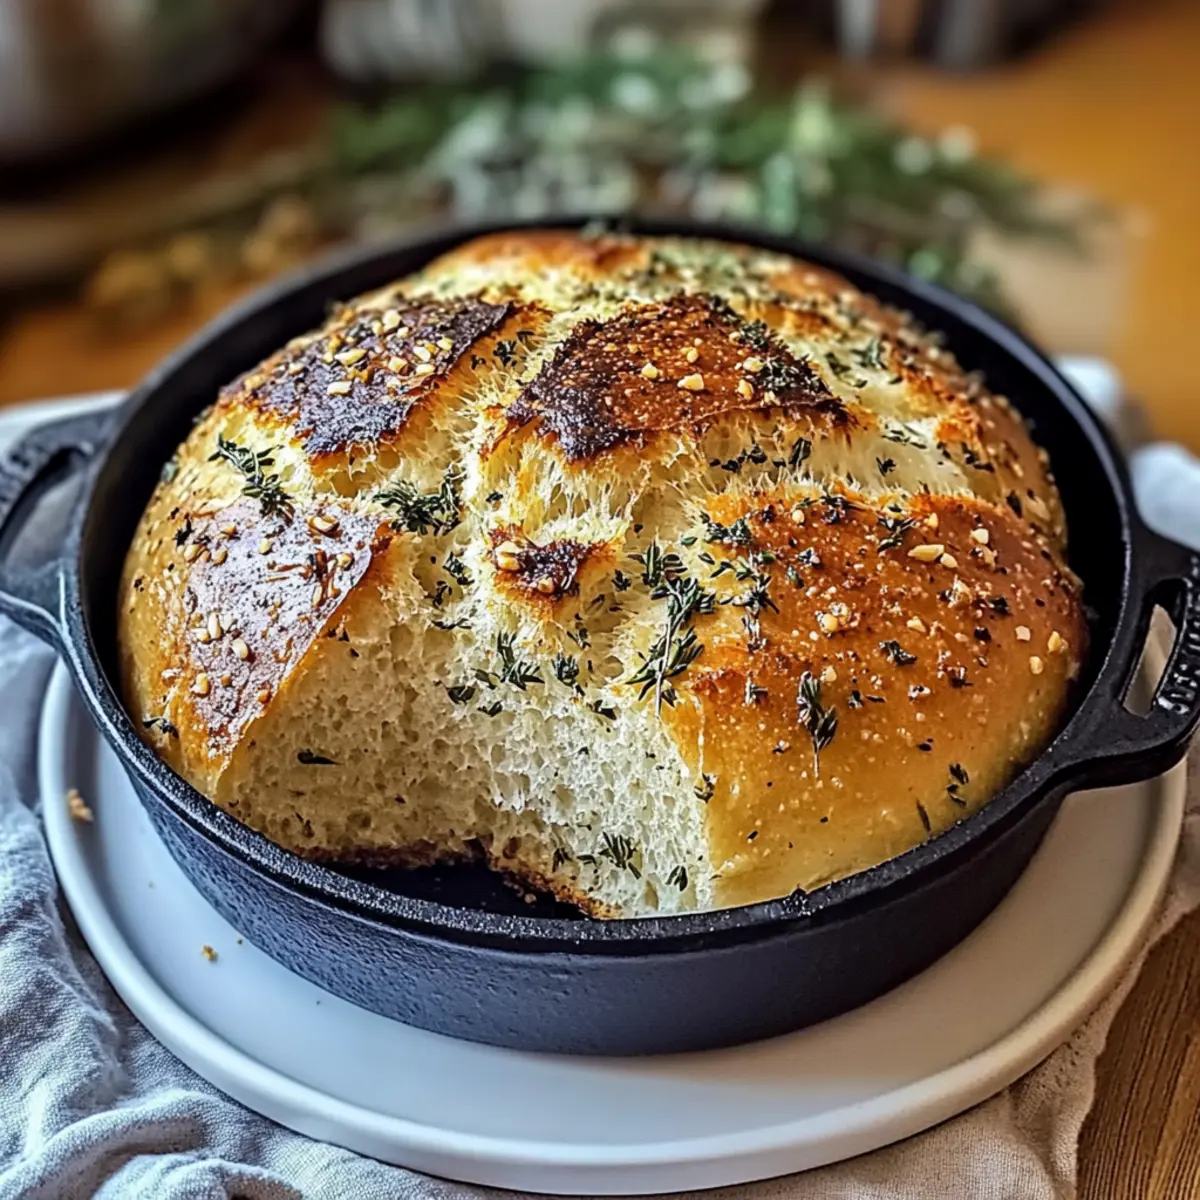
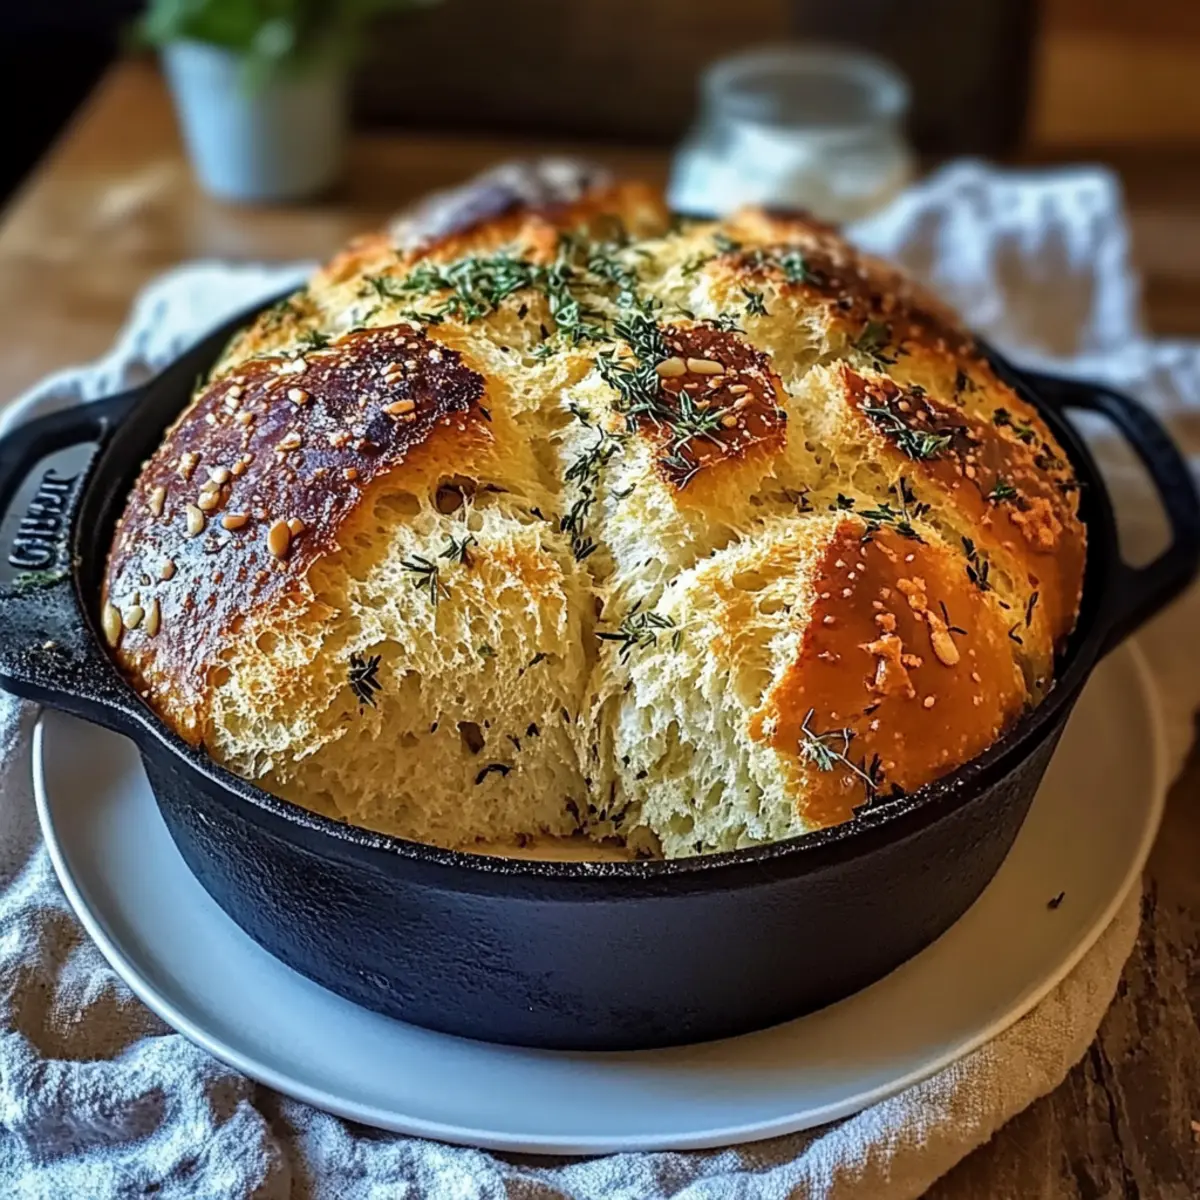
A warm, savory aroma wafts through the kitchen like an invitation to our favorite cozy spot. The star of this culinary moment? My no-knead Garlic Herb Dutch Oven Bread, a delightful and simplistic masterpiece that transforms even the humblest pantry staples into gourmet goodness. With its crispy crust and pillowy soft interior, this bread is not only a showstopper at dinner but also a joyful companion to any meal you serve. The best part? It’s versatile and customizable, allowing you to experiment with different herbs or even add cheese for an extra touch of indulgence. Whether you’re looking for a quick, satisfying recipe or that perfect base for your savory bruschetta, this Garlic Herb Dutch Oven Bread is all you need. What delightful variations will you try?
Why is Garlic Herb Dutch Oven Bread Special?
Simplicity at Its Best: This no-knead recipe simplifies baking, requiring only a few ingredients and minimal effort.
Artisan Quality: Achieve a gourmet loaf with a crispy crust and soft, pillowy interior that rivals any bakery.
Versatility Galore: Customize it with your favorite herbs or add cheese for a rich twist, like our Cheesy Garlic Chicken.
Time-Saving Delight: With a long rise and only one active prep step, you can focus on other dishes or relax while it bakes.
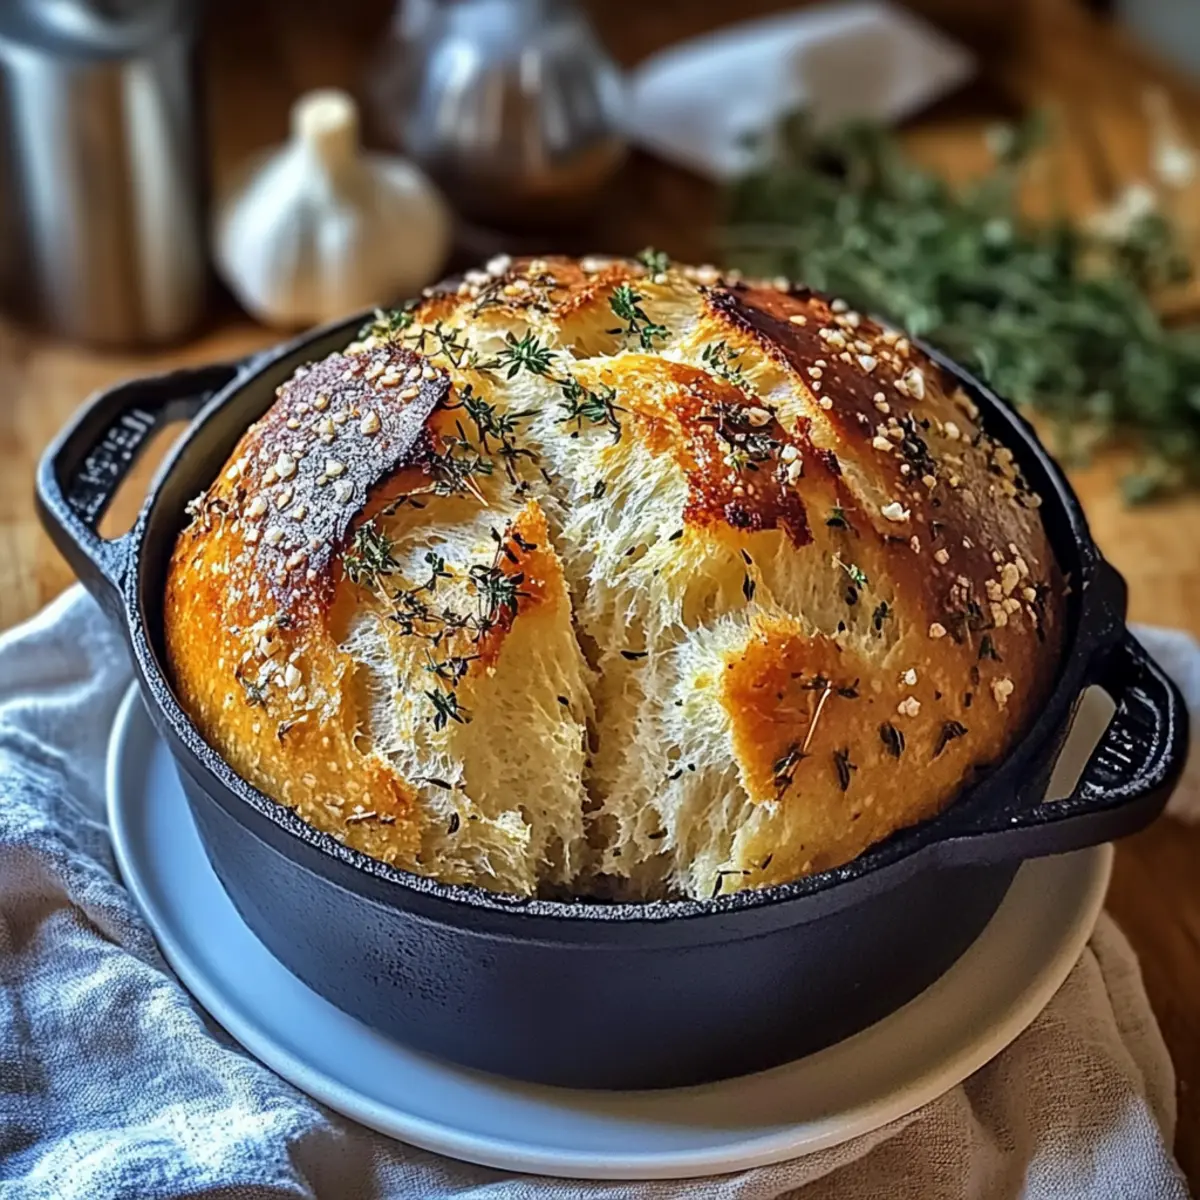
Crowd-Pleasing Aroma: The delightful smell of garlic and herbs fills your kitchen, inviting everyone to gather around the table.
Elevate your meals with this easy and flavorful bread—it’s perfect for enjoying with butter or as a base for a delicious bruschetta!
Garlic Herb Dutch Oven Bread Ingredients
For the Dough
- All-Purpose Flour – Provides structure and texture; can be partially replaced with whole wheat flour for a nutty flavor.
- Salt – Enhances flavor; essential for overall taste.
- Instant Yeast – Leavening agent for rise; can substitute with active dry yeast if dissolved in water first.
- Minced Garlic – Infuses the bread with savory flavor; roasted garlic can substitute for a milder taste.
- Fresh Herbs – Adds vibrant flavor profile; alternatively, use dried herbs.
- Lukewarm Water – Hydrates and activates the yeast; ensure the temperature is correct for best results.
- Olive Oil – Optional for dough shaping and adds flavor; a great addition to the dough.
For Serving
- Butter – For serving warm with the bread, especially herb-infused for extra flavor.
- Cheese (optional) – Pair with your favorite cheese for additional richness.
Traipse through the warmth of your kitchen with this delightful Garlic Herb Dutch Oven Bread, the perfect side or base for any meal!
Step‑by‑Step Instructions for Garlic Herb Dutch Oven Bread
Step 1: Mix the Dough
In a large mixing bowl, whisk together the all-purpose flour, salt, instant yeast, minced garlic, and fresh herbs until evenly combined. Gradually pour in lukewarm water, stirring until there are no dry flour patches remaining. The dough should be shaggy and sticky. Cover with plastic wrap and allow it to rest at room temperature for the next 12 to 18 hours, during which it will double in size and become bubbly.
Step 2: Shape the Dough
After the first rise, flour your hands lightly to prevent sticking, and gently turn the dough onto a well-floured surface. With careful hands, fold the dough over itself a few times to shape it into a round loaf. Let the dough rest for another 45 minutes to 1 hour, ensuring it remains covered with a clean towel to prevent drying out.
Step 3: Preheat Dutch Oven
While the dough rests, place your Dutch oven, with its lid on, into the cold oven and preheat to 450°F (232°C) for about 30 minutes. This preheating step is crucial for creating that perfect crispy crust on your Garlic Herb Dutch Oven Bread that you’ll love.
Step 4: Prepare for Baking
Once the Dutch oven is hot, carefully transfer the rested dough onto a piece of parchment paper. Using a sharp knife, make a shallow score on the top of the dough, which will allow the bread to expand beautifully in the oven and enhance its artisanal look.
Step 5: Bake Covered
With your Dutch oven preheated, remove it from the oven and carefully lift the parchment paper with the dough into the pot. Cover with the lid and bake for 30 minutes. This covered baking phase traps moisture, resulting in a soft interior while the crust begins to form.
Step 6: Bake Uncovered
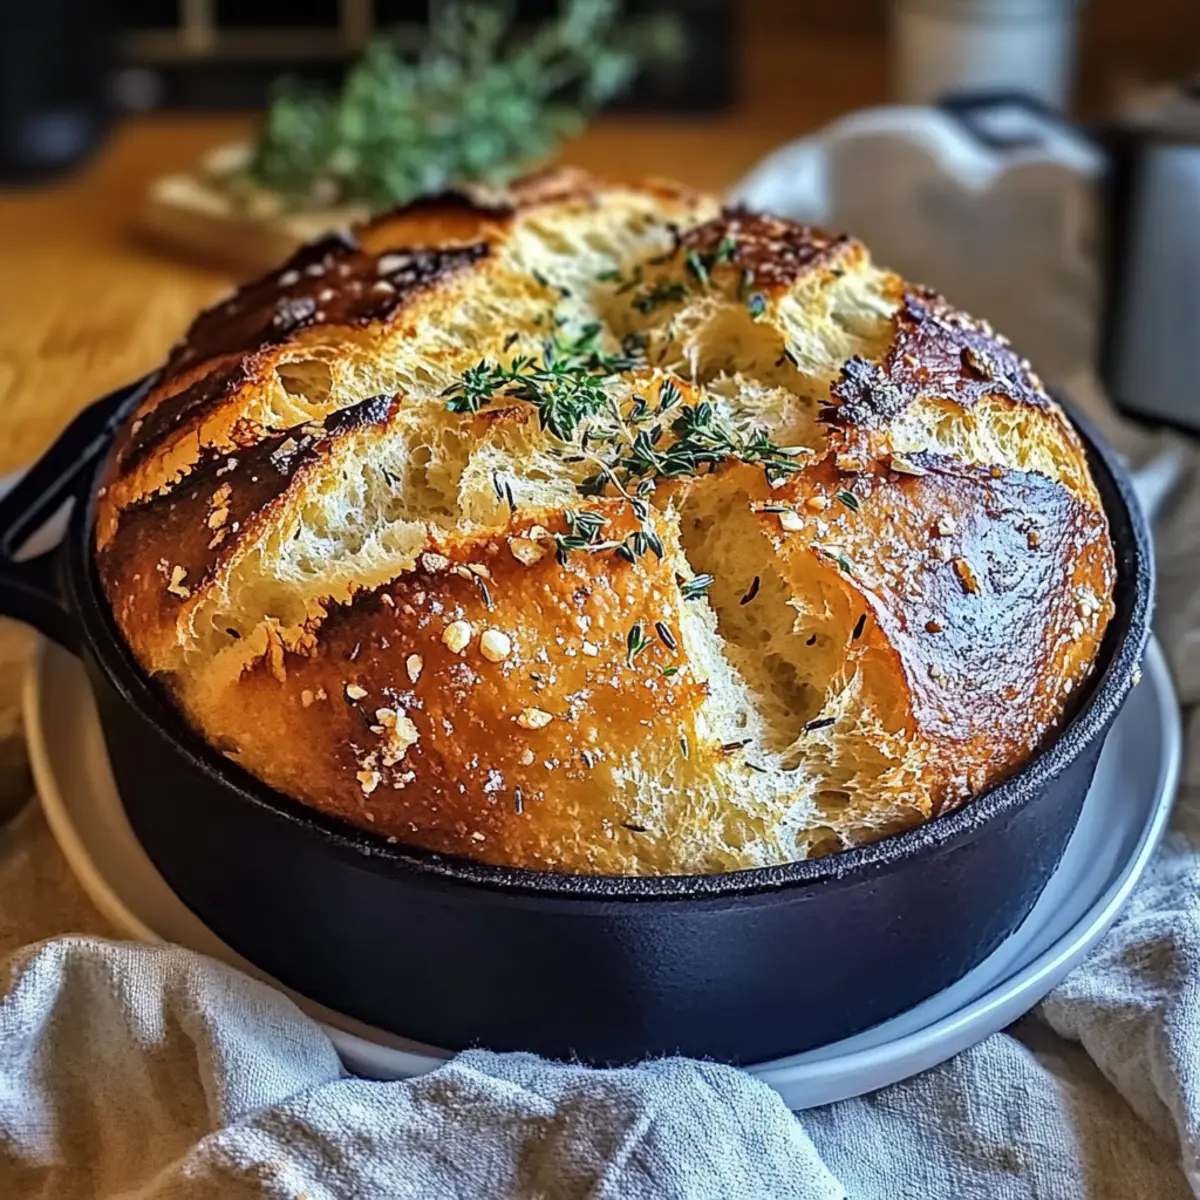
After 30 minutes, carefully take off the lid and bake the Garlic Herb Dutch Oven Bread for an additional 15 to 20 minutes. Keep an eye on it; the bread is ready when the crust is a deep golden brown and the internal temperature reaches between 205°F to 210°F.
Step 7: Cool Down
Once baked, carefully transfer the bread to a wire rack and allow it to cool for at least 30 minutes before slicing. This cooling period helps the bread maintain its texture, resulting in a perfect, soft crumb ready for all your favorite servings!
What to Serve with Garlic Herb Dutch Oven Bread?
Picture a warm table filled with dishes that enhance the magic of your freshly baked bread—a perfect complement to every bite.
- Creamy Tomato Soup: This classic duo offers a delightful contrast with the tangy flavors of tomato blending beautifully with the bread's herbs.
- Savory Bruschetta Toppings: Elevate your bread by layering it with fresh tomatoes, basil, and a drizzle of balsamic glaze, creating an irresistible appetizer.
- Zesty Green Salad: A light and refreshing salad adds crunch, with flavors from lemon vinaigrette that balance the richness of the bread.
- Roasted Vegetables: The caramelization from roasting brings out sweet notes, creating a lovely side that pairs harmoniously with the bread’s savory profile.
- Herb-Infused Olive Oil: Serve a small bowl of fragrant olive oil for dipping, enriched with fresh herbs and garlic, amplifying the bread's flavor.
- Cheese Platter: Include a variety of cheeses like sharp cheddar or creamy brie, allowing guests to create their own delightful combinations with each slice.
- Garlic Butter Spread: Whip up a quick garlic herb butter to slather on warm slices, enhancing the garlic essence in the bread while adding indulgence.
- Chardonnay or Light Ale: Pair a chilled glass of white wine or a light ale to complement the bread’s flavors and elevate your dining experience.
Make Ahead Options
Preparing your Garlic Herb Dutch Oven Bread ahead of time is a fantastic way to save yourself precious moments on busy days! You can mix the dough and let it rise for up to 18 hours in advance, keeping it covered at room temperature to maintain its fluffy texture. After the first rise, shape the dough and refrigerate it for up to 24 hours; just remember to let it come to room temperature before proceeding with the baking steps. When you’re ready to enjoy this artisan treat, simply preheat your Dutch oven and bake as directed. This way, you'll experience the delightful aroma of freshly baked bread with minimal effort!
Garlic Herb Dutch Oven Bread Variations
Unleash your creativity and elevate your Garlic Herb Dutch Oven Bread with these delightful twists that add flavor and flair!
-
Cheese Infusion: Add 1 cup of shredded cheese to the dough for a cheesy, savory treat. Melted cheese adds richness and a comforting texture that everyone will love.
-
Whole Wheat Option: Substitute half of the all-purpose flour for whole wheat flour. This not only gives a nutty flavor but also boosts fiber content, making it a wholesome choice.
-
Roasted Garlic: Swap in roasted garlic instead of minced garlic for a milder, slightly sweet flavor. It lends a unique depth to the bread, perfect for those who prefer a gentler garlic essence.
-
Herbed Varieties: Get adventurous with fresh herbs! Try rosemary, thyme, or basil for a fragrant twist. Each herb brings a new personality, creating a mouthwatering experience for your taste buds.
-
Spicy Kick: Want some heat? Toss in chopped chili flakes or diced jalapeños for a fiery element. The spice adds a fun surprise that pairs nicely with creamy butter.
-
Nutty Delight: Incorporate chopped nuts like walnuts or pecans for a crunchy texture. This adds a delightful contrast to the soft interior, enhancing both flavor and bite.
-
Sweet Surprise: Mix in a tablespoon of honey or maple syrup for a hint of sweetness in your dough. This subtle change creates an unexpectedly delicious twist, especially nice with butter.
-
Seasonal Fruits: Add sun-dried tomatoes or olives for bursts of moisture and flavor. These fruity additions create a savory and tangy experience that's delightful at any meal.
Explore these variations to make your Garlic Herb Dutch Oven Bread even more irresistible! For more flavor inspiration, try these accompanying dishes like our Old Bay Garlic Shrimp or delicious Garlic Parmesan Zucchini. Happy baking!
Expert Tips for Garlic Herb Dutch Oven Bread
- Nail the Dough Consistency: Keep the dough wet and sticky; adding too much flour can lead to dense bread that lacks the airy quality.
- Preheat Properly: Always preheat the Dutch oven to ensure that the bread develops a perfectly crispy crust. This is a game-changer for your Garlic Herb Dutch Oven Bread!
- Watch the Rise: Monitor rising times closely, especially in cooler weather. If the dough isn’t bubbly and doubled, give it extra time.
- Patience is Key: Allow the bread to cool completely before slicing. This patience results in a better texture and flavor, avoiding gummy slices.
- Experiment with Flavors: Don’t hesitate to customize your bread with various herbs or cheeses, making the Garlic Herb Dutch Oven Bread uniquely yours!
How to Store and Freeze Garlic Herb Dutch Oven Bread
-
Room Temperature: Store the bread wrapped in a clean kitchen towel at room temperature for up to 2-3 days to maintain freshness and a soft crust.
-
Fridge: While not ideal, you can refrigerate the bread in an airtight container for up to a week. However, it may dry out quickly.
-
Freezer: For longer storage, slice the Garlic Herb Dutch Oven Bread and place it in an airtight container or freezer bag. It can be frozen for up to 3 months; simply thaw at room temperature before enjoying.
-
Reheating: To refresh frozen slices, reheat in the oven at 350°F (175°C) for about 10 minutes, or toast until warmed through for a delightful tasting experience.
Garlic Herb Dutch Oven Bread Recipe FAQs
What type of garlic should I use for the Garlic Herb Dutch Oven Bread?
Absolutely! Fresh minced garlic is recommended for this recipe as it infuses the bread with a robust flavor. You can also use roasted garlic for a milder and sweeter taste. If you’re in a pinch, garlic powder can be used, but start with ½ teaspoon as it's more concentrated.
How should I store the Garlic Herb Dutch Oven Bread?
To keep your Garlic Herb Dutch Oven Bread fresh, wrap it in a clean kitchen towel and store it at room temperature for up to 2-3 days. For longer storage, slice the bread and place it in an airtight container or a freezer bag. It can be frozen for up to 3 months; just remember to thaw it at room temperature or reheat in the oven.
Can I freeze Garlic Herb Dutch Oven Bread?
Certainly! After the bread has fully cooled, slice it into pieces and place the slices in an airtight container or freezer bag. Be sure to remove excess air before sealing. To enjoy, thaw the slices at room temperature, or for a delightful warm-up, reheat them in a 350°F (175°C) oven for about 10 minutes.
Why is my bread dense instead of fluffy?
Very good question! If your Garlic Herb Dutch Oven Bread turns out dense, it could be due to too much flour in the dough. Remember, keep the dough sticky and wet. If it doesn’t rise properly, the yeast may have been inactive; ensure you use fresh yeast and allow for adequate rising time until it doubles in size. Monitoring the temperature in your kitchen can also help, as cooler spaces may slow down the rising process.
Can I use whole wheat flour in this recipe?
Absolutely! You can substitute half of the all-purpose flour with whole wheat flour. This will give your Garlic Herb Dutch Oven Bread a nutty flavor and extra fiber. Just keep in mind that this may slightly alter the texture and rise; it may require a tad more water for hydration.
Garlic Herb Dutch Oven Bread for a Cozy Homemade Treat
Ingredients
Equipment
Method
- In a large mixing bowl, whisk together the all-purpose flour, salt, instant yeast, minced garlic, and fresh herbs until combined. Gradually pour in lukewarm water, stirring until no dry flour patches remain. Cover and let rest for 12 to 18 hours.
- Flour your hands lightly and turn the dough onto a floured surface. Fold the dough to shape it into a round loaf. Let rest for another 45 minutes to 1 hour, covered.
- Place the Dutch oven, with its lid, into a cold oven and preheat to 450°F (232°C) for about 30 minutes.
- Transfer the rested dough onto parchment paper and make a shallow score on top.
- Carefully lift the parchment with the dough into the pot, cover with lid, and bake for 30 minutes.
- Remove the lid and bake for another 15 to 20 minutes until the crust is golden brown.
- Transfer to a wire rack to cool for at least 30 minutes before slicing.



Leave a Reply