
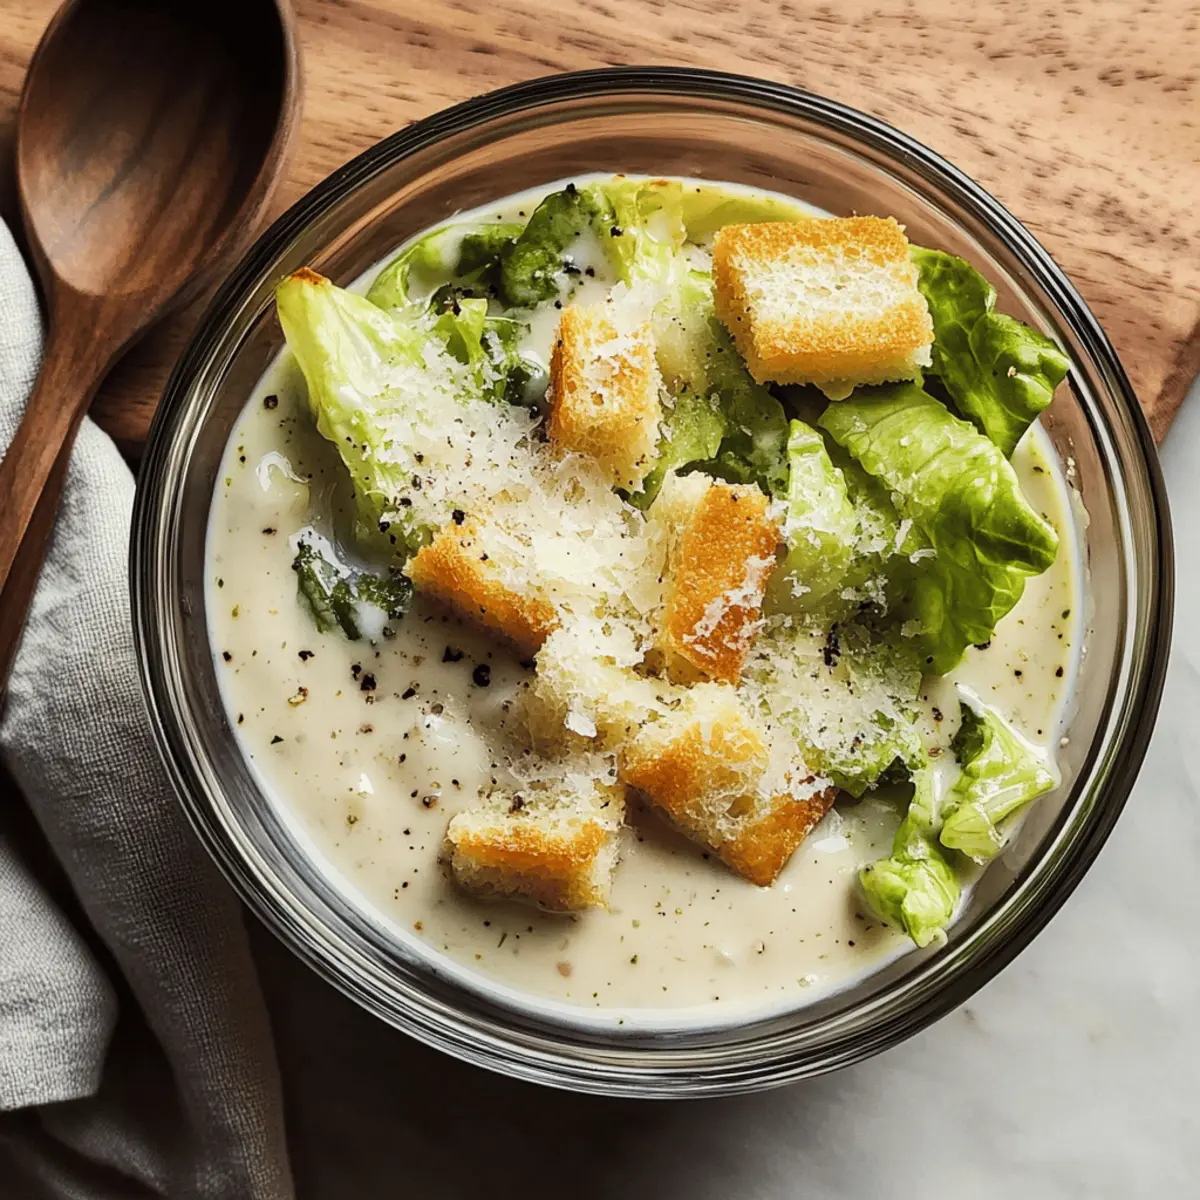
In just ten short minutes, I discovered the magic of whipping up my own Homemade Caesar Dressing, and let me tell you, it transformed my salads into a flavorful masterpiece! No blender or raw eggs required—just simple, wholesome ingredients that deliver a burst of savory and zesty goodness. What I appreciate most is its flexibility: it’s deliciously creamy yet dairy-free-friendly, making it a perfect choice for a crowd-pleasing dip or a refreshing salad dressing. Whether you're looking for a quick weeknight addition or preparing for a lively get-together, this recipe is poised to elevate your dishes with minimal fuss. Are you ready to take your salads to the next level?

Why Make Your Own Caesar Dressing?
Freshness, The vibrant flavors of this Homemade Caesar Dressing are unmatched, bringing a burst of zest to any dish. Quick Prep, With just ten minutes needed and no blending required, you can whip it up effortlessly. Customizable, Adjust ingredients to fit your taste or dietary needs, creating a dressing that’s uniquely yours. Versatile, Use it as a salad dressing, dip, or spread, Perfect for any occasion, whether it’s a casual weeknight dinner or a festive gathering. Check out my Chicken Caesar Salad for a delicious way to put this dressing to use!
Homemade Caesar Dressing Ingredients
For the Dressing
- Olive Oil – Adds richness and smooth texture; use high-quality extra virgin for the best flavor.
- Garlic – Provides a subtle, aromatic kick; adjust according to taste for milder or stronger garlic punch.
- Dijon Mustard – Enhances creaminess and adds a tangy flavor that balances the dressing beautifully.
- Parmesan Cheese – Contributes a savory, umami depth; swap with nutritional yeast for a delicious dairy-free option.
- Lemon Juice – Offers refreshing acidity to balance flavors; freshly squeezed lemon is preferred for brightness.
- Worcestershire Sauce – Adds complexity and depth; substitute with soy sauce or tamari if necessary.
- Salt & Pepper – Essential for seasoning; always taste and adjust to suit your preference.
This Homemade Caesar Dressing will surely elevate your dishes with its vibrant flavors!
Step‑by‑Step Instructions for Creamy Homemade Caesar Dressing
Step 1: Combine the Base Ingredients
In a medium bowl, start by whisking together 2 tablespoons of Dijon mustard, 2 minced garlic cloves, and the juice of 1 freshly squeezed lemon. Mix these together until you achieve a smooth, cohesive blend that brings the tanginess of the mustard and brightness of the lemon to life. This forms the flavorful base of your Homemade Caesar Dressing.
Step 2: Emulsify with Olive Oil
Slowly drizzle in ½ cup of olive oil while continuously whisking the mixture. Aim for a steady stream to ensure proper emulsification, creating a rich, creamy texture. As you mix, the dressing should begin to thicken and achieve a glossy appearance, signaling that the flavors are coming together beautifully.
Step 3: Add Cheese and Seasonings
Next, stir in ¼ cup of finely grated Parmesan cheese along with 1 teaspoon of Worcestershire sauce. Sprinkle in salt and pepper to taste, adjusting based on your preference. The cheese adds a savory depth, while the Worcestershire sauce introduces a hint of umami and complexity to your Homemade Caesar Dressing.
Step 4: Taste and Adjust
Once all ingredients are combined, take a moment to taste your dressing. Depending on your preference, you might want to adjust the seasoning with additional salt, pepper, or lemon juice for extra zing. This step is crucial for customizing your dressing to suit your palate, ensuring every spoonful is delightful.
Step 5: Chill for Best Flavor
For optimal taste, cover the bowl with plastic wrap and refrigerate the dressing for at least 30 minutes. This chilling time allows the flavors to meld together, resulting in a more balanced and harmonious Homemade Caesar Dressing. Just before serving, give it a quick stir for a fresh finish.
Step 6: Serve and Enjoy
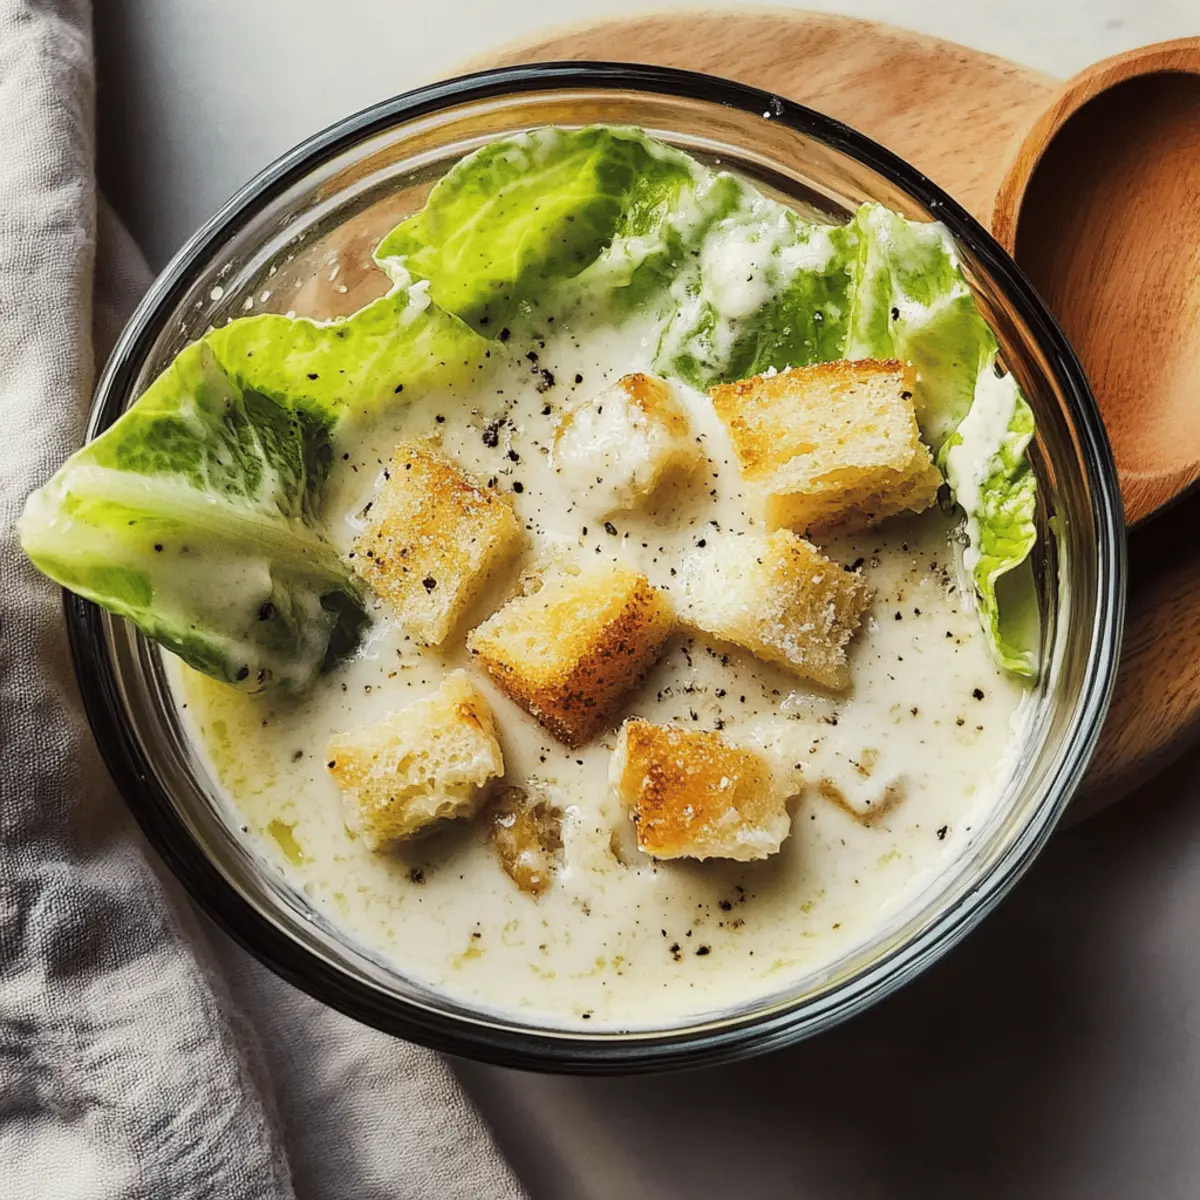
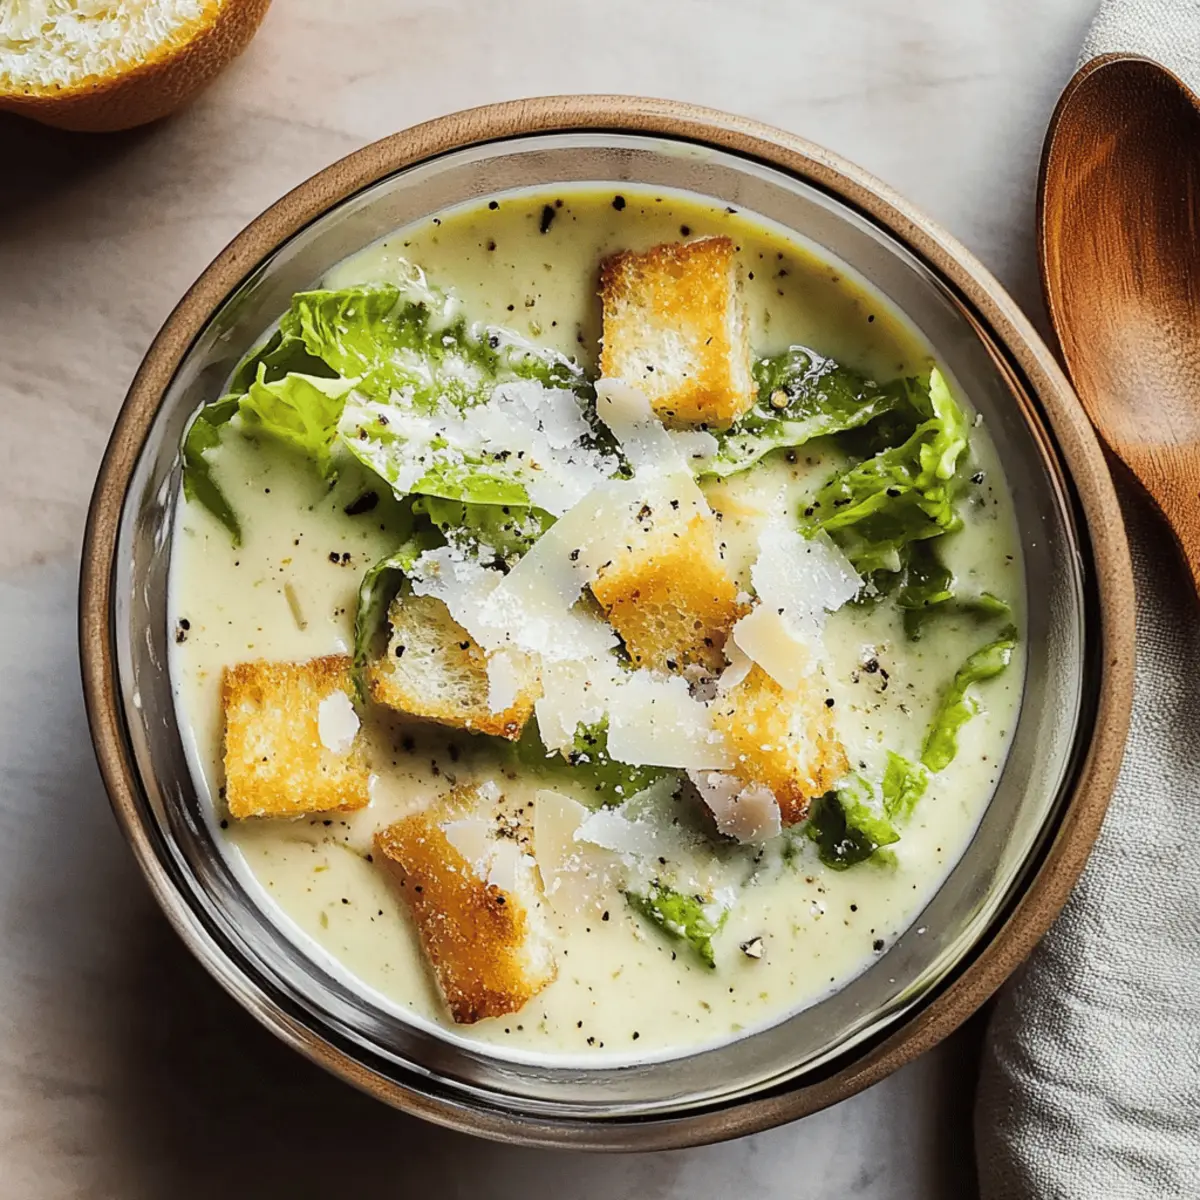
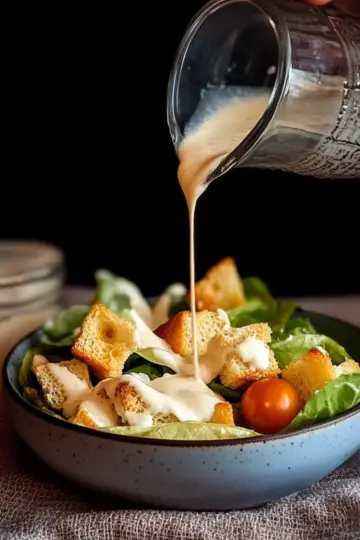
Once chilled, your Homemade Caesar Dressing is ready to elevate salads, serve as a dip, or spread on sandwiches. Drizzle it over crispy romaine leaves or pair it with fresh vegetable sticks for a delightful snack. This versatile dressing will enhance your meals with its creamy, zesty goodness!
Expert Tips for Homemade Caesar Dressing
-
Quality Ingredients: Always use high-quality olive oil and freshly squeezed lemon juice for the best flavor in your Homemade Caesar Dressing.
-
Adjust Garlic Levels: If you’re not a fan of strong garlic flavor, start with just one clove, then adjust according to taste.
-
Chill for Flavor: Don’t skip the chilling step! Refrigerating the dressing for at least 30 minutes helps all the flavors meld beautifully.
-
Experiment with Dairy-Free Options: If you need a dairy-free dressing, replace Parmesan cheese with nutritional yeast to maintain that umami depth without dairy.
-
Storage Matters: Keep leftover dressing in an airtight container in the refrigerator for up to a week. Freeze in portions if you want to enjoy it later!
Make Ahead Options
Preparing your Homemade Caesar Dressing ahead of time is a fantastic way to save time and enhance flavor! You can mix all the ingredients (Dijon mustard, minced garlic, lemon juice, olive oil, Parmesan cheese, Worcestershire sauce, salt, and pepper) up to 3 days in advance. Just store it in an airtight container in the refrigerator to maintain its vibrant taste and creamy texture. If you prefer, you can also whisk the dressing and refrigerate it for up to 24 hours before serving for a deliciously infused flavor. When you're ready to serve, simply give it a quick stir, and enjoy the convenience of a restaurant-quality dressing at home!
Storage Tips for Homemade Caesar Dressing
-
Fridge: Store your Homemade Caesar Dressing in an airtight container in the refrigerator for up to 1 week. This keeps it fresh and flavorful, ready for your next salad or dip.
-
Freezer: For longer storage, freeze the dressing in ice cube trays or small portion containers. It can be frozen for up to 3 months, making it a convenient option for future use.
-
Reheating: If frozen, thaw overnight in the fridge. Before serving, give it a good stir to recombine the ingredients, as separation may occur during freezing.
-
Prep Ahead: Make your dressing in advance for busy weeknights or gatherings. This allows flavors to meld while saving you time when you're ready to serve!
Homemade Caesar Dressing Variations
Feel free to explore these delightful variations to make your Homemade Caesar Dressing uniquely yours!
-
Dairy-Free: Swap out the Parmesan cheese for nutritional yeast to keep that umami flavor without the dairy. It still creates a creamy texture, perfect for dairy-free diets!
-
Herb-Infused: Add fresh herbs like dill, chives, or parsley to introduce a garden-fresh flavor. A simple addition can elevate your dressing to new heights of deliciousness.
-
Spicy Kick: Incorporate a splash of hot sauce or a pinch of cayenne pepper for a delightful heat. This twist adds an exciting twist, perfect for those who love a spicy edge.
-
Avocado Oil Swap: Replace olive oil with avocado oil for a different flavor profile and an extra dose of healthy fats. It maintains that silky texture but introduces a unique richness.
-
Tangy Twist: For a pop of extra acidity, add a splash of white wine vinegar or apple cider vinegar. This can really brighten the flavors, making your dressing even more vibrant!
-
Anchovy Option: If you're feeling adventurous, introduce a bit of mashed anchovy for a traditional flavor boost. This gives a deeper umami richness that many Caesar fans will adore.
-
Smoky Flavor: Stir in a dash of smoked paprika for a hint of smokiness, making the dressing perfect for grilled salads or veggie dips.
-
Zesty Citrus: Experiment with adding a bit of lime or orange juice alongside the lemon juice for a refreshing citrus twist that will brighten up your dishes beautifully.
For more tasty ideas, don’t forget to check out my Chicken Caesar Salad and consider spicing things up with my Spicy Pickle Brine. Enjoy crafting your perfect dressing!
What to Serve with Homemade Caesar Dressing
Elevate your meal experience by pairing this creamy, zesty dressing with delightful side dishes and beverages.
-
Crispy Romaine Salad: The classic pairing of fresh, crunchy romaine leaves enhances the dressing’s creamy texture, making for a satisfying bite.
-
Veggie Sticks Platter: Serve with crunchy carrots, cucumbers, and bell peppers for a refreshing, healthy snack that’s perfect for dipping. You’ll love the contrast of fresh vegetables with the rich dressing.
-
Garlic Bread: This warm, buttery delight complements the zesty flavors of the dressing, creating a comforting experience that’s hard to resist.
-
Grilled Chicken: Juicy, smoky chicken pairs beautifully with the tangy dressing, transforming a simple meal into a delicious feast. It’s great for a backyard barbecue or a family dinner.
-
Roasted Potatoes: Crispy and golden, roasted potatoes sprinkled with sea salt can provide a hearty side that balances the lightness of the salad. Their texture contrasts wonderfully with the creamy dressing.
-
Sparkling Water with Lemon: Refreshing and zesty, a glass of sparkling water with a hint of lemon will cleanse your palate between bites, enhancing the overall dining experience.
-
Brownies for Dessert: For a sweet finish, indulge in fudgy brownies that wrap up your meal with a rich chocolatey goodness. The contrasting flavors will leave your guests wanting more.
Consider these pairings next time you whip up a batch of your Homemade Caesar Dressing!
Homemade Caesar Dressing Recipe FAQs
How should I choose ripe ingredients for my Homemade Caesar Dressing?
Absolutely! For the freshest and most vibrant flavors, select high-quality ingredients. Use extra virgin olive oil, as it adds richness and enhances the dressing’s character. Opt for fresh garlic; look for cloves that are plump without dark spots. When choosing lemons, go for those that feel heavy for their size and have a smooth, firm skin; they’ll yield the most juice!
What is the best way to store Homemade Caesar Dressing?
Store your Homemade Caesar Dressing in an airtight container in the refrigerator for up to 1 week. This will maintain its flavors and texture. Make sure to label it with the date you prepared it, so you can keep track of freshness!
Can I freeze my Homemade Caesar Dressing?
Yes! For longer storage, freeze the dressing in ice cube trays or small portion containers. It can be frozen for up to 3 months. To enjoy, thaw overnight in the fridge and stir well before serving, as some separation may occur.
What should I do if my dressing is too thick?
If your dressing turns out thicker than you'd like, don’t worry! Simply whisk in a bit of water or extra lemon juice, one tablespoon at a time, until it reaches your desired consistency. Remember, it’s all about personal preference, so adjust it to suit your taste!
Is this Homemade Caesar Dressing suitable for those with dietary restrictions?
Very! This recipe is versatile and allows you to make changes based on dietary needs. For a dairy-free option, simply substitute Parmesan cheese with nutritional yeast. Always check the labels on Worcestershire sauce or consider using soy sauce or tamari if gluten-free is necessary. It’s a delicious dressing that everyone can enjoy!
Can I add other ingredients to customize my dressing?
Of course! I often make variations by adding fresh herbs like dill or chives for an extra flavor boost, or you might include a splash of hot sauce if you enjoy some heat! Tailor it to your liking, as this dressing is all about personal touch and creativity.
Irresistibly Creamy Homemade Caesar Dressing in 10 Minutes
Ingredients
Equipment
Method
- Combine the base ingredients: whisk together Dijon mustard, minced garlic, and lemon juice until smooth.
- Emulsify with olive oil: slowly drizzle in olive oil while whisking continuously until thick and glossy.
- Add cheese and seasonings: stir in Parmesan cheese, Worcestershire sauce, salt, and pepper to taste.
- Taste and adjust: modify seasoning as needed for desired flavor.
- Chill for best flavor: cover and refrigerate for at least 30 minutes.
- Serve and enjoy: use as a dressing, dip, or spread.


Leave a Reply