
As I unwrapped the first batch of Christmas spirit in my kitchen, the aroma of ginger and spice instantly filled the air, wrapping me in nostalgia. With the holidays fast approaching, I’ve discovered the magic of make-ahead finger foods that allow you to savor every moment rather than rush about. Today, I’m thrilled to share with you 15 delicious make-ahead Christmas finger foods designed to impress your guests without the last-minute stress. From creamy gingerbread truffles that melt in your mouth to savory meatballs bursting with flavor, each bite is an easy, crowd-pleasing addition to your festive spread. Not only do these recipes save time, but they also keep the joy of cooking alive in a way that lets you enjoy more special moments with loved ones. Curious about how to make your holiday gathering a culinary triumph? Let’s dive in!
Why Choose Make-Ahead Finger Foods?
Ease of Preparation: These make-ahead finger foods are designed for the busy holiday season, allowing you to prep dishes like savory meatballs and creamy truffles in advance.
Crowd-Pleasing Variety: With flavors from sweet gingerbread to savory cheesy baguettes, there's something for everyone, making your festive table a hit with all guests.
Stress-Free Hosting: Enjoy your gathering more with these pre-prepared dishes that let you focus on entertaining rather than frantic cooking.
Creative Flexibility: Feel free to swap ingredients – opt for plant-based options in meatballs or customize dipping sauces for veggie cups to cater to everyone's preferences.
Memorable Flavors: Each bite delivers a delightful taste experience that evokes holiday warmth and nostalgia, creating lasting memories during family gatherings.
Whether you're a seasoned chef or a home cook looking for simplicity, these recipes will keep the spirit of the holidays alive while leaving you time to enjoy precious moments.
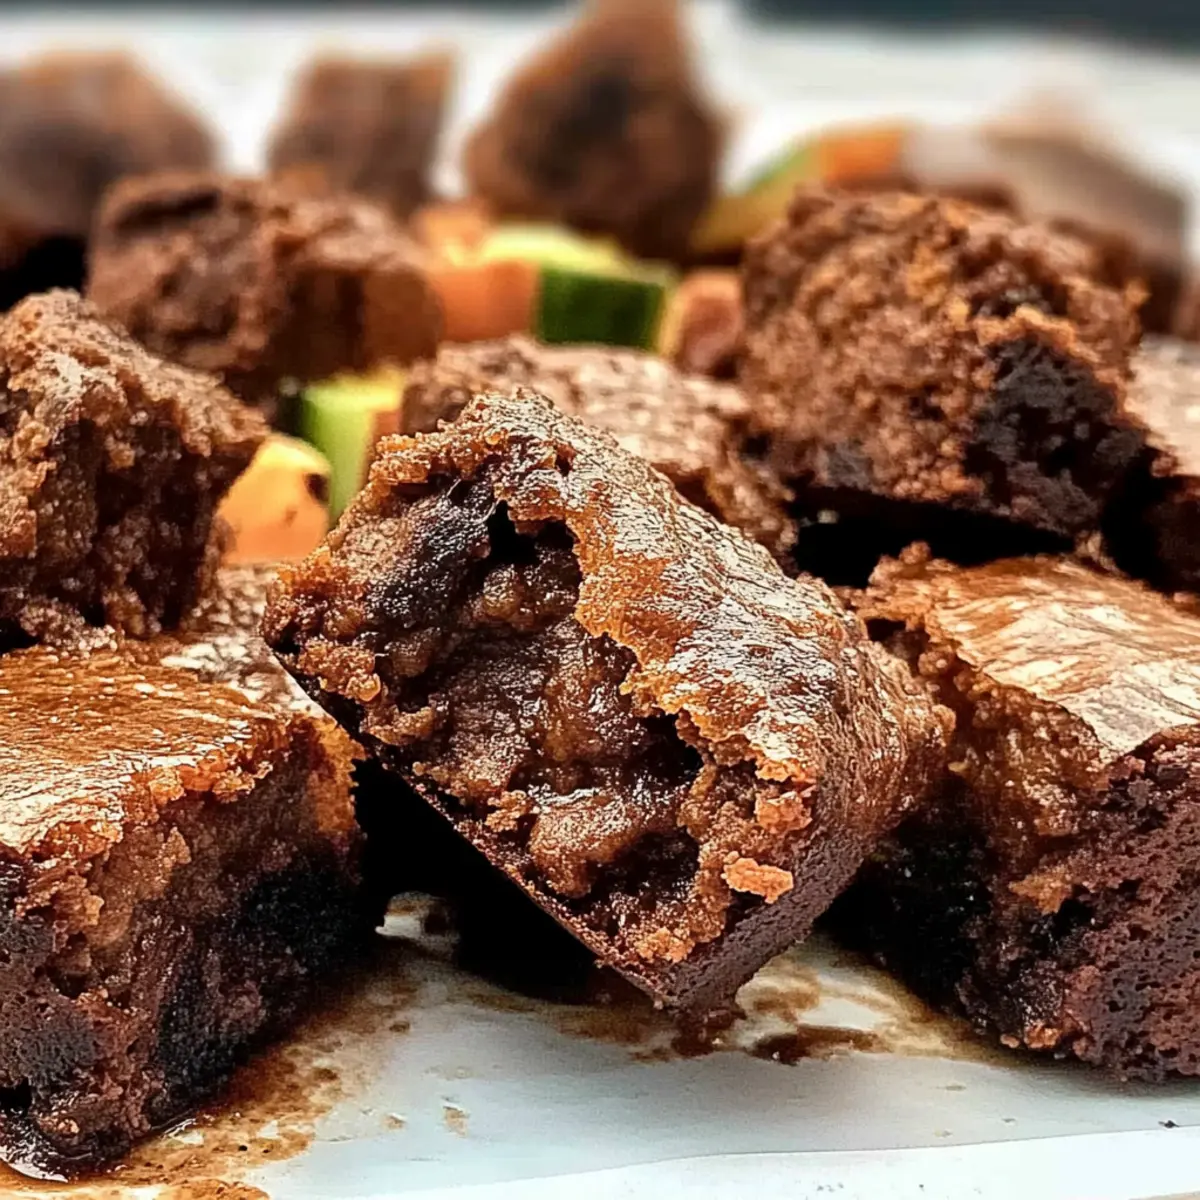
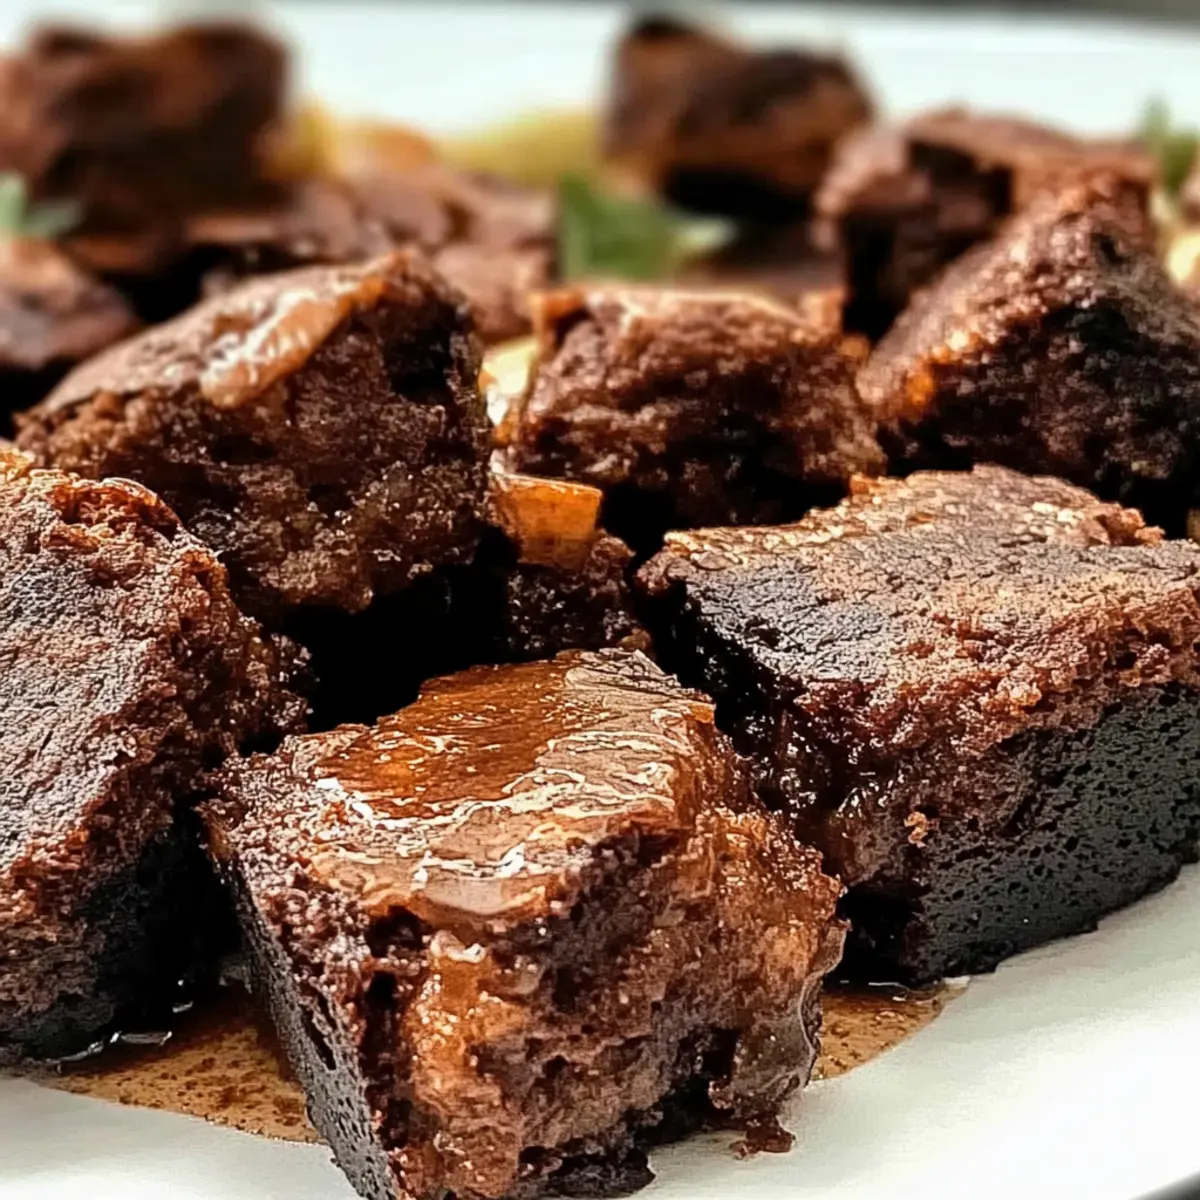
Homemade Nutella Brownies Ingredients
For the Brownies
• Nutella – The star ingredient that gives these brownies their irresistible chocolate-hazelnut flavor.
• All-Purpose Flour – Essential for structure; ensure you measure it correctly for the perfect texture.
• Eggs – Bind the batter together; choose large, room-temperature eggs for the best results.
• Granulated Sugar – Sweetens the brownies; you can reduce the amount for a less sweet treat.
• Salt – Enhances flavors; don’t skip this step, as it makes the chocolate taste richer.
• Butter – Adds moisture and richness; using unsalted butter gives you more control over flavors.
• Vanilla Extract – A dash brings out the chocolate flavors beautifully; opt for pure vanilla for a deeper taste.
For Serving
• Powdered Sugar – A light dusting on top adds a lovely presentation; it's optional but adds a festive touch.
• Ice Cream or Whipped Cream – These make for delightful accompaniments that turn each brownie into an indulgent dessert experience!
These delicious homemade Nutella brownies are a treat to look forward to, perfectly complementing the cozy ambiance of your holiday gathering.
Step‑by‑Step Instructions for Homemade Nutella Brownies
Step 1: Preheat and Prepare
Begin by preheating your oven to 350°F (175°C). Meanwhile, line an 8x8-inch baking pan with parchment paper, allowing some overhang to make removing the brownies easier later. This preparation step ensures that your homemade Nutella brownies bake evenly in a non-stick environment.
Step 2: Melt the Butter
In a medium saucepan, melt ½ cup of unsalted butter over low heat. Once fully melted, remove it from the heat and let it cool slightly. This process helps to create a fudgy texture in the brownies while blending beautifully with the Nutella.
Step 3: Mix the Wet Ingredients
Stir in 1 cup of Nutella into the melted butter until combined. Then, add 1 cup of granulated sugar, 2 large eggs, and 1 teaspoon of pure vanilla extract. Whisk the mixture vigorously until smooth and glossy, ensuring all ingredients are well incorporated—this will enhance the richness of your homemade Nutella brownies.
Step 4: Combine the Dry Ingredients
In a separate bowl, whisk together ½ cup of all-purpose flour and a pinch of salt. Gradually fold the dry ingredients into the Nutella mixture using a spatula. Mix gently until just combined, avoiding overmixing to maintain that delectable brownie texture—thick and luscious!
Step 5: Bake the Brownies
Pour the brownie batter into the prepared baking pan, spreading it evenly using a spatula. Bake for 20–25 minutes, or until the edges are set, and a toothpick inserted in the center comes out with a few moist crumbs. The gooey center is key to that irresistible homemade Nutella brownie experience.
Step 6: Cool and Cut
Once baked, remove the pan from the oven and let it cool in the pan for about 10 minutes. Then, lift the brownies out using the parchment overhang and transfer them to a wire rack. Allow them to cool completely before cutting them into squares, which will help maintain that fudgy texture.
Step 7: Serve and Enjoy
Dust the cooled brownies with powdered sugar for a delightful visual appeal. Serve your homemade Nutella brownies on a festive platter with optional ice cream or whipped cream for an extra special treat. Each bite will be an indulgent surprise that everyone will adore!

How to Store and Freeze Homemade Nutella Brownies
Room Temperature: If keeping them for a day, store brownies in an airtight container at room temperature, ensuring they remain soft and flavorful.
Fridge: For longer freshness, place the brownies in the refrigerator, where they can last up to a week. Let them come to room temperature before serving for the best taste.
Freezer: To enjoy homemade Nutella brownies later, wrap them tightly in plastic wrap and foil. They freeze beautifully for up to three months! Just thaw in the fridge before serving.
Reheating: If you desire a warm treat, reheat individual brownies in the microwave for 10-15 seconds. Warmed brownies enhance the gooey chocolate hazelnut flavors, making them even more indulgent!
Variations & Substitutions for Homemade Nutella Brownies
Feel free to customize these delicious brownies and make them uniquely yours with these fun variations!
-
Nut-Free: Use sunflower seed butter instead of Nutella for a nut-free version that still offers a rich, chocolatey flavor.
It's a fantastic swap that caters to dietary needs while keeping the indulgence. -
Flourless: Replace all-purpose flour with almond flour for a gluten-free treat that is just as fudgy and delightful.
This twist not only creates a different texture but also enhances the nutty undertones. -
Vegan: Substitute eggs with flaxseed meal (1 tablespoon flaxseed meal + 2.5 tablespoons water per egg) and use a plant-based butter.
These changes let everyone enjoy ooey-gooey brownies, regardless of dietary preferences. -
Mint Chocolate: Add a few drops of peppermint extract for a festive twist that brings a refreshing flavor boost to your brownies.
This is perfect for holiday gatherings, giving your treats a seasonal touch! -
Mix-ins: Stir in chocolate chips, chopped nuts, or even crushed candy canes to the brownie batter for added texture and flavor.
Each bite will surprise your guests with delightful crunch and sweetness! -
Swirled Cream Cheese: Fold in a cream cheese mixture (cream cheese, sugar, vanilla) for a cheesecake brownie experience that's beautifully decadent.
This addition creates stunning marbled patterns while enhancing the overall joy of your treat. -
Caramel Drizzle: After baking, drizzle melted caramel over the top for a sweet finish that takes the brownies to the next level.
It adds an irresistible wow factor for special occasions like Christmas gatherings! -
Serving options: Pair with a scoop of vanilla ice cream or a dollop of whipped cream for an extra indulgent experience.
Not only will this elevate the treat, but it'll also create a memorable dessert experience for your festivities!
Exploring these options can help you to customize your brownies while bringing everyone together, much like the delightful recipes found in my Pickle Brine Essentials! Enjoy this delicious journey into holiday baking!
What to Serve with Christmas Finger Foods?
Delightful pairings can elevate your make-ahead holiday treats, creating a festive feast that tantalizes taste buds and brings loved ones together.
-
Creamy Garlic Dip: This velvety dip is perfect for veggie cups, adding a smooth contrast to crunchy, fresh vegetables.
-
Savory Cheese Platter: An assortment of cheeses, both hard and soft, pairs beautifully with savory bites, enhancing the overall flavor experience.
-
Mini Caprese Skewers: Featuring fresh mozzarella, basil, and cherry tomatoes, these skewers bring brightness and freshness to your festive spread.
-
Cranberry Sauce: A sweet and tangy condiment that adds a vibrant pop when drizzled over meatballs, enhancing their savory richness.
-
Sparkling Apple Cider: Lively and refreshing, this drink adds a festive touch while complementing the sweet and savory flavors of your finger foods.
-
Chocolate Fondue: Perfect for dipping your homemade truffles, this indulgent treat enhances the chocolate experience and invites fun interactive dining.
-
Holiday Fruit Salad: A mix of seasonal fruits brings freshness and color, balancing heavier flavors and adding a juicy crunch.
-
Pecan Pie Bites: A sweet finish that brings the warmth of spiced nuts and buttery crust, ideal for satisfying those sweet cravings after savory bites.
These delicious ideas will complement your holiday finger foods and create a memorable gathering filled with joy and flavor!
Expert Tips for Homemade Nutella Brownies
-
Room Temperature Eggs: Ensure your eggs are room temperature for better incorporation, resulting in a smoother batter and fudgier brownies.
-
Accurate Measurements: Use a kitchen scale or measuring cups for precise flour and sugar measurements; this helps achieve the perfect texture and prevents dry brownies.
-
Don’t Overmix: Fold the dry ingredients in gently. Overmixing can activate the gluten in the flour, leading to a cakey texture rather than the desired fudginess of homemade Nutella brownies.
-
Cooling Time: Let the brownies cool completely in the pan to maintain their rich, gooey center. Cutting too soon can result in messy squares.
-
Freezing for Later: If you want to make them ahead, these brownies freeze wonderfully. Just wrap them tightly in plastic, and they’ll last for up to three months—perfect for easy holiday treats!
Make Ahead Options
These delicious homemade Nutella brownies are perfect for meal prep enthusiasts! You can prepare the brownie batter up to 24 hours in advance and refrigerate it in an airtight container, ensuring that it stays fresh and flavors meld beautifully. Simply follow the mixing instructions, but instead of baking, cover the mixture tightly and store in the fridge. When you're ready to serve, just pour the batter into your prepared baking pan and bake as directed, adding an extra minute or two if needed. For optimal quality, be sure to bring the batter to room temperature before baking so that your homemade Nutella brownies are just as fudgy and decadent as when freshly made.
Homemade Nutella Brownies Recipe FAQs
What should I look for when selecting Nutella?
Absolutely, choosing a quality Nutella is key! Look for a jar with a smooth consistency and a rich chocolate-hazelnut aroma. If you see any separation or a grainy texture, it might not be fresh. Always check the expiration date to enjoy maximum flavor in your brownies.
How should I store leftover brownies?
For optimal freshness, store your leftover homemade Nutella brownies in an airtight container at room temperature for up to a day. If you're looking to keep them longer, the fridge is a great option, where they can last about a week. Just allow them to come back to room temperature before indulging!
Can I freeze homemade Nutella brownies?
Yes! To freeze your brownies, wrap them tightly in plastic wrap, then place them in an airtight container or freezer bag. They’ll stay fresh for up to three months. When you’re ready to enjoy them, simply thaw them in the fridge overnight and savor the wonderful gooeyness!
What if my brownies turn out too cakey?
Very common! If your brownies are cakey instead of fudgy, it might be due to overmixing or too much flour. Next time, be gentle when folding the dry ingredients into the wet ones, and ensure you're using precise measurements, specifically for the flour. Remember, a thick, smooth batter is what you're aiming for!
Are these brownies suitable for those with nut allergies?
Despite their name, these brownies can be tricky for nut allergy sufferers due to the Nutella containing hazelnuts. If you need a nut-free option, consider using sunflower seed butter or a chocolate spread that is specifically labeled as nut-free. It’s always best to check ingredient labels to ensure safety!

Indulgent Homemade Nutella Brownies You'll Adore
Ingredients
Equipment
Method
- Preheat your oven to 350°F (175°C) and line an 8x8-inch baking pan with parchment paper.
- Melt ½ cup of unsalted butter over low heat, then let it cool slightly.
- Stir in 1 cup of Nutella, add 1 cup granulated sugar, 2 large eggs, and 1 teaspoon vanilla extract. Whisk until smooth.
- In a separate bowl, whisk together ½ cup of all-purpose flour and a pinch of salt, then fold into the Nutella mixture.
- Pour the batter into the prepared baking pan and bake for 20-25 minutes.
- Let the brownies cool in the pan for 10 minutes before transferring to a wire rack.
- Dust with powdered sugar and serve with ice cream or whipped cream if desired.


Leave a Reply