
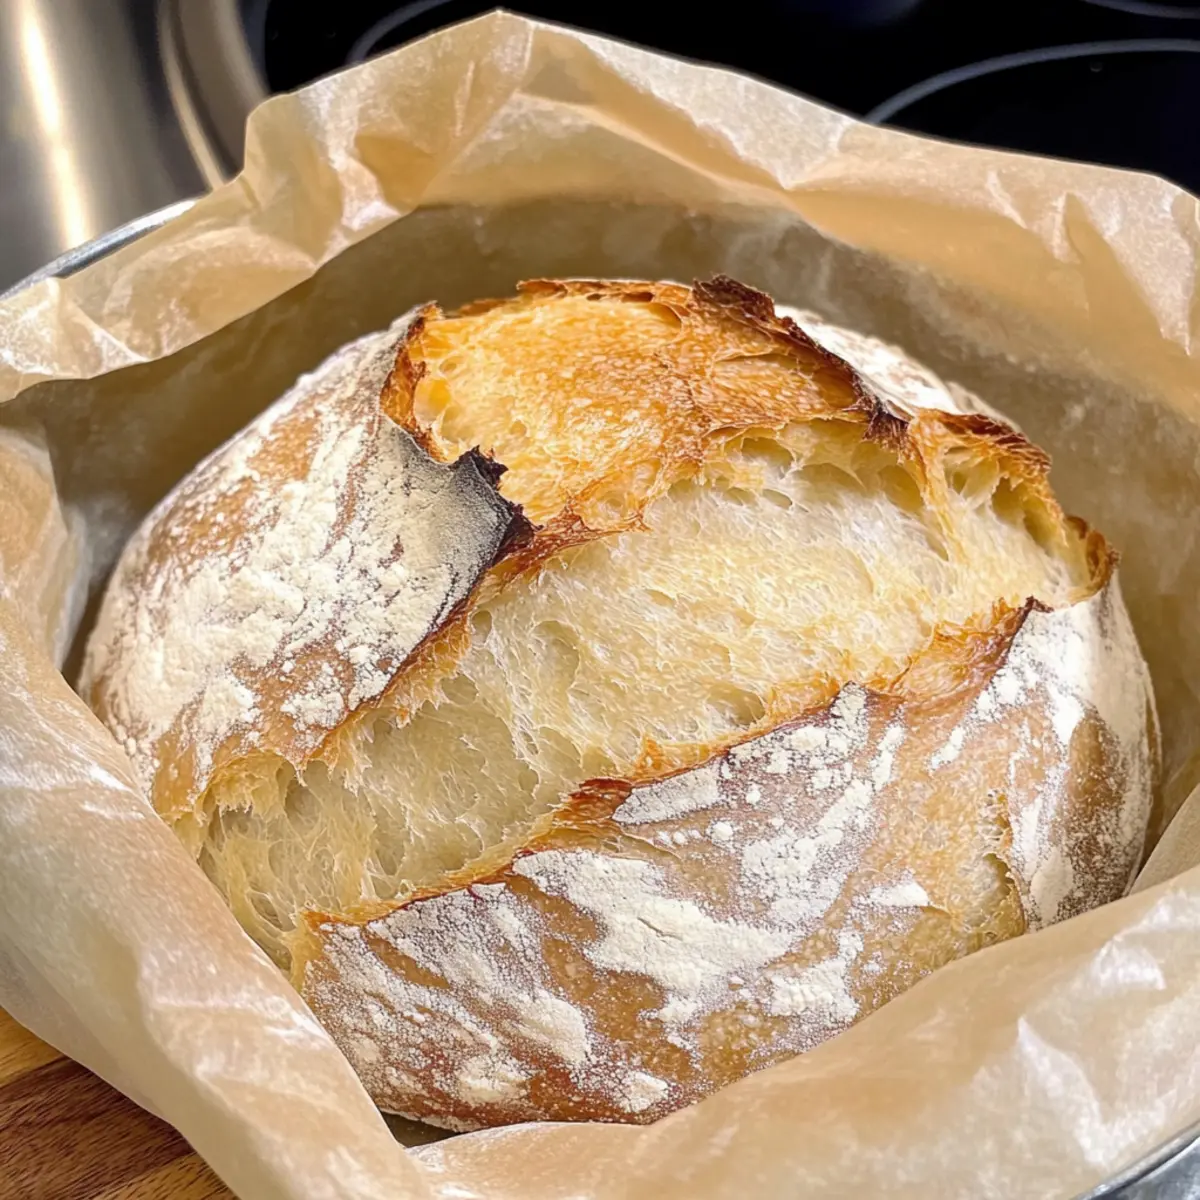
A delightful aroma fills the kitchen as I pull my No-Knead Rustic Artisan Bread from the oven, its golden crust crackling softly in the air. With just three simple ingredients, this bread takes minimal effort but delivers maximum satisfaction, making it the perfect solution for anyone tired of fast food or store-bought options. The best part? This recipe is incredibly forgiving—no kneading or fancy techniques required. Just a long, leisurely fermentation creates that irresistible texture: crusty on the outside and tender and chewy on the inside. Whether you’re pairing it with a soothing soup or slathering on some butter, this homemade bread is sure to steal the show. What’s your favorite moment to savor a fresh loaf?
Why Choose No-Knead Rustic Artisan Bread?
Flavorful Simplicity: With just three ingredients, this recipe captures the essence of homemade bread without any complicated steps.
Perfect for All Levels: Whether you're a novice or an experienced baker, the no-knead method ensures success every time.
Time-Saving Delight: Let the dough ferment overnight while you sleep, and wake up to the smell of fresh bread!
Endless Versatility: Enjoy it warm with butter, pair it with your favorite soups, or use it as a base for gourmet sandwiches.
Crowd-Pleasing Appeal: This bread is not just for you; it’s bound to impress family and friends alike, making it a go-to recipe for gatherings.
For a sweeter twist, don’t forget to check out my Cinnamon Crunch Bread! It’s another delightful option to elevate your baking game.
No-Knead Rustic Artisan Bread Ingredients
• Just three simple ingredients create magic!
For the Dough
- All-Purpose Flour – Provides a sturdy base and texture for your rustic artisan bread.
- Kosher Salt – Enhances flavor and controls the fermentation for perfect rise.
- Rapid Rise Yeast (or Active Dry Yeast) – Leavens the dough without kneading; instant yeast works here too!
- Water (room temperature or warm) – Activates the yeast and hydrates the flour; keep it under 115°F to protect your yeast.
Simple ingredients make this No-Knead Rustic Artisan Bread a breeze to whip up!
Step‑by‑Step Instructions for No-Knead Rustic Artisan Bread
Step 1: Mix Ingredients
In a large mixing bowl, whisk together 3 cups of all-purpose flour, 1.5 teaspoons of kosher salt, and 1 packet (2.25 teaspoons) of rapid rise yeast. Gradually add 1.5 cups of room temperature water, stirring with a wooden spoon or spatula until a sticky, shaggy dough forms with no dry flour remaining visible. This dough will be quite wet, giving your No-Knead Rustic Artisan Bread its delightful texture.
Step 2: Ferment
Cover the bowl tightly with plastic wrap or a clean kitchen towel, and let it sit at room temperature (around 70°F to 75°F) for 12 to 15 hours. During this time, the dough will naturally rise and bubble, doubling in size and developing a wonderful flavor. When it’s ready, you’ll see a smooth and glossy surface with numerous bubbles—indicative of a well-fermented dough.
Step 3: Preheat Oven
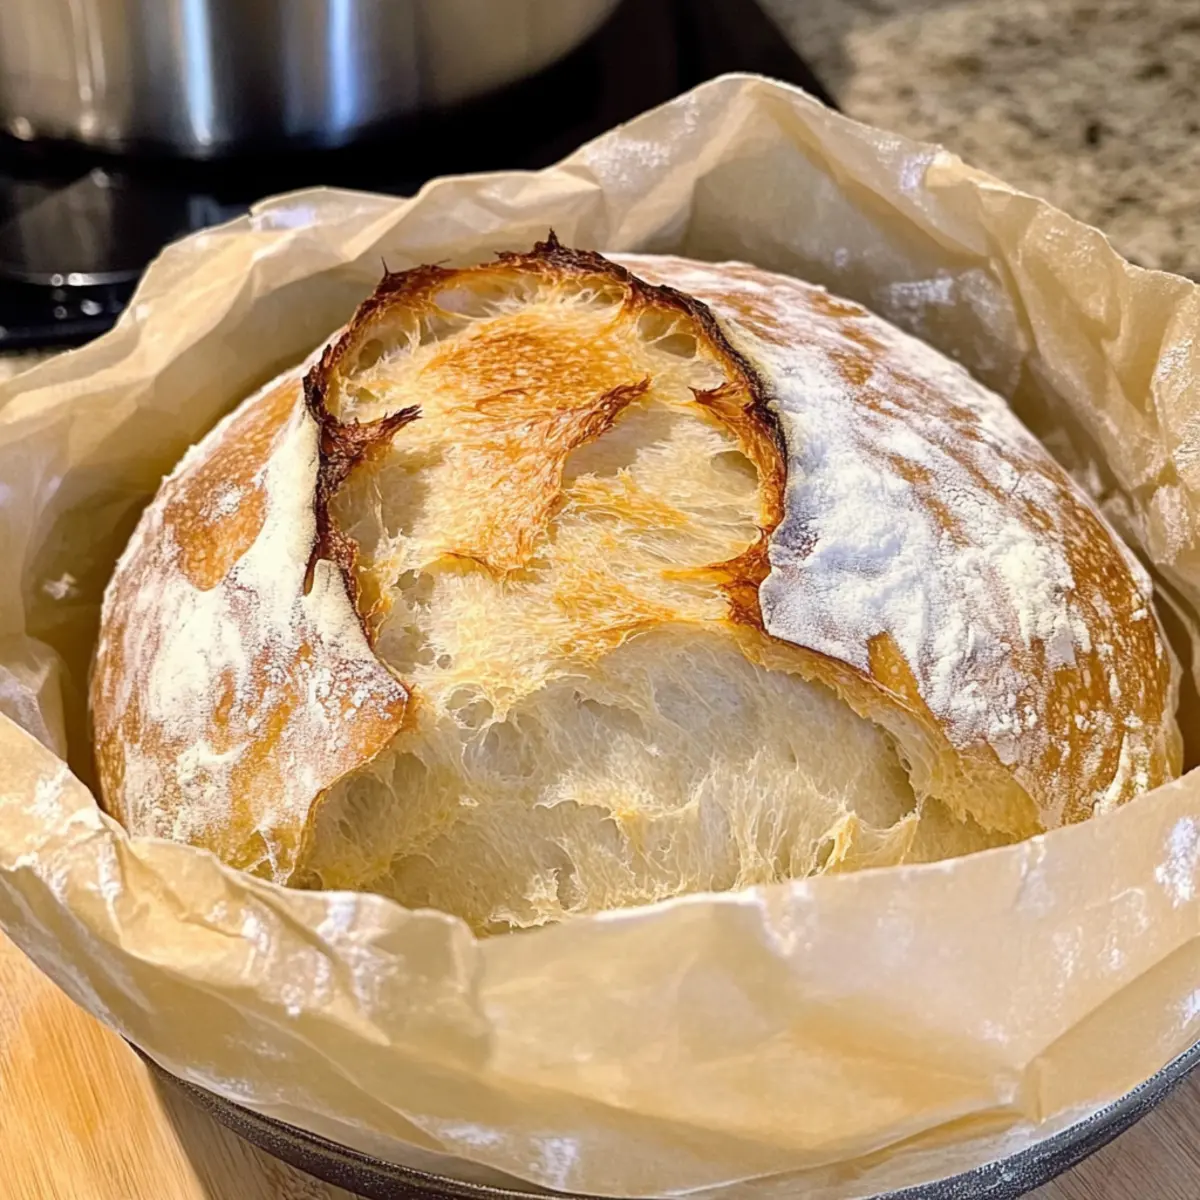
About 30 minutes before you plan to bake, place your Dutch oven (with lid) into the oven, then preheat it to 450°F (232°C). This step is crucial for achieving the perfect crust on your No-Knead Rustic Artisan Bread, as the hot Dutch oven helps create steam. Ensure that your oven is completely preheated before moving on to shaping the dough to ensure the best results.
Step 4: Shape Dough
Once the dough has fermented, generously flour a clean work surface and gently transfer the sticky dough onto it. Using floured hands, fold the dough over itself a couple of times to create a round shape, being careful not to overwork it or deflate too much of the air. Cover the shaped dough with a towel and let it rest for about 30 minutes before transferring it to the Dutch oven.
Step 5: Prepare for Baking
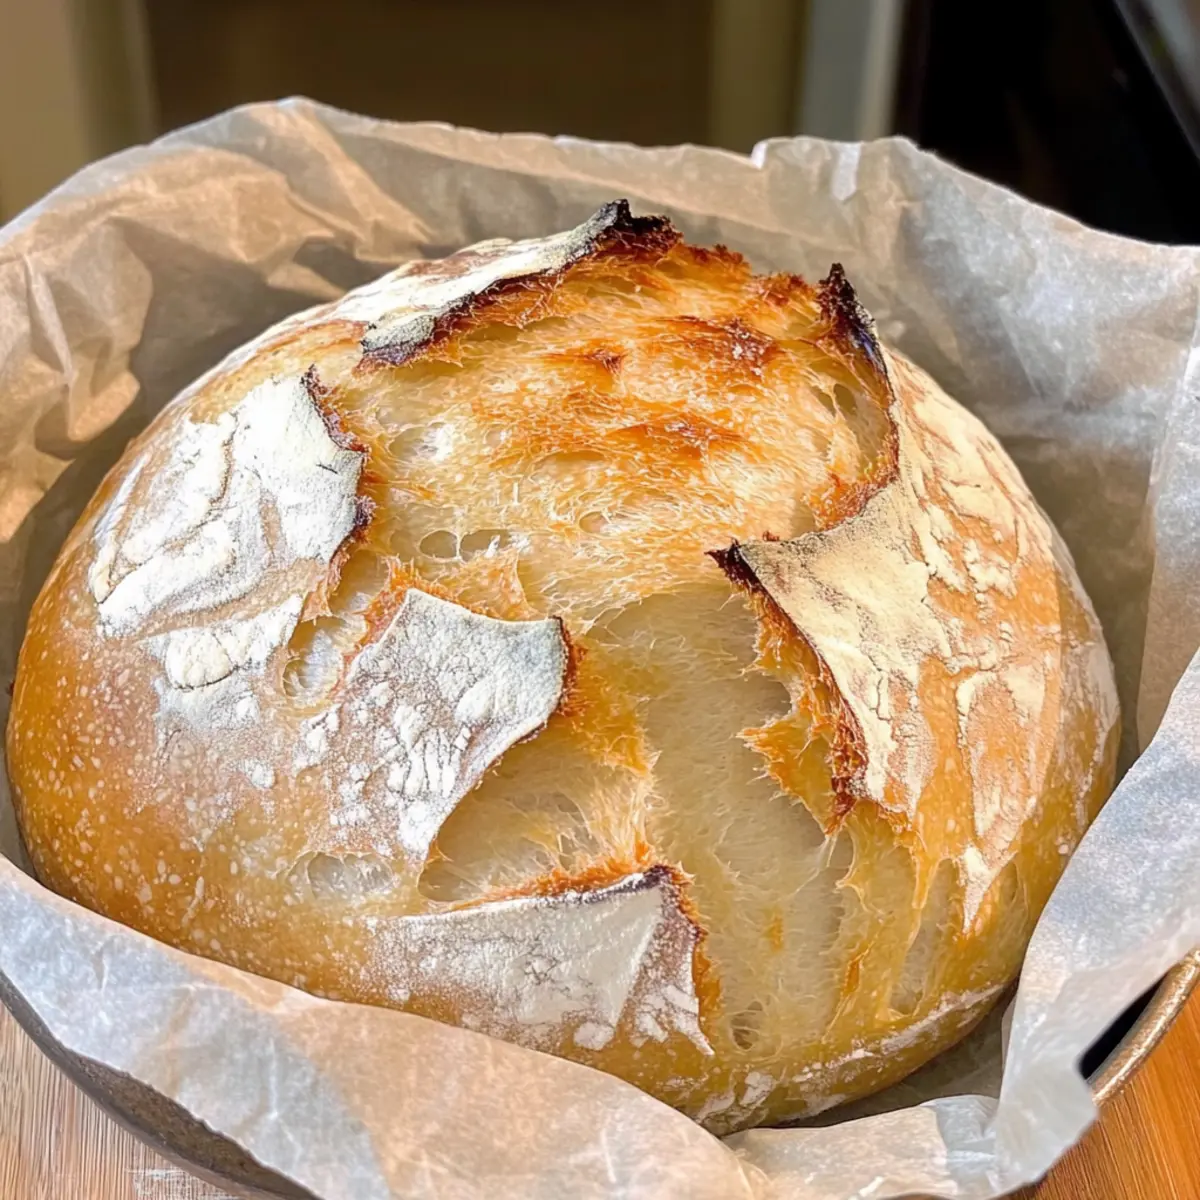
Carefully remove the hot Dutch oven from the oven using oven mitts. If desired, line the Dutch oven with parchment paper for easier removal of the bread. Gently place the rested dough into the hot Dutch oven, cover it with the lid, and return it to the oven. This process locks in steam, essential for a crusty exterior on your No-Knead Rustic Artisan Bread.
Step 6: Bake
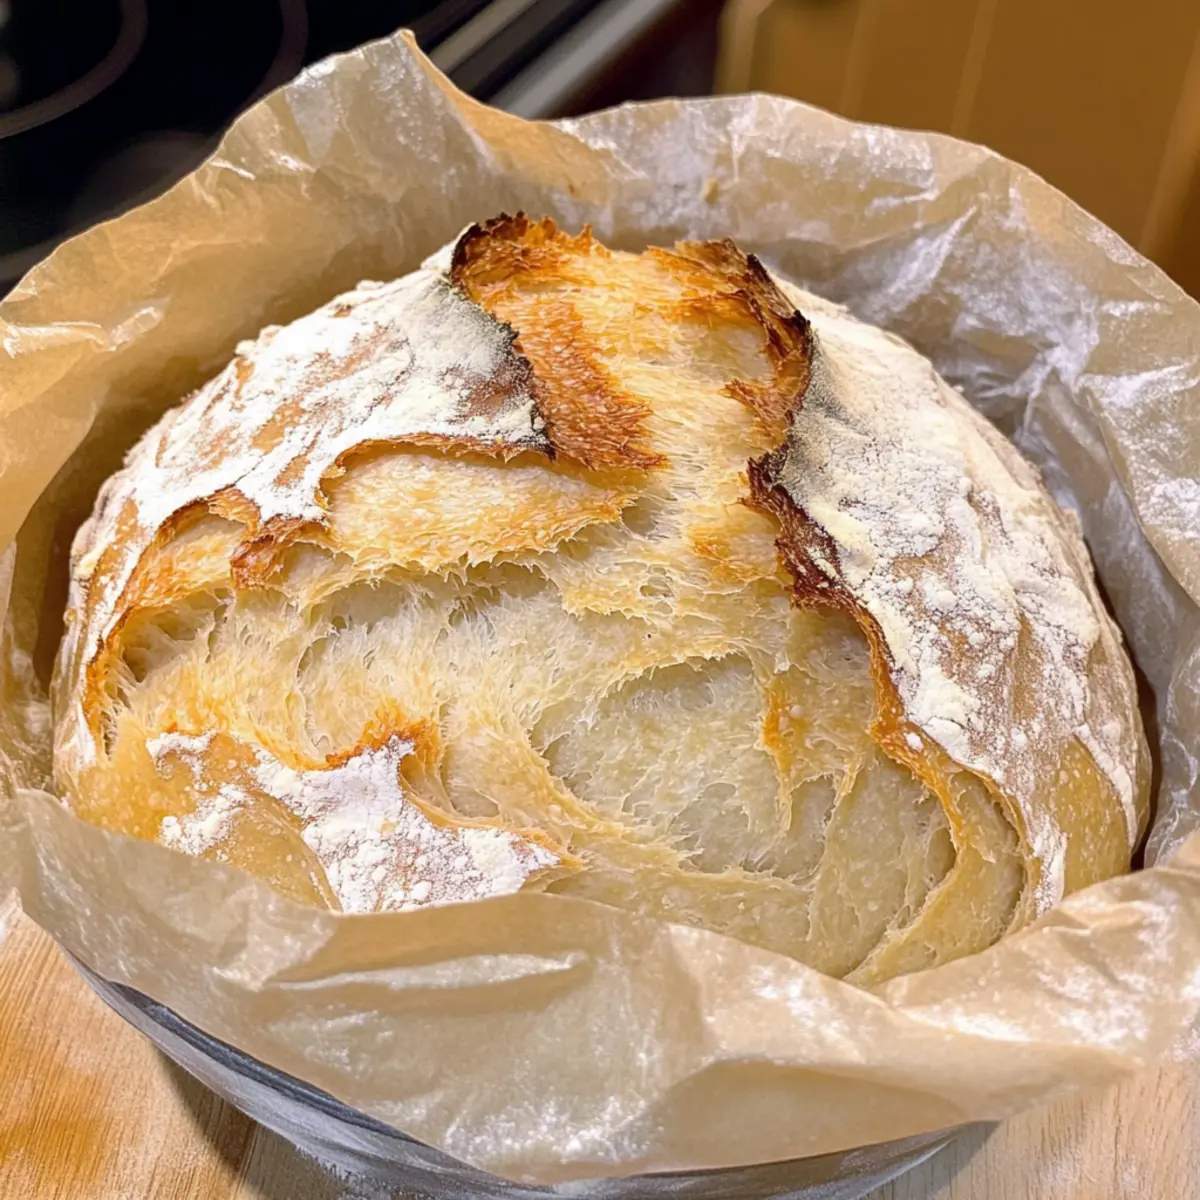
Bake the bread covered for 30 minutes, allowing the steam to create a beautiful crust. After this time, carefully remove the lid and continue baking for an additional 10–15 minutes, until the bread's surface is a deep golden brown and sounds hollow when tapped on the bottom. Your kitchen will be filled with a marvelous aroma—indicative of a successful No-Knead Rustic Artisan Bread!
Step 7: Cool
Once baked to golden perfection, carefully transfer the bread to a wire rack using a spatula or tongs. Allow the loaf to cool for at least 30 minutes before slicing. This cooling time helps the inside finish setting up, ensuring that each slice remains perfectly chewy and soft. Enjoy the enticing smell of your freshly baked No-Knead Rustic Artisan Bread wafting through your home!
Expert Tips for No-Knead Rustic Artisan Bread
Perfect Dutch Oven: Ensure you use a 3.5-quart or larger Dutch oven to create the ideal steam environment for your No-Knead Rustic Artisan Bread.
Fermentation Time: Aim for a fermentation time of 12 to 15 hours. Going longer than 18 hours can lead to overly sour bread, so keep an eye on that clock!
Gentle Handling: When shaping the dough, remember to be gentle. Overworking can deflate air bubbles, affecting the texture of the final loaf.
Temperature Matters: If your kitchen is cold, you might want to let the dough ferment a bit longer. Warmer environments help activate yeast effectively.
Add Flavor: For an extra kick, consider folding in dried herbs or olives into the dough before fermentation. It adds delightful flavor to your No-Knead Rustic Artisan Bread!
How to Store and Freeze No-Knead Rustic Artisan Bread
Room Temperature: Store your No-Knead Rustic Artisan Bread in a paper bag at room temperature for up to 3 days to maintain its crusty texture. Avoid plastic bags as they trap moisture.
Freezer: For long-term storage, wrap the bread tightly in plastic wrap and then in aluminum foil. It can be frozen for up to 2 months without losing flavor or texture.
Reheating: To enjoy your frozen bread, let it thaw at room temperature for a couple of hours. You can then reheat it in a preheated oven at 375°F for about 10-15 minutes to revive the crust.
Dough Storage: If you prefer to bake later, refrigerate the dough after the fermentation step for up to 3 days. Bring it to room temperature for about 1 hour before baking to ensure the best rise.
No-Knead Rustic Artisan Bread Variations
Feel free to explore these fun ideas to personalize your No-Knead Rustic Artisan Bread for a unique twist!
-
Herb-Infused: Fold in finely chopped fresh herbs like rosemary or thyme before fermentation for aromatic flavor.
This simple addition transforms your bread into a savory delight that pairs beautifully with olive oil or butter. -
Garlic Lover's Treat: Add minced garlic or garlic powder to the dough when mixing for a tasty, fragrant experience.
This flavor boost infuses warmth and depth, turning your bread into the star of any meal. -
Olive-Twist: Knead in chopped olives—green or black—before fermentation for a Mediterranean vibe.
Each bite bursts with briny goodness, perfect for dipping in balsamic vinegar! -
Whole Wheat Option: Swap half of the all-purpose flour for whole wheat flour for added nutrition.
This swap brings a nuttier flavor and a heartier texture to your artisan bread, making it wholesome. -
Cheese Delight: Mix in shredded cheese, such as cheddar or feta, into the dough for a rich flavor infusion.
As it bakes, the cheese creates an irresistible crust that complements the chewy interior perfectly. -
Spicy Kick: Sprinkle in red pepper flakes to add a touch of heat to your No-Knead Rustic Artisan Bread.
This fun twist gives a kick that livens up the bread—perfect for accompanying soups or stews! -
Sweet & Savory: Incorporate a tablespoon of honey or maple syrup into the dough for a hint of sweetness.
Serve it alongside soups or as the base for a delicious sandwich to find the perfect balance.
For delicious ways to enjoy your bread, consider serving it with a warming bowl of soup or alongside a fresh salad. And if you're up for a sweeter journey, check out my delightful Cinnamon Crunch Bread! There’s always something new to taste and love!
What to Serve with No-Knead Rustic Artisan Bread
Experience a heartfelt dining moment as you share slices of warm, crusty bread paired with delightful accompaniments that enhance every bite.
-
Creamy Tomato Soup: This classic combination warms the soul, balancing the crusty bread with silky tomatoes and herbs. Perfect for dipping!
-
Roasted Garlic Butter: A smear of this rich spread elevates each slice, offering a savory, garlic-infused delight that's irresistible.
-
Simple Arugula Salad: The peppery freshness of arugula adds contrast, brightening the meal and complementing the bread's hearty texture beautifully.
-
Herbed Olive Oil Dip: A mix of high-quality olive oil with fresh herbs deepens flavor and invites a delightful afternoon of bread dipping.
-
Savory Cheese Platter: Select a variety of cheeses like aged cheddar or brie for a rich pairing. Their complex flavors harmonize beautifully with the bread's rustic notes.
-
Vegetable Lentil Soup: This hearty soup serves up a nourishing combination, with beans and veggies offering protein and fiber alongside your bread, making a complete meal.
-
Homemade Jam: Spread a layer of sweet fruit jam to create an unexpected yet delightful contrast that makes for a perfect breakfast or cozy snack option.
-
Red Wine: A glass of full-bodied red wine complements the bread's rich flavor while elevating an evening gathering around the table.
Indulge your senses with these pairings next time you bake your delightful No-Knead Rustic Artisan Bread!
Make Ahead Options
These No-Knead Rustic Artisan Bread preparations are perfect for busy home cooks wanting to save time without compromising flavor! You can mix the dough and allow it to ferment up to 18 hours in advance—simply cover it tightly at room temperature for a delightful rise and flavor development. If you need to prep even further ahead, the shaped dough can be placed in the refrigerator for up to 3 days; just remember to bring it to room temperature (about 1 hour) before baking to ensure a proper rise. With these steps, you'll create a beautiful loaf just as delicious as if you had baked it fresh!
No-Knead Rustic Artisan Bread Recipe FAQs
How do I choose the right flour for my No-Knead Rustic Artisan Bread?
Absolutely! Using all-purpose flour is best for this recipe as it provides the structure and texture we desire. However, you can experiment with bread flour for an even chewier crust, or a whole wheat flour for a nuttier flavor. Just ensure to balance it by retaining some all-purpose flour for proper texture.
How long can I store No-Knead Rustic Artisan Bread?
You can keep your No-Knead Rustic Artisan Bread in a paper bag at room temperature for about 3 days. This method helps retain its delightful crustiness. If you need to store it longer, wrap it tightly in plastic wrap and then in aluminum foil to freeze for up to 2 months without losing quality.
Can I freeze my No-Knead Rustic Artisan Bread? How do I do that?
Absolutely! To freeze, first, let the bread cool completely after baking. Then, wrap it tightly in plastic wrap followed by aluminum foil to prevent freezer burn. For best results, slice the bread before freezing to make reheating easier later! When you’re ready to enjoy, just thaw it at room temperature for a couple of hours, then reheat in a 375°F oven for about 10-15 minutes to bring back that fresh-baked taste.
What do I do if my dough doesn’t rise as expected?
If your dough hasn’t risen properly, check the freshness of your yeast first; it should be active. If your yeast is good, consider the temperature of your environment. If it's too cold, the dough may need more time to ferment. You could also create a warmer environment by placing the bowl in a slightly warmed oven (turned off) or a sunny spot. Sometimes patience is key—don’t rush the process!
Is No-Knead Rustic Artisan Bread suitable for those with gluten allergies?
Unfortunately, this recipe uses wheat flour, which contains gluten. However, you can try using a gluten-free flour blend, but keep in mind the texture and flavor may differ. Look for a blend designed for bread-making to help get a better rise and texture. Always check with a medical professional regarding dietary restrictions.
What kind of toppings or mix-ins work well for No-Knead Rustic Artisan Bread?
Very! You can add wonderful flavors by folding in ingredients like dried herbs (such as rosemary or thyme), olives, or even roasted garlic into your dough before the fermentation step. This adds a delicious twist to your No-Knead Rustic Artisan Bread, making it even more special!
No-Knead Rustic Artisan Bread: Effortless Flavor Awaits
Ingredients
Equipment
Method
- In a large mixing bowl, whisk together flour, salt, and yeast. Gradually add water, stirring until a sticky dough forms.
- Cover the bowl tightly and let sit at room temperature for 12 to 15 hours.
- About 30 minutes before baking, preheat your Dutch oven to 450°F.
- Flour a clean surface, transfer the dough, and gently shape into a round. Cover and rest for 30 minutes.
- Carefully put the shaped dough into the hot Dutch oven, cover, and bake.
- Bake covered for 30 minutes, then uncovered for an additional 10-15 minutes until golden brown.
- Transfer to a wire rack and cool for at least 30 minutes before slicing.


Leave a Reply