
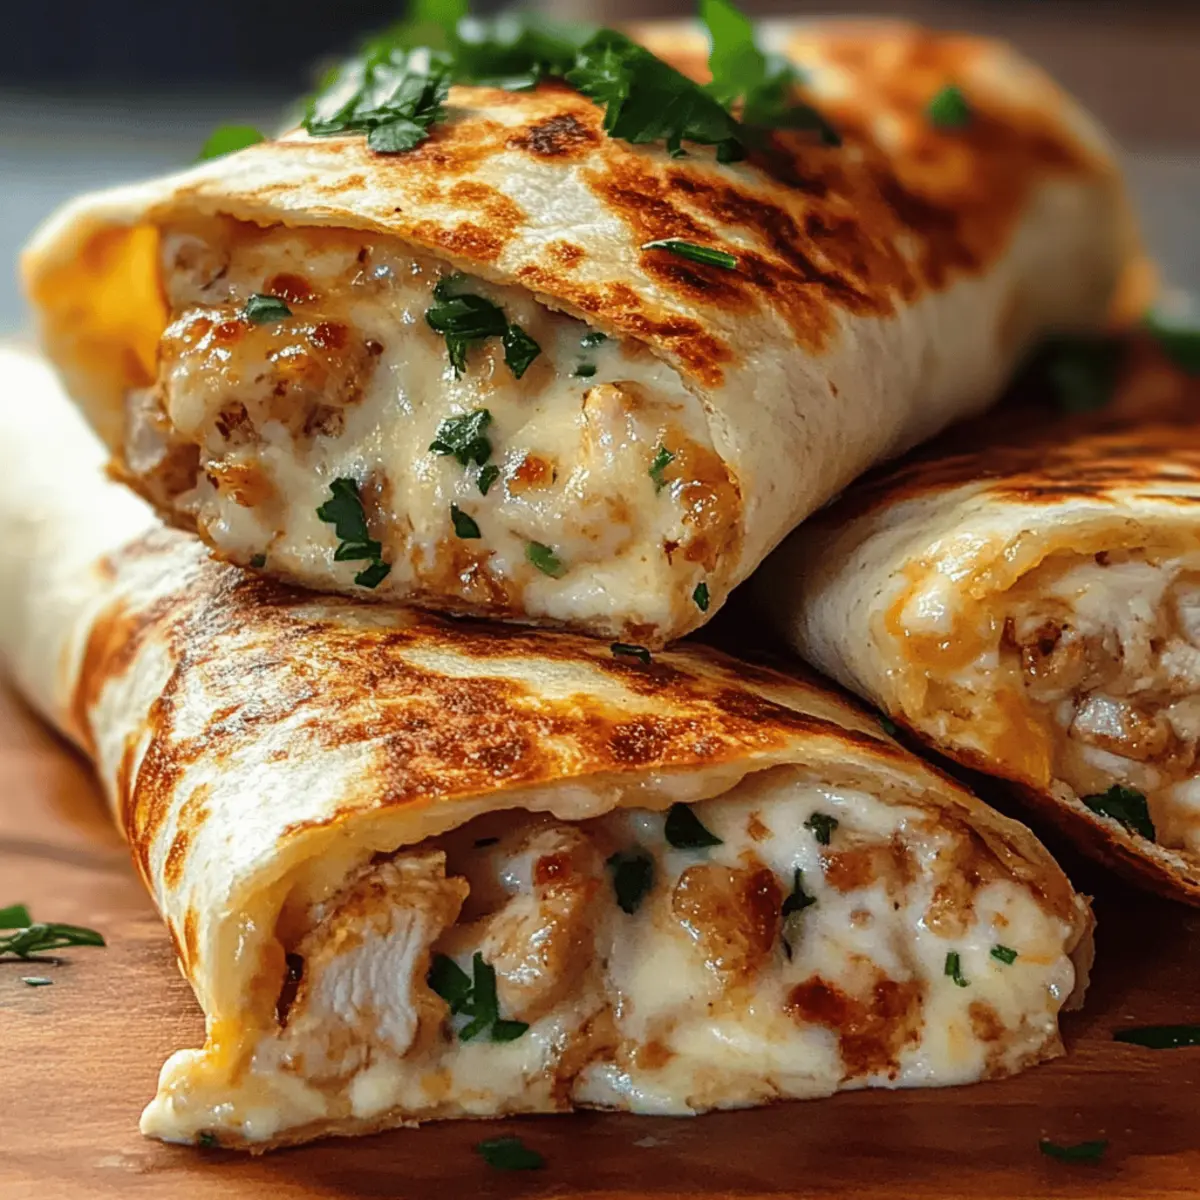
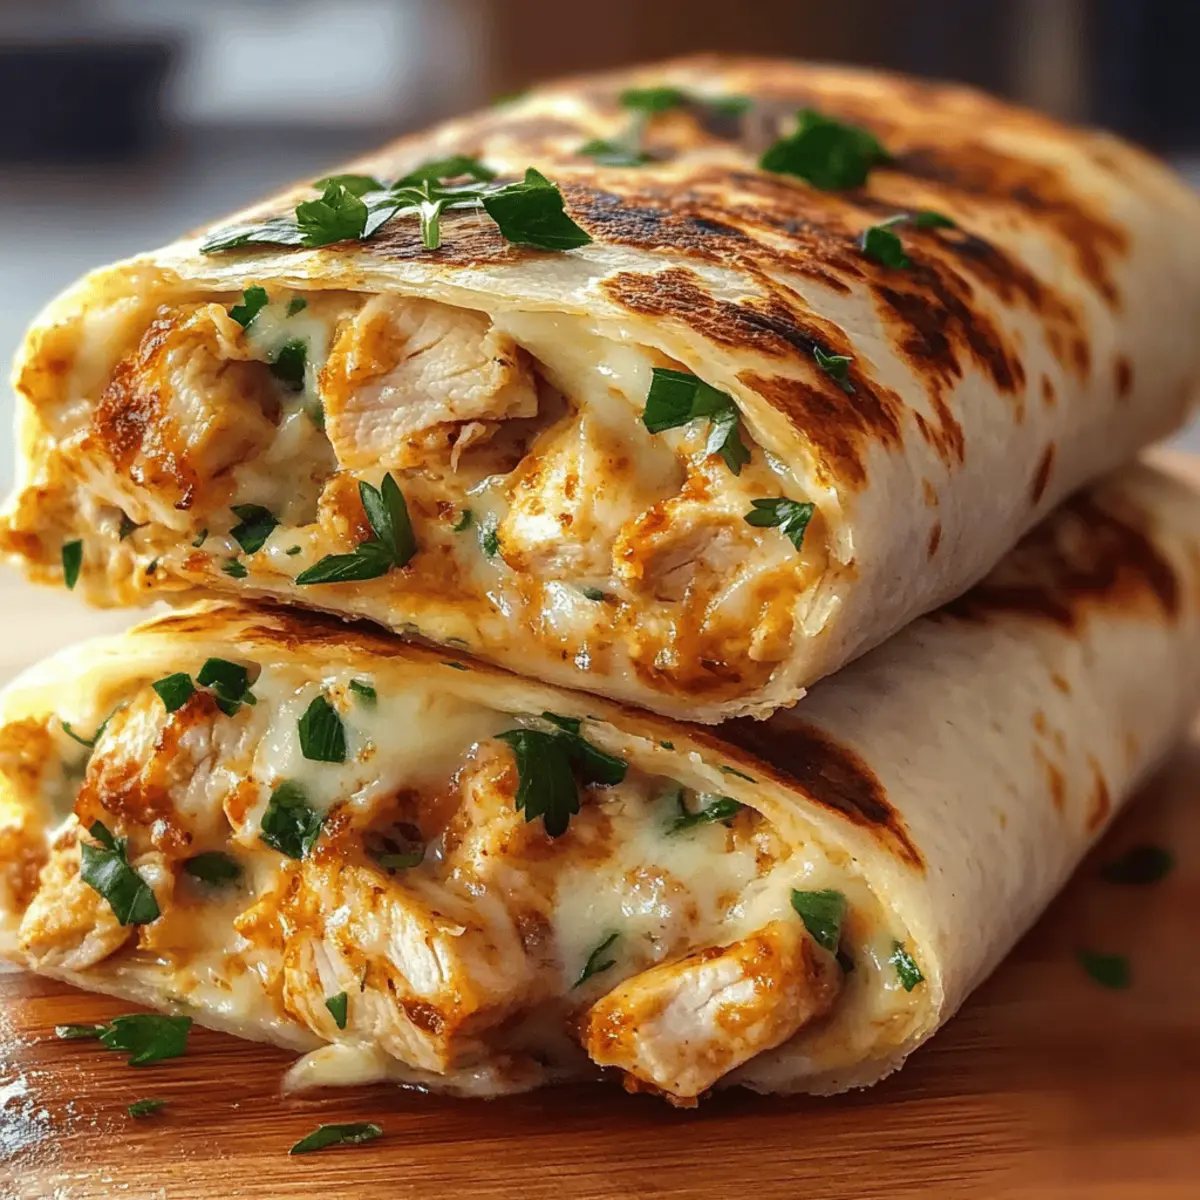
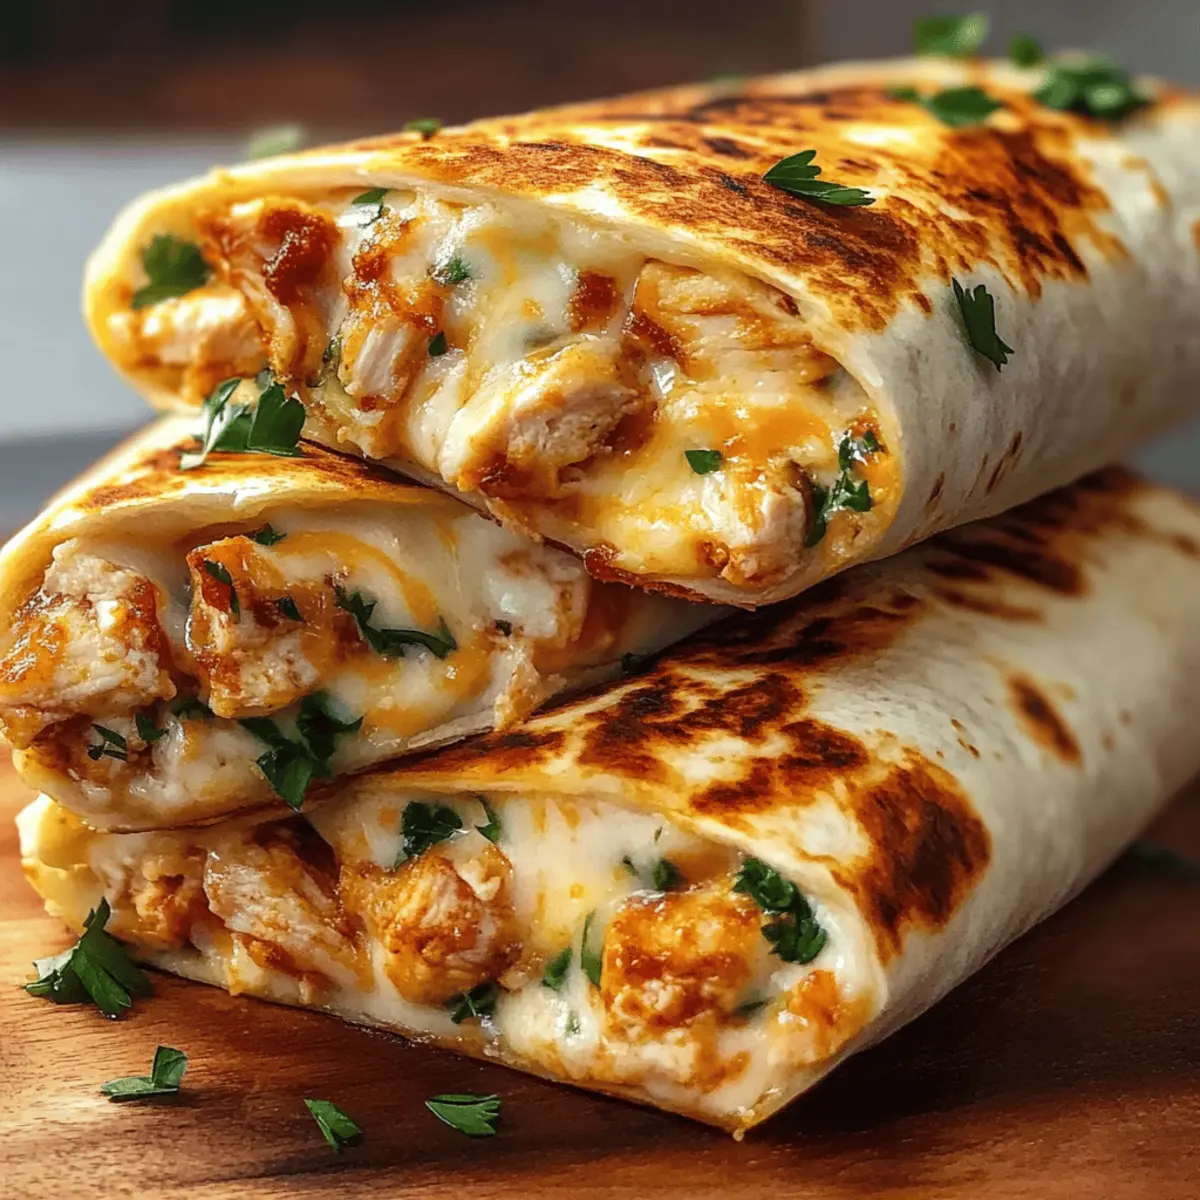
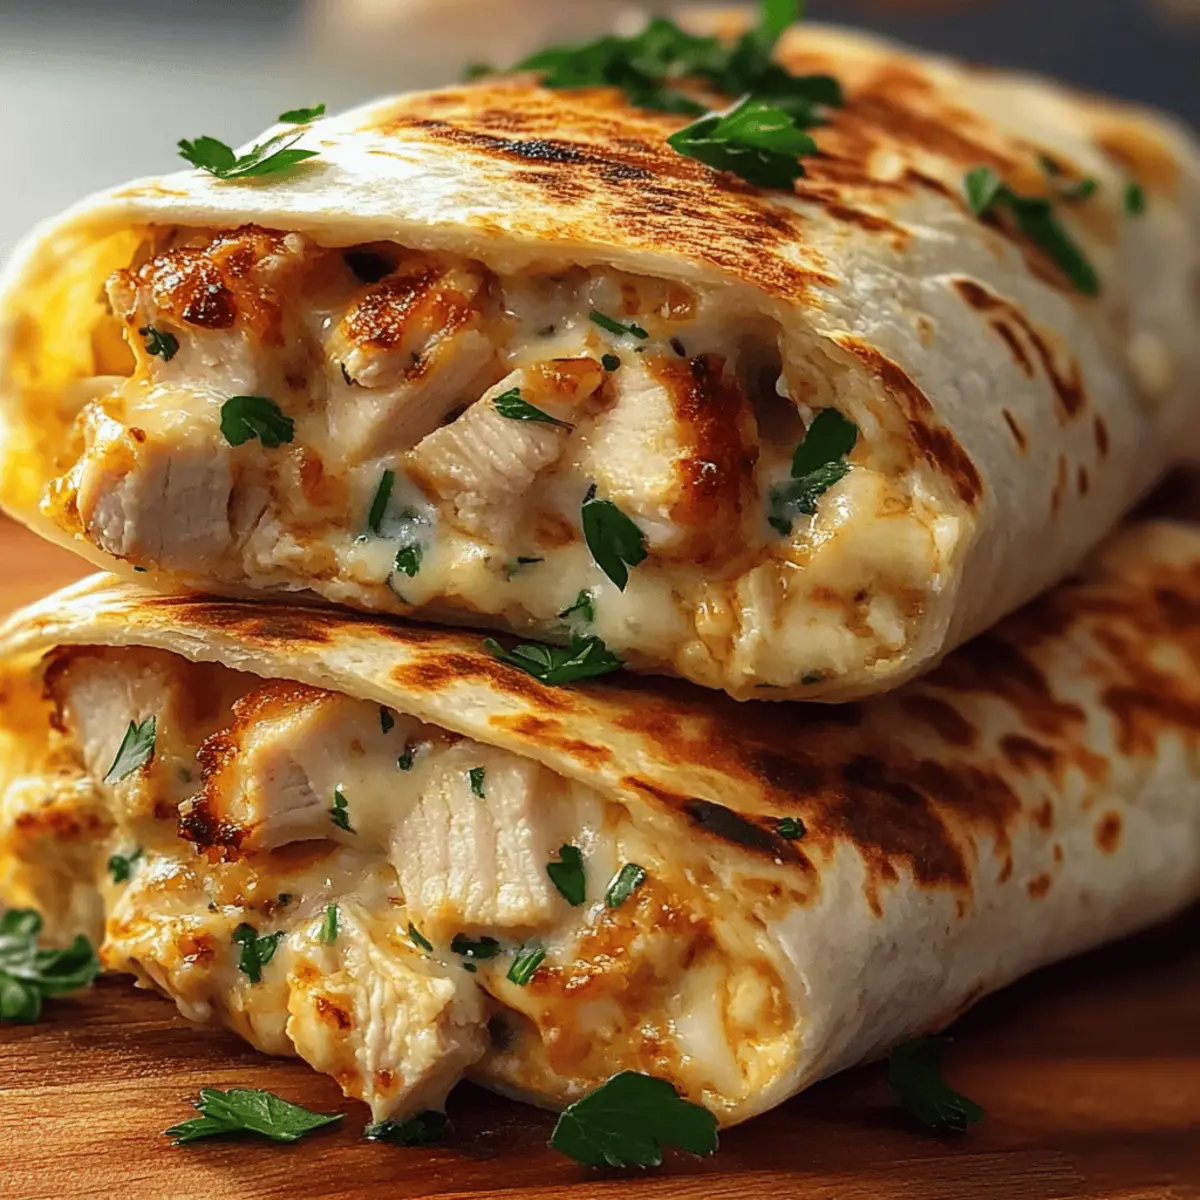
As I pulled the golden, crispy wraps off the grill, the irresistible aroma of sautéed garlic wafted through my kitchen, instantly bringing back memories of cozy family dinners. These Cheesy Garlic Chicken Wraps are a game changer for anyone looking for a quick weeknight dinner that doesn't skimp on comfort. Packed with ooey-gooey cheesy garlic chicken, they're not only a delightful treat for the taste buds but also incredibly customizable for any dietary needs—gluten-free options included! Whether you're juggling a busy schedule or just craving something hearty, these wraps deliver a satisfying meal in less than 30 minutes. What fillings will you choose to make yours special?
Why Will You Love Ooey-Gooey Wraps?
Quick and Easy: This recipe shines as a lightning-fast solution for weeknight dinners, taking less than 30 minutes from start to finish.
Melt-in-Your-Mouth Goodness: Each bite bursts with ooey-gooey cheesy chicken, weaving together the rich flavors of garlic and perfectly seasoned meat.
Customizable for Everyone: Feel free to swap the chicken for ground turkey or add your favorite veggies like spinach or mushrooms—make it yours!
Family-Friendly Appeal: Kids and adults alike will be reaching for seconds, making them a favorite at family gatherings or casual lunches.
Meal Prep Dream: These wraps can be made in advance and stored, ready for a quick reheat during busy weekdays. Serve alongside a fresh salad or seasoned potato wedges for a satisfying meal!
Ooey-Gooey Cheesy Garlic Chicken Ingredients
For the Filling
• Chicken – Use rotisserie chicken for a quick and easy option full of flavor.
• Olive Oil – Ideal for sautéing garlic and chicken; it adds healthy fats to the dish.
• Minced Garlic – Sauté until golden to elevate the flavor, offering that delightful garlicky aroma.
• Cheeses (e.g., mozzarella, cheddar) – Choose melty varieties for a creamy texture; feel free to substitute with gouda for extra richness!
For the Wraps
• Tortillas – The ideal base; opt for gluten-free or whole wheat varieties for a healthier twist.
• Butter – Use for grilling the wraps, ensuring a crispy, golden-brown exterior.
• Chopped Parsley (optional) – Adds a splash of freshness as a lovely garnish.
These ingredients come together to create ooey-gooey cheesy garlic chicken wraps that everyone will crave!
Step‑by‑Step Instructions for Ooey-Gooey Cheesy Garlic Chicken Wraps
Step 1: Cook Chicken
Begin by seasoning your rotisserie chicken with salt and pepper to taste. Preheat your oven to 375°F (190°C) if you choose to bake. In a skillet over medium heat, add the chicken, cooking until heated through, about 5 minutes. Once ready, dice the chicken into bite-sized pieces, ensuring it’s juicy and tender for the ooey-gooey cheesy garlic chicken wraps.
Step 2: Sauté Garlic
In a large skillet, heat 2 tablespoons of olive oil over medium heat. Add 3-4 teaspoons of minced garlic and sauté for about 30 seconds to 1 minute, until it turns golden and fragrant—be careful not to burn it. The aroma will fill your kitchen, creating a delightful base for your cheesy garlic chicken mix.
Step 3: Combine Ingredients
Stir in the diced chicken to the sautéed garlic in the skillet, tossing it to coat evenly. Remove the skillet from heat, and while the mixture is still warm, fold in 1 cup of shredded mozzarella and cheddar cheese. Stir until the cheeses melt beautifully together with the chicken and garlic, creating that ooey-gooey filling you crave.
Step 4: Assemble Wraps
Take a tortilla and spoon about a generous ½ cup of the cheesy chicken mixture onto the center. Fold the sides of the tortilla inward and roll it tightly from the bottom up to secure the filling. Make sure each wrap is snug so the ooey-gooey cheesy garlic chicken stays perfectly encased.
Step 5: Grill Wraps
Melt 1 tablespoon of butter in a cleaned skillet over medium heat. Once melted, place the assembled wraps seam-side down on the skillet. Grill for about 2-3 minutes until they turn golden brown and crisp. Carefully flip the wraps and grill the other side for an additional 2-3 minutes, ensuring a deliciously crispy exterior.
Step 6: Serve
After grilling, remove the wraps from the skillet and let them rest for a couple of minutes. This allows the filling to set slightly. Slice the wraps in half to reveal the ooey-gooey cheesy garlic chicken inside, and garnish with chopped parsley if desired. Serve warm for the best experience!
Expert Tips for Ooey-Gooey Cheesy Garlic Chicken
- Season Well: Make sure to season your chicken with salt and pepper before cooking. This enhances the flavor of the ooey-gooey cheesy garlic chicken filling.
- Add Cheese While Warm: For the best melting effect, mix cheese into the warm chicken and garlic mixture right after removing it from the heat.
- Grill in Batches: Avoid overcrowding the skillet when grilling wraps. Cook in smaller batches for an even, golden-brown crispiness.
- Proper Tortilla Technique: Fold the sides of the tortilla tightly to prevent the cheesy filling from spilling out during grilling.
- Use Skillet for Reheating: For leftover wraps, reheat in a skillet instead of the microwave to keep the exterior crispy and delightful.
- Get Creative: Feel free to customize with different veggies or cheeses; this adds nutritional variety to your ooey-gooey cheesy garlic chicken wraps!
How to Store and Freeze Cheesy Garlic Chicken Wraps
Fridge: Place leftover wraps in an airtight container; they will stay fresh for up to 3 days. Reheat in a skillet for a crispy texture.
Freezer: Wrap each cheesy garlic chicken wrap in plastic wrap and then foil. They can be frozen for up to 3 months. Thaw in the fridge before reheating.
Room Temperature: It’s best to avoid leaving wraps at room temperature for more than 2 hours to prevent any food safety issues.
Reheating: For best results, reheat wraps in a skillet over medium heat, turning until heated through and crispy again. Enjoy the ooey-gooey cheese!
Make Ahead Options
These Ooey-Gooey Cheesy Garlic Chicken Wraps are a fantastic choice for meal prep, saving you time on busy weeknights! You can prepare the cheesy chicken filling up to 3 days in advance by cooking and combining the chicken, cheese, and garlic as directed, then storing it in an airtight container in the refrigerator. When you're ready to enjoy your wraps, simply reheat the filling in a skillet for a few minutes until hot. Spoon it onto tortillas, roll them up, and grill as instructed for that crispy, golden exterior. This way, you’ll maintain the wraps' delightful texture and flavor, making it feel just as fresh and delicious!
What to Serve with Cheesy Garlic Chicken Wraps?
These warm, delightful wraps beckon for perfect companions that elevate your meal experience and tantalize your taste buds.
-
Fresh Green Salad: A crisp, refreshing salad loaded with seasonal greens brightens the palate and balances the rich cheese and garlic flavors.
-
Seasoned Potato Wedges: Golden, crispy potato wedges seasoned with herbs offer a satisfying crunch that pairs beautifully with the ooey-gooey cheesy filling.
-
Tomato Soup: A creamy, tangy tomato soup serves as a comforting dip for your wraps, enhancing the savory experience with every bite.
-
Grilled Vegetables: Smoky, charred veggies like bell peppers and zucchini add a nice textural contrast while infusing a burst of freshness with each wrap.
-
Guacamole: Creamy guacamole brings a rich, buttery texture that complements the savory chicken wraps while adding a delightful flavor twist.
-
Sparkling Lemonade: A glass of refreshing sparkling lemonade cleanses the palate, making it a perfect beverage choice to sip alongside your wraps.
-
Fruit Salsa: A sweet and spicy fruit salsa offers a refreshing burst of flavor that pairs wonderfully with the savory garlic chicken, making each bite exciting.
-
Coleslaw: Creamy coleslaw with a tangy dressing adds crunch and balances the richness of the cheesy chicken, creating a harmonious meal experience.
Variations & Substitutions for Ooey-Gooey Cheesy Garlic Chicken
Customize your wraps to suit your tastes and dietary preferences, because cooking should be a joyful adventure in flavor!
- Turkey Swap: Replace chicken with cooked ground turkey for a lighter protein option that still offers delicious flavor and texture.
- Veggie Boost: Add sautéed spinach, mushrooms, or diced bell peppers for extra nutrients and color—each veggie brings a delightful twist to the wrap!
- Spicy Kick: Toss in sliced jalapeños or a pinch of crushed red pepper to your chicken mixture. This adds a fiery kick that’s perfect for those who crave heat!
- Dairy-Free Delight: Use non-dairy cheese alternatives to make the wraps dairy-free while still enjoying that ooey-gooey filling. Try cashew cream for creaminess!
- Herb Infusion: Mix in fresh herbs, like cilantro or basil, for a burst of freshness that elevates the flavors. It’s a wonderful way to make the wraps feel vibrant and seasonal.
- Flavored Tortillas: Experiment with flavored tortillas such as spinach or sun-dried tomato for extra flair and taste. This simple swap adds a fun visual element!
- Crispy Crunch: For added texture, sprinkle some crushed tortilla chips inside the wrap before grilling. They provide a satisfying crunch that contrasts beautifully with the cheesy filling.
- Asian Twist: Try using hoisin sauce mixed into the chicken mixture for a sweet, savory flavor profile reminiscent of your favorite Asian dishes!
These variations offer endless possibilities, making your cooking experience as delightful as the meal itself. If you’re feeling adventurous, consider trying out these wraps alongside my Garlic Butter Steak or perhaps whip up some Cheesy Pepperoni Pizza for a fun family dinner!
Cheesy Garlic Chicken Wraps Recipe FAQs
How do I select the best chicken for my wraps?
Absolutely! Using rotisserie chicken not only saves time but also adds rich flavor. If you're using raw chicken, look for boneless, skinless breasts or thighs. They should be firm and pink without any dark spots or an off smell.
How should I store leftover wraps?
It’s simple! Place your leftover wraps in an airtight container and store them in the fridge for up to 3 days. To maintain their crispness when reheating, avoid the microwave and use a skillet instead—just a couple of minutes on medium heat should do the trick!
Can I freeze these cheesy garlic chicken wraps?
Yes, you can! Wrap each cooled cheesy garlic chicken wrap in plastic wrap, then in foil to prevent freezer burn. They can be frozen for up to 3 months. When you’re ready to eat, thaw them in the fridge overnight before reheating to ensure they heat evenly.
What if my wraps are soggy after grilling?
No worries! A soggy wrap can happen if there’s too much moisture in your filling. Make sure you properly sauté the garlic and chicken, ensuring excess moisture evaporates. Also, be mindful when assembling your wraps—don’t overfill them, which helps maintain that perfect crispy texture!
Are there any dietary considerations for pets or allergies?
Very! While these wraps are delicious for humans, they contain cheese and garlic, both of which can be harmful to pets. If you have allergies, you can easily substitute ingredients—use dairy-free cheese or skip garlic as needed to accommodate different dietary needs.
How can I customize my wraps for more flavor?
The more the merrier! You can add in your favorite vegetables like spinach or mushrooms for extra nutrition. For some heat, try diced jalapeños or a sprinkle of crushed red pepper. Experimenting with different cheese types, like pepper jack or gouda, adds a delightful twist to your cheesy garlic chicken wraps!
Ooey-Gooey Cheesy Garlic Chicken Wraps You’ll Crave
Ingredients
Equipment
Method
- Season your rotisserie chicken with salt and pepper. Preheat oven to 375°F (190°C) if baking. In a skillet over medium heat, cook chicken until heated through, about 5 minutes. Dice into bite-sized pieces.
- Heat olive oil in a large skillet over medium heat. Add minced garlic and sauté for 30 seconds to 1 minute until golden and fragrant.
- Stir in diced chicken with sautéed garlic. Remove from heat and fold in shredded cheeses until melted together.
- Place about ½ cup of the cheesy chicken mixture onto a tortilla. Fold sides inward and roll tightly to secure the filling.
- Melt butter in a skillet. Grill assembled wraps seam-side down for 2-3 minutes until golden brown, flip and cook the other side for another 2-3 minutes.
- Let wraps rest for a couple minutes. Slice in half and garnish with chopped parsley if desired. Serve warm.
Leave a Reply