
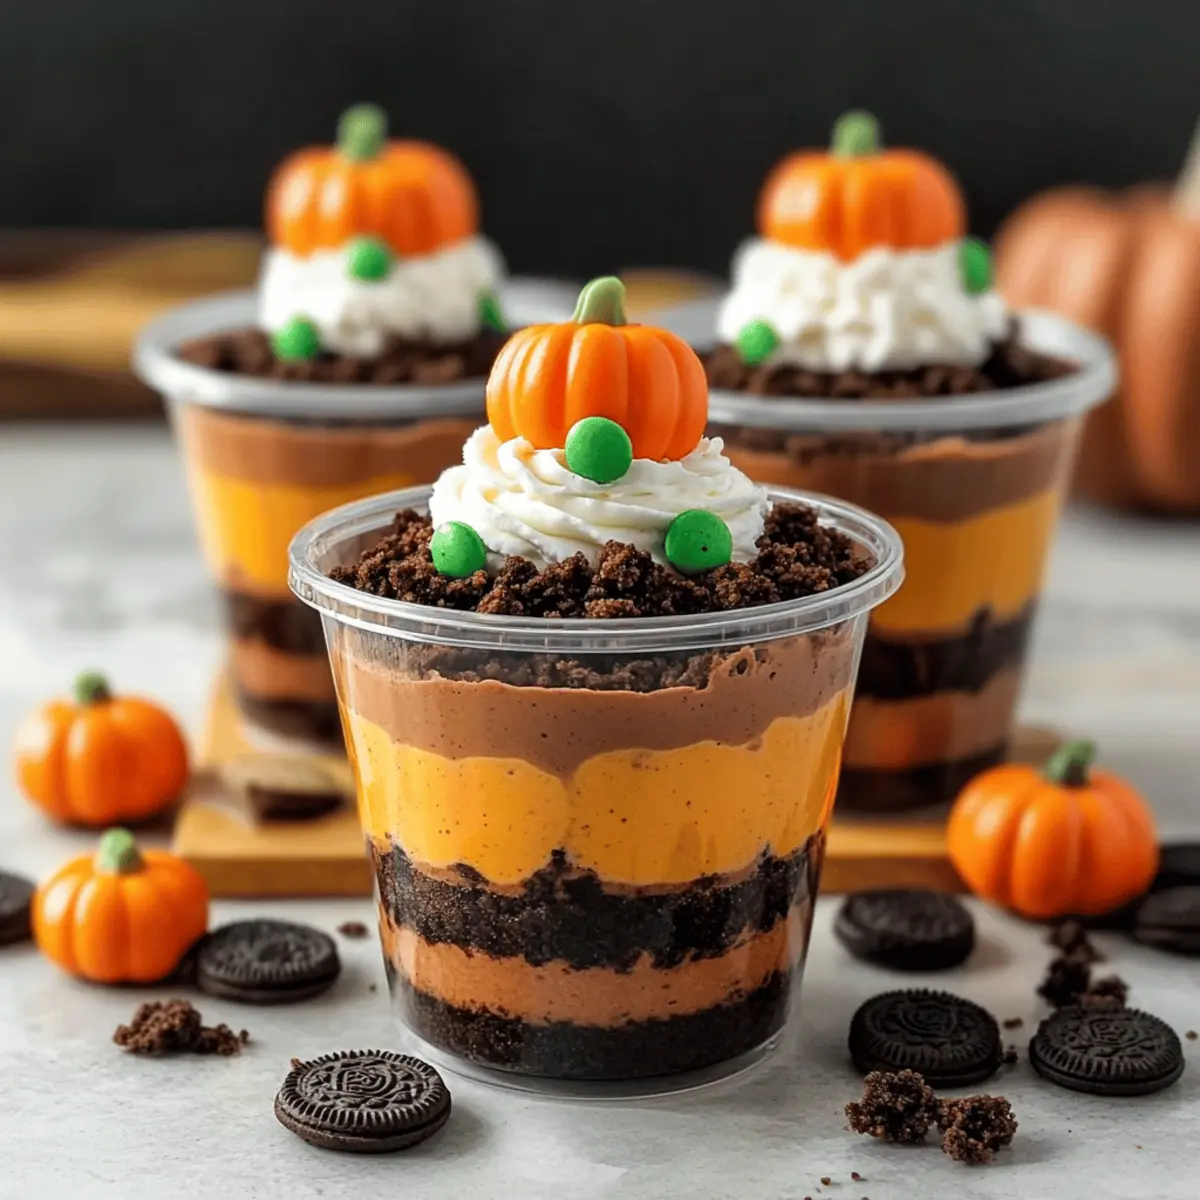
As autumn settles in, I find myself diving headfirst into the sweet nostalgia of childhood treats. One dessert that instantly brings smiles is the whimsical Pumpkin Patch Dirt Cups. This no-bake indulgence is a playful twist on traditional layered desserts, blending rich, creamy chocolate pudding with crispy crushed Oreos, all topped with adorable candy pumpkins. Not only do these cups make for a stunning presentation at your fall gatherings, but they’re also a breeze to whip up, allowing you to spend more time enjoying the company of loved ones. With their festive flair, these Pumpkin Patch Dirt Cups are the perfect way to celebrate Halloween and delight anyone tired of the same old fast food. Curious about how to make these delightful treats? Let's dive into the recipe!
Why Make Pumpkin Patch Dirt Cups?
Simple, no-bake goodness: Whip up these delightful cups without any baking skills needed. Just mix, layer, and you’re done!
Festive appeal: With their vibrant colors and cute candy pumpkins, these desserts are sure to impress at any Halloween gathering.
Customizable options: Enjoy the freedom to tweak flavors or substitute ingredients, making them accessible to everyone, including those who prefer dairy-free or gluten-free options.
Family-friendly fun: Kids will love helping to assemble these layers, turning dessert time into a creative activity.
Satisfying textures: The combination of creamy pudding and crunchy Oreos provides an irresistible contrast, making each spoonful exciting.
For more autumn-inspired treats, check out my Pasta Bake Pumpkin or a refreshing Pumpkin Spice Smoothie, perfect for pairing with these Dirt Cups!
Pumpkin Patch Dirt Cups Ingredients
For the Pudding:
• Chocolate Pudding Mix – Provides the creamy base; for a vegan option, swap for dairy-free pudding.
• Milk – Aids in mixing the pudding; try almond or coconut milk for a dairy-free alternative.
• Whipped Cream – Adds lightness and creaminess; use dairy-free whipped cream for a vegan version.
For the Layers:
• Oreos (or gluten-free cookies) – Provides texture and flavor; gluten-free cookies can easily accommodate dietary restrictions.
For the Decoration:
• Candy Pumpkins – Decorative elements that enhance the pumpkin patch theme; consider using gummy worms for an added spooky twist.
Step‑by‑Step Instructions for Pumpkin Patch Dirt Cups
Step 1: Prepare the Pudding
In a mixing bowl, combine the chocolate pudding mix with 2 cups of milk. Whisk vigorously for about 2 minutes until the mixture is fully smooth and begins to thicken. Let it sit for 5 minutes to achieve the desired creamy consistency while you gather the rest of your ingredients.
Step 2: Fold in Whipped Cream
Once the pudding has thickened, gently fold in 1 cup of whipped cream to the pudding mixture using a rubber spatula. Make sure to incorporate it slowly to maintain the lightness of the whipped cream. You’ll know it's ready when the mixture is smooth and fluffy, creating a luscious base for your Pumpkin Patch Dirt Cups.
Step 3: Layer the Cups
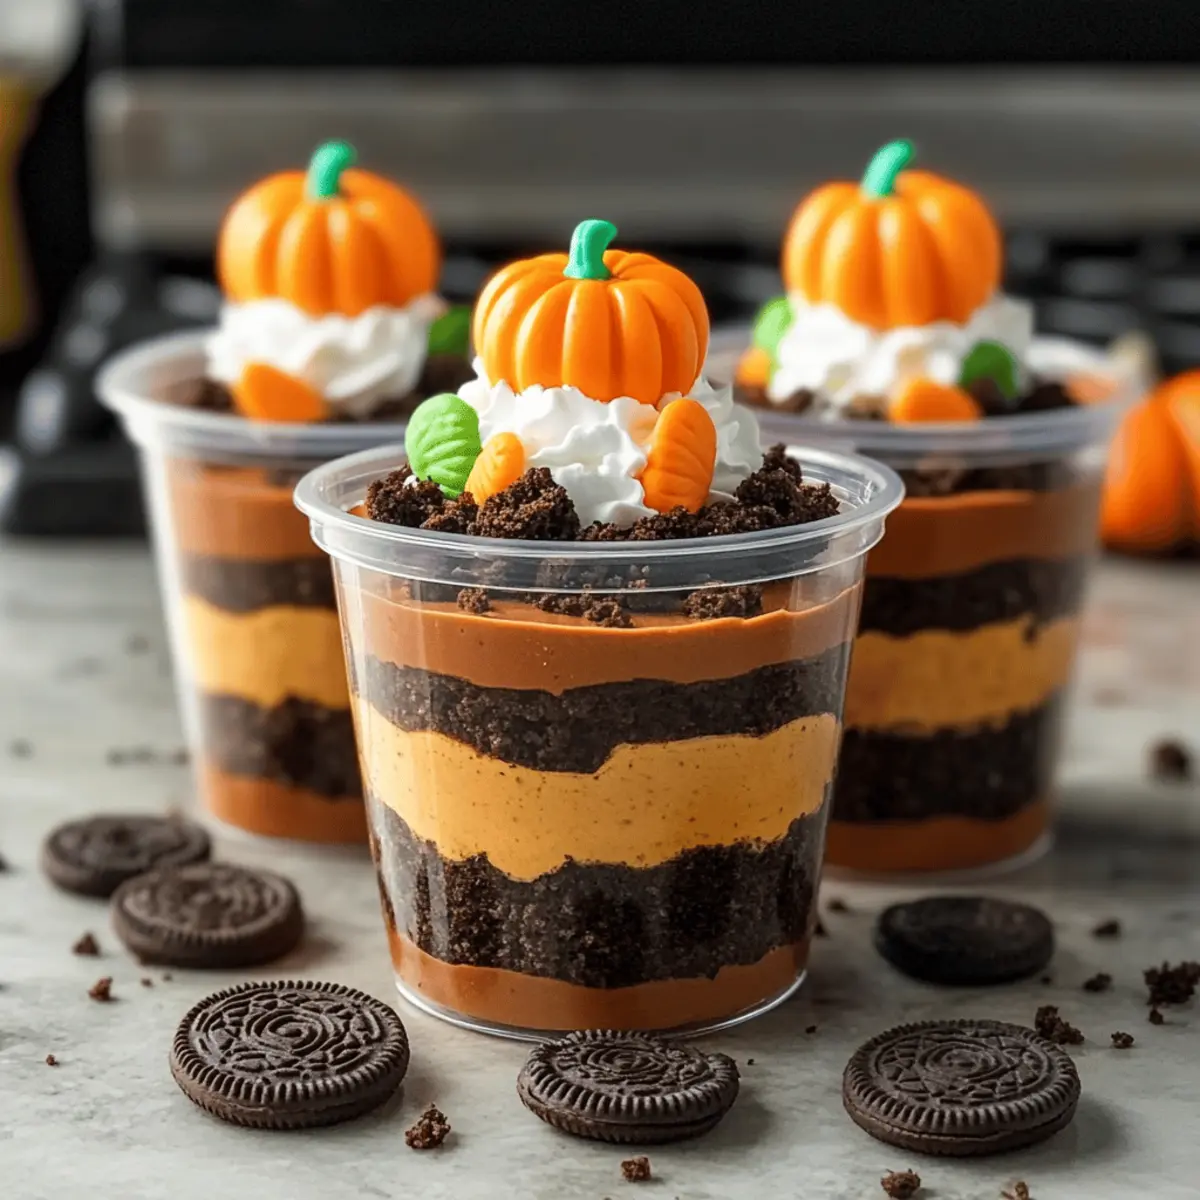
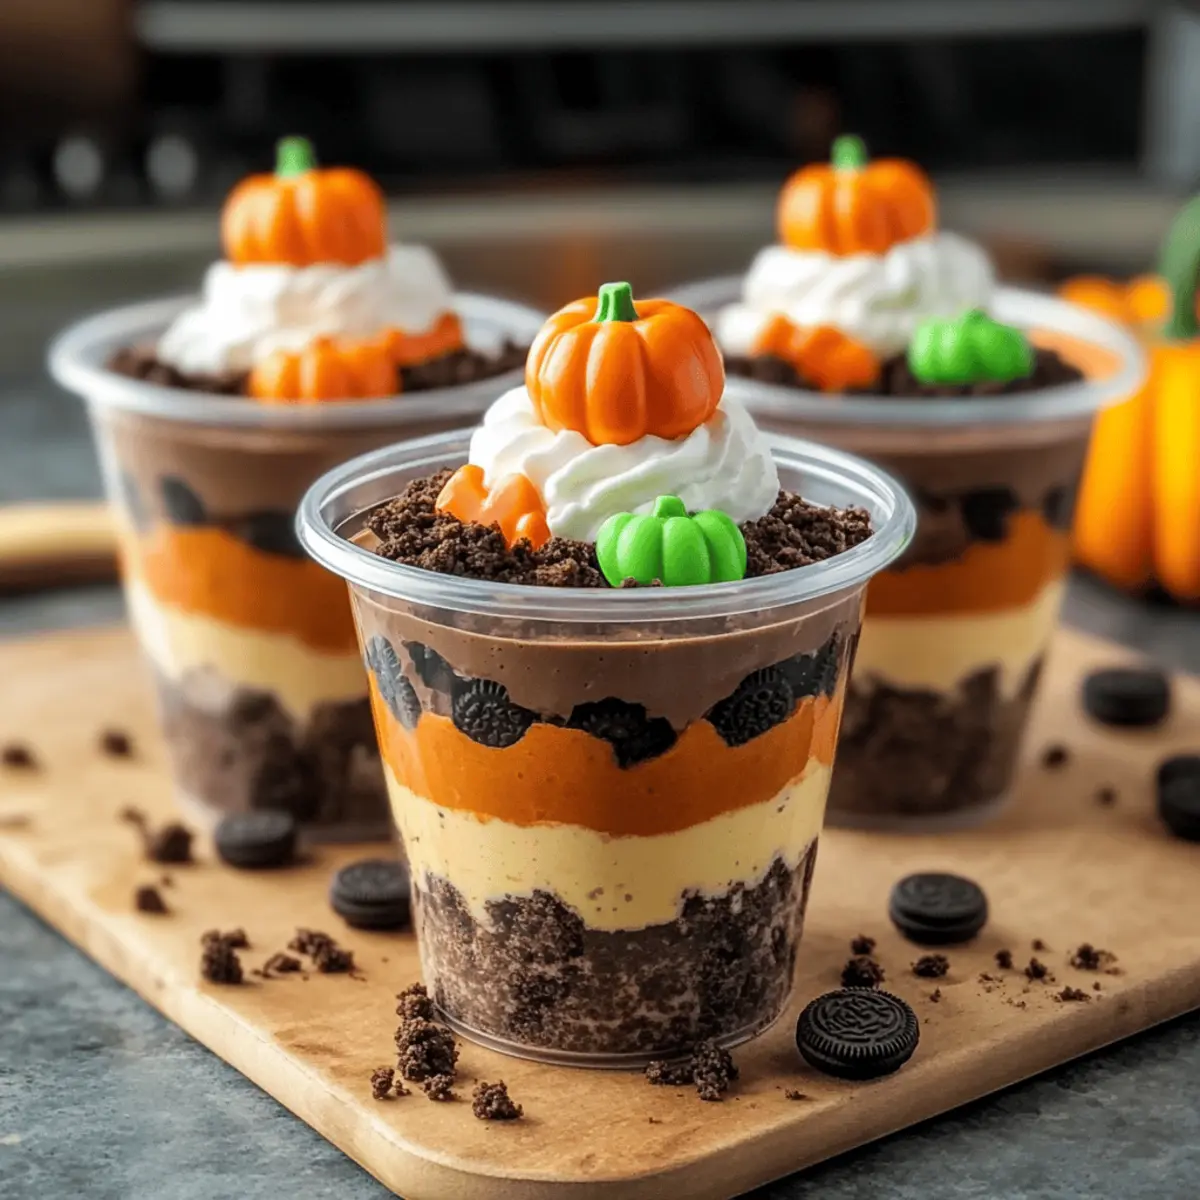
Grab your clear cups or dessert glasses for that beautiful presentation. Begin by spooning a layer of the chocolate pudding mixture into each cup, filling it about one-third full. Follow with a layer of crushed Oreos, making sure to distribute them evenly. Repeat this process, alternating pudding and Oreos, until the cups are filled, finishing with a top layer of crushed Oreos.
Step 4: Add the Toppings
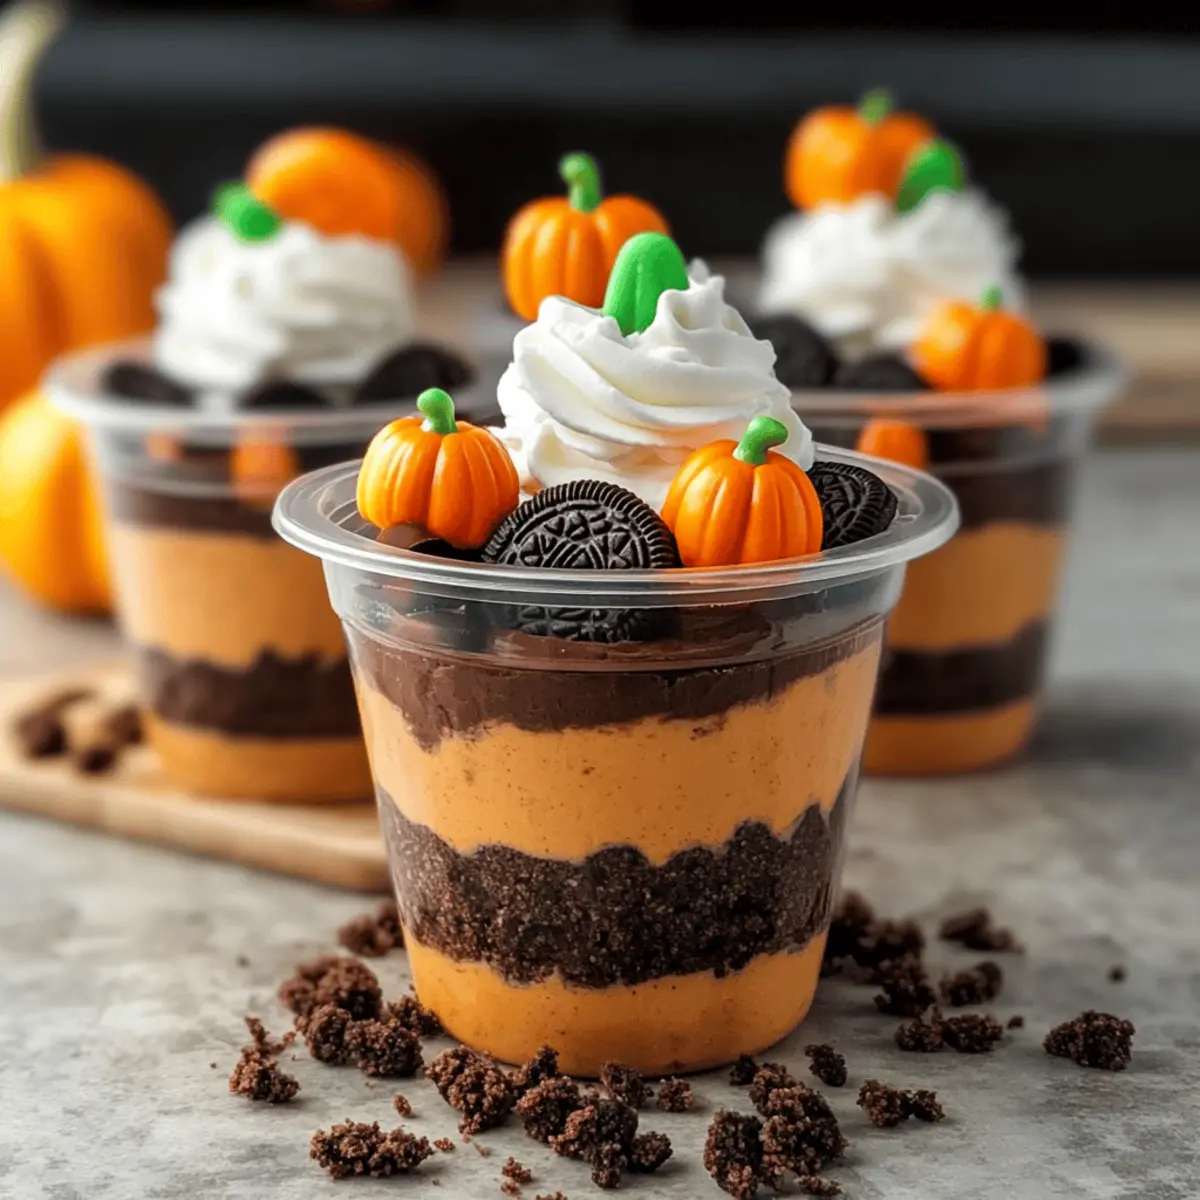
After layering, top each cup with a generous dollop of whipped cream to create a fluffy peak. Decorate with adorable candy pumpkins and, if desired, add a few gummy worms for a spooky touch. This last step adds a fun visual element, transforming your Pumpkin Patch Dirt Cups into delightful Halloween treats.
Step 5: Chill Before Serving
Place the assembled Pumpkin Patch Dirt Cups in the refrigerator for at least 30 minutes before serving. This crucial chilling time allows the flavors to meld beautifully, enhancing the overall creamy texture. When you’re ready to serve, enjoy the delightful contrast of layers and the festive look of these charming desserts!
Make Ahead Options
These delightful Pumpkin Patch Dirt Cups are perfect for meal prep enthusiasts looking to save time on busy days! You can prepare the pudding mixture and layer it in cups up to 24 hours in advance, storing them in the refrigerator. Just be sure to add the toppings—whipped cream and candy pumpkins—just before serving to keep them fresh and visually appealing. For the best quality, make sure to seal the cups with plastic wrap to prevent any drying out. When you’re ready to delight your guests or family, simply finish with the final touches, and you’ll have charming, festive desserts that are just as delicious as if they were made on the spot!
Variations & Substitutions for Pumpkin Patch Dirt Cups
Customize these delightful cups to match your family's preferences and dietary needs!
-
Dairy-Free: Substitute traditional pudding and whipped cream with dairy-free versions for a luscious vegan treat. The flavors will still shine through beautifully!
-
Gluten-Free: Use gluten-free sandwich cookies instead of Oreos for a fabulous, crumbly layer that everyone can enjoy without compromise.
-
Lower Sugar: Consider using sugar-free chocolate pudding mix alongside an unsweetened milk alternative to create a guilt-free version that doesn’t skimp on taste.
-
Flavor Infusion: Add a pinch of pumpkin pie spice to the pudding mix for a warm, autumnal flavor that complements the overall theme deliciously. This simple twist makes each bite a cozy experience.
-
Fruit Surprise: Layer in fresh fruits like banana slices or strawberries between the pudding and Oreos for a refreshing burst of flavor and added nutrition. This can turn a dessert into a delightful snack!
-
Chocolate Boost: Mix in mini chocolate chips into the pudding for added texture and a richer chocolate flavor that chocolate lovers will adore.
-
Add Some Crunch: Mix in chopped nuts or a sprinkle of granola between the layers for a satisfying crunch. This adds another layer of texture to the delightful cups.
-
Spooky Variations: For Halloween parties, consider using gummy worms instead of candy pumpkins on top. They can garner a giggle and bring out the playful side of this dessert.
For more creative ideas, don't forget to check out my Pasta Bake Pumpkin and a seasonal favorite, the Pumpkin Spice Smoothie. Happy cooking!
Storage Tips for Pumpkin Patch Dirt Cups
Fridge: Keep your Pumpkin Patch Dirt Cups refrigerated for up to 2 days. Store them covered to maintain freshness and prevent odors.
Airtight Containers: If you have leftover cups, transfer them to an airtight container. This will help keep layers intact and preserve flavors.
Garnishing: Avoid adding candy pumpkins or other decorations until just before serving to keep them looking vibrant and appealing.
Freezer: While not recommended for freezing due to texture changes, you can freeze pudding mixtures separately for a quick dessert alternative later.
What to Serve with Pumpkin Patch Dirt Cups?
Create the perfect fall gathering with these delightful pairings that enhance the joy of your pumpkin-inspired treat!
-
Autumn Salad: A fresh mix of arugula, apples, and walnuts brings a crisp contrast to the creamy dessert.
-
Hot Apple Cider: This warm drink adds a spiced depth that beautifully complements the sweet layers of the dirt cups.
-
Chocolate Chip Cookies: Their chewy texture harmonizes the smoothness of the pudding, making for a delicious treat combo.
-
Mini Pumpkin Pies: Serving these alongside plays into the pumpkin theme while offering a traditional pie flavor that everyone loves.
-
Caramel Corn: The crunchy sweetness of caramel corn adds delightful fun and contrasts with the creamy pudding.
-
Whipped Cream Topping: A dollop of spiced whipped cream can heighten the flavor experience, making it an irresistible addition on each spoonful.
Let your imagination run wild as you mix and match with these treats to create an unforgettable Halloween celebration!
Expert Tips for Pumpkin Patch Dirt Cups
- Chilling Time: Ensure you refrigerate the cups for at least 30 minutes; otherwise, the pudding may not set properly, resulting in a runny texture.
- Folding Technique: Be gentle when incorporating whipped cream into the pudding; over-mixing can deflate the airy texture you want for luscious Pumpkin Patch Dirt Cups.
- Layering Order: Start with pudding, then Oreos; this keeps the layers distinct and visually appealing.
- Garnish Wisely: Always add candy pumpkins and other decorations just before serving to ensure they remain vibrant and fresh.
- Make-Ahead Convenience: You can prepare the base of the cups a day in advance, making it easier to assemble and enjoy with loved ones on the day of the event.
Pumpkin Patch Dirt Cups Recipe FAQs
What is the best way to select ripe ingredients for the pudding?
Absolutely! When choosing the milk, go for whole or low-fat for the richest flavor. If you're opting for dairy-free alternatives, check expiration dates and choose brands without any added sugars for a cleaner taste. For whipped cream, fresh is best to avoid any off-flavors that can develop in older products.
How should I store leftover Pumpkin Patch Dirt Cups?
You can store your Pumpkin Patch Dirt Cups in the refrigerator for up to 2 days. To keep them fresh, cover them tightly with plastic wrap or store them in an airtight container. This will help retain the vibrant colors and prevent any odors from affecting the flavor.
Can Pumpkin Patch Dirt Cups be frozen?
While freezing is not ideal for the fully assembled cups due to the textures, you can prepare the chocolate pudding mixture and freeze it separately in an airtight container for up to 3 months. When ready to use, thaw overnight in the refrigerator and rewhip before layering. Just remember to prepare fresh Oreos and toppings when you serve!
What do I do if my pudding is too runny?
If your pudding turns out too runny, try chilling it longer in the fridge. It may need extra time to firm up. Alternatively, if time allows, you can whisk in a bit of instant pudding mix to thicken it. Whisk in a tablespoon at a time until you reach your desired consistency, allowing it to set for another 5-10 minutes afterward.
Are Pumpkin Patch Dirt Cups safe for allergies?
Yes, there's flexibility! For gluten-free needs, simply swap regular Oreos for gluten-free cookies. Additionally, you can make them dairy-free by using dairy-free pudding, milk alternatives, and whipped cream. Always check specific ingredient labels to ensure they meet the dietary restrictions of your guests.
Can I make these Pumpkin Patch Dirt Cups ahead of time?
Very! You can prepare the pudding and cookie layers a day in advance and layer them in cups just before serving. Assemble and refrigerate without the garnishes, then add the candy pumpkins just before you’re ready to show off these delicious desserts!
Sweet and Silly Pumpkin Patch Dirt Cups You’ll Love
Ingredients
Equipment
Method
- In a mixing bowl, combine the chocolate pudding mix with 2 cups of milk. Whisk vigorously for about 2 minutes until smooth. Let it sit for 5 minutes to thicken.
- Gently fold in 1 cup of whipped cream to the pudding mixture using a rubber spatula until smooth and fluffy.
- Spoon a layer of chocolate pudding into each cup, filling about one-third full. Add a layer of crushed Oreos and repeat this process until cups are filled.
- Top each cup with a dollop of whipped cream, decorate with candy pumpkins, and add gummy worms if desired.
- Refrigerate the assembled cups for at least 30 minutes before serving to allow flavors to meld.


Leave a Reply