
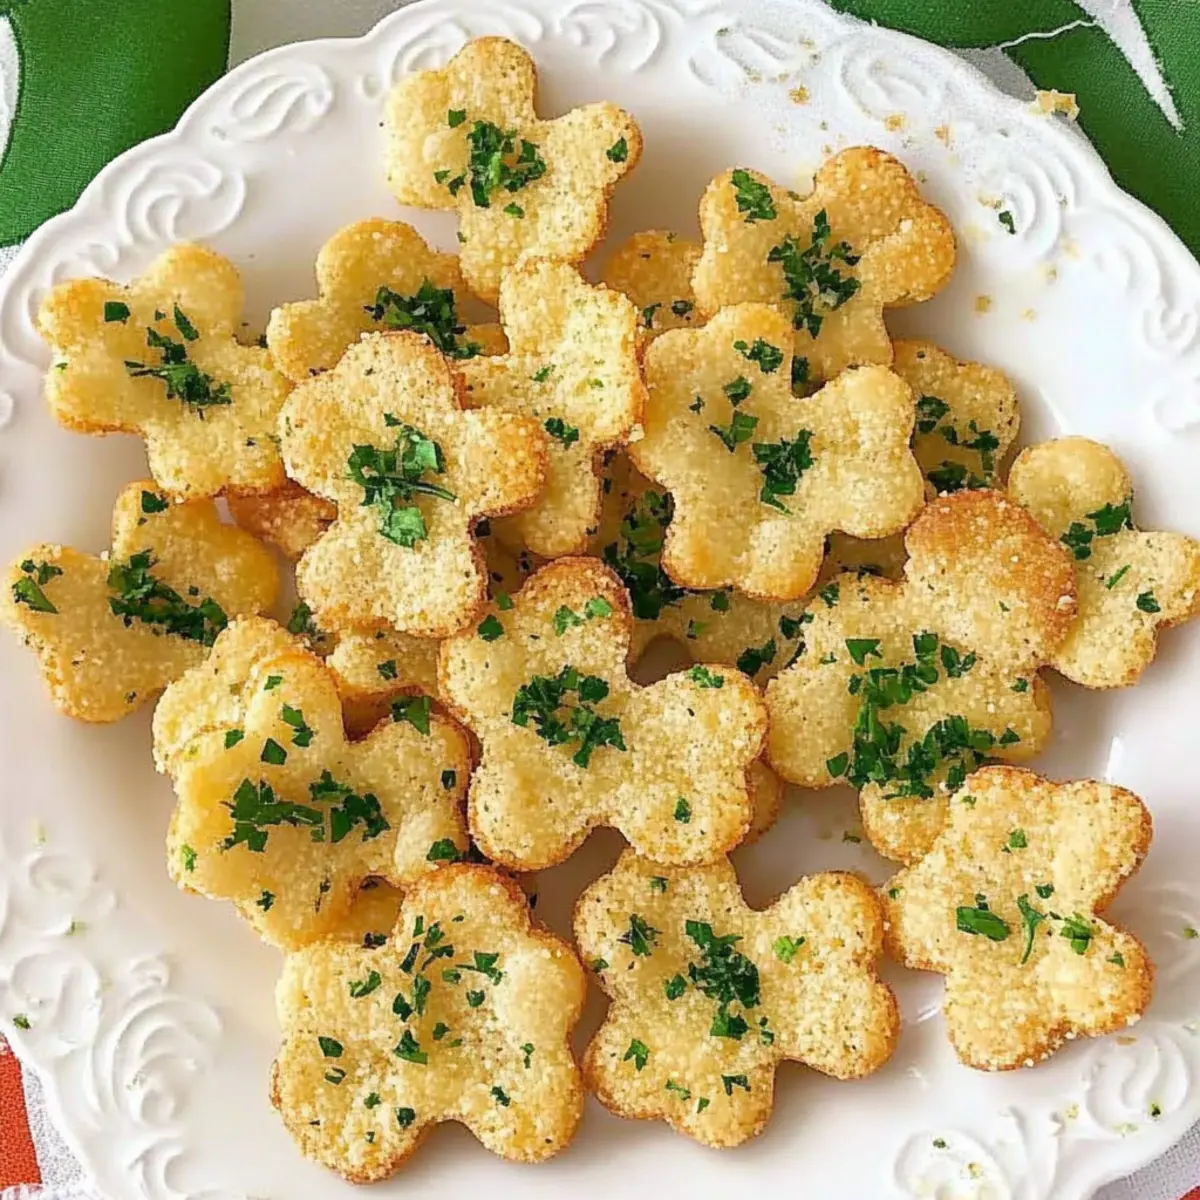
As I was prepping for our St. Patrick’s Day gathering, I stumbled upon a delightful idea—Shamrock Shaped Snack Crisps! These little gems not only add a festive flair to your table but also serve as a fantastic vegetarian-friendly appetizer. With just a handful of ingredients, including flaky pastry and savory Parmesan, you can whip up these crispy treats in no time. Perfect for impressing guests without the fuss, they offer a delicious blend of cheese and fresh parsley that’s sure to be a hit. Whether enjoyed on their own or paired with a tasty dip, these crisps are destined to become a new favorite. Curious to see how easy they are to make? Let’s dive into the recipe!
Why Try Shamrock Shaped Snack Crisps?
Simplicity at its core: These tasty treats require minimal effort, making them perfect for both novice cooks and seasoned chefs alike.
Savory cheese delight: The vibrant flavor of Parmesan combined with fresh parsley creates a mouthwatering bite that will leave your guests craving more.
Versatile snacking: Whether you serve these crisps on their own or with a delicious dip like hummus or spinach-artichoke dip, they cater to all tastes. For more dip ideas, you might want to check out our Cheesy Pepperoni Ups for some inspiration!
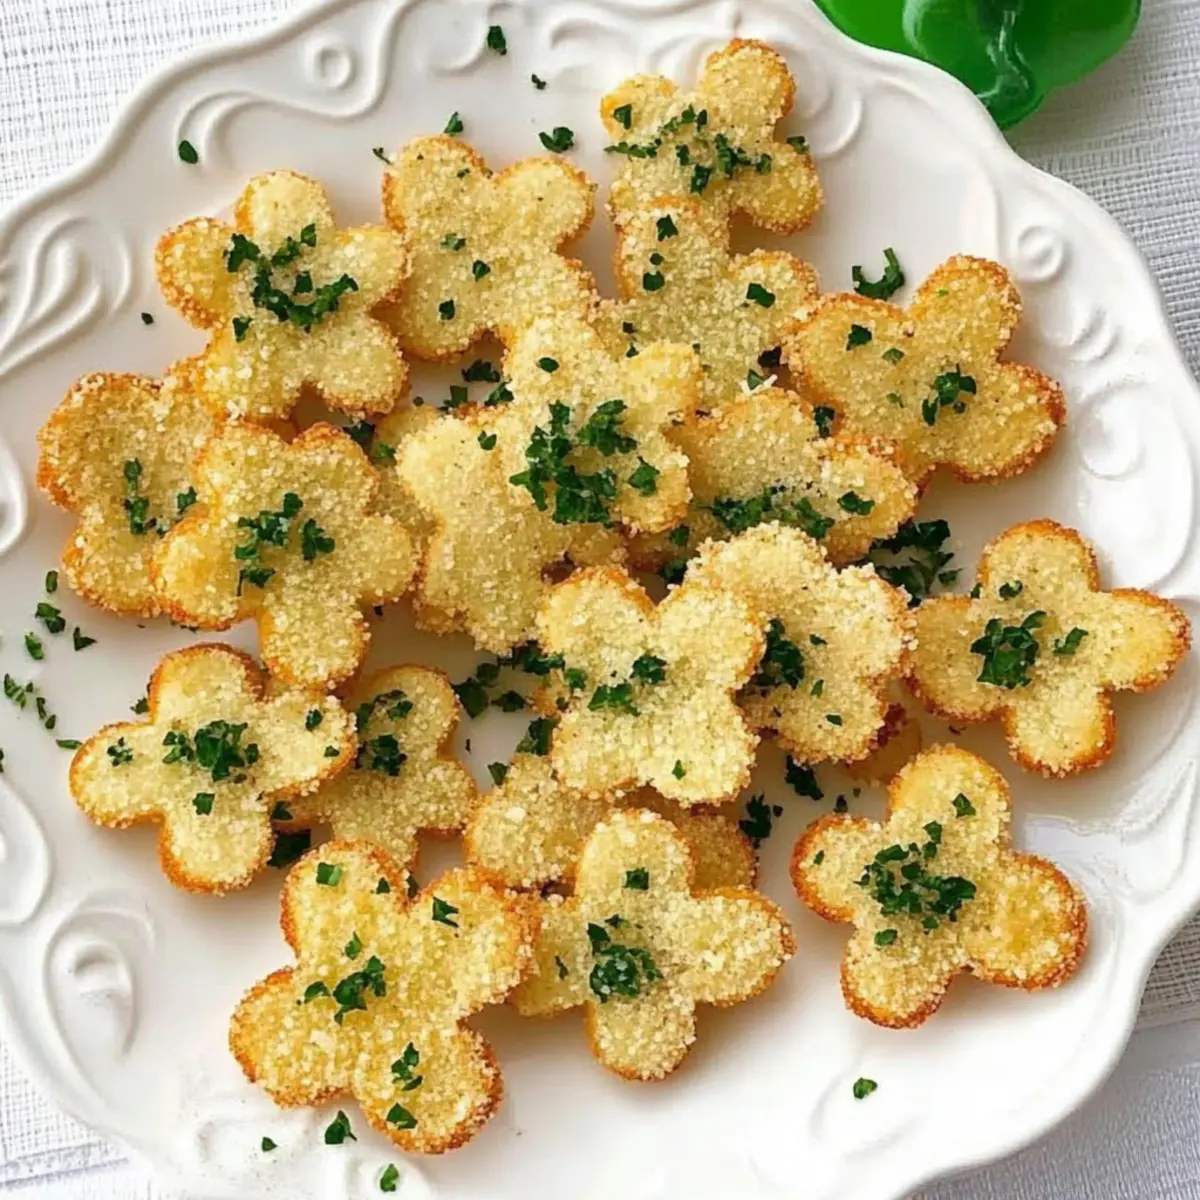
Festively fun shapes: The shamrock design adds a playful touch to any St. Patrick’s Day gathering, making them perfect for festive occasions.
Make-ahead option: These crisps can be prepared in advance, allowing you to enjoy more time with your guests without compromising on flavor. They'll stay fresh for a couple of days, just like our delightful Fryer Apple Fries!
You’ll love how easy and delicious these Shamrock Shaped Snack Crisps are.
Shamrock Shaped Snack Crisps Ingredients
For the Dough
• Pie Dough or Puff Pastry – Use store-bought for convenience and quick assembly.
For the Cheese Topping
• Parmesan Cheese (⅓ cup + extra if re-rolling) – Provides savory flavor and a crispy texture when baked; freshly grated is best.
For Freshness
• Fresh Italian Parsley (2-3 tbsp, finely chopped) – Adds vibrant color and fresh taste; can be substituted with chives for a slightly different flavor.
For Brushing
• Egg White or Milk (1 tbsp) – Helps cheese adhere to the crisps and achieves a golden finish; use milk for a vegetarian-friendly option.
For Rolling
• Flour (1 tsp) – Prevents dough from sticking during rolling; optional if the dough is workable without it.
Embrace the holiday spirit and make these tasty Shamrock Shaped Snack Crisps a delightful addition to your table!
Step‑by‑Step Instructions for Shamrock Shaped Snack Crisps
Step 1: Preheat the Oven
Start by preheating your oven to 375°F (190°C). This temperature is perfect for achieving that golden brown crispiness. While the oven heats up, prepare a baking sheet by lining it with parchment paper to prevent sticking and make cleanup easy.
Step 2: Roll Out the Dough
On a lightly floured surface, roll out your pie dough or puff pastry to about ⅛ inch thick. Use a rolling pin for an even layer, which is key for those delightful Shamrock Shaped Snack Crisps. Aim for a uniform thickness to ensure they bake evenly, resulting in a perfect texture.
Step 3: Cut Out Shamrock Shapes
Using a shamrock-shaped cookie cutter, cut out shapes from the rolled dough. Gently press down to create clear outlines. As you cut, re-roll any leftover dough as needed; be sure to dust with flour to prevent sticking. Place each shamrock cutout onto the prepared baking sheet.
Step 4: Brush with Egg White or Milk
Take your egg white or milk and lightly brush each shamrock shape to help the toppings adhere and create a beautiful, glossy finish. This step is crucial as it ensures that your Shamrock Shaped Snack Crisps will come out crispy and golden from the oven.
Step 5: Add Cheese and Parsley
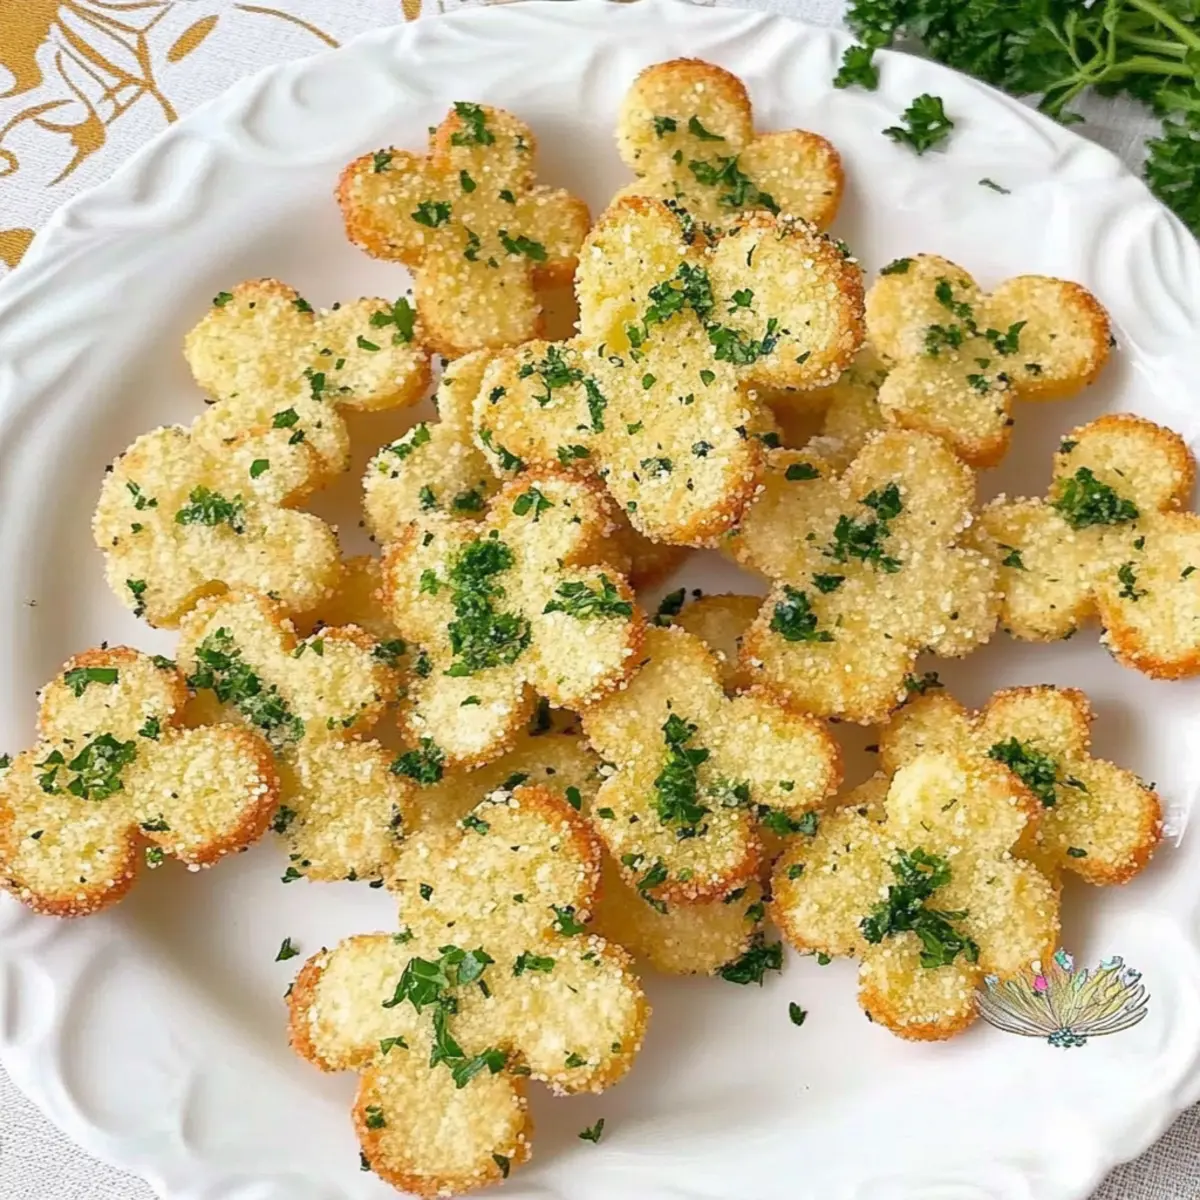
Sprinkle an even layer of grated Parmesan cheese over each shamrock, followed by finely chopped parsley. This will give the crisps a delicious flavor and a festive look. Make sure to cover each one generously; the cheese will melt and create that irresistible, savory taste.
Step 6: Bake to Perfection
Carefully place the baking sheet in the preheated oven and bake for 8-10 minutes. Keep an eye on them as they bake—look for a golden brown color around the edges and a delightful crispness. Once done, remove from the oven and allow them to cool slightly before serving.
Step 7: Serve and Enjoy
Your Shamrock Shaped Snack Crisps are now ready to be enjoyed! Arrange them on a decorative platter for a festive presentation. Whether served on their own or alongside a tasty dip, these crisps are a delightful addition to any St. Patrick's Day gathering.

Shamrock Shaped Snack Crisps Variations
Feel free to get creative and tailor these delightful snacks to your taste buds!
-
Cheese Swap: Try using sharp Cheddar or a blend of your favorite cheeses for a unique flavor twist. Mixing different cheeses can create a rich, complex taste, perfect for cheese lovers.
-
Herb Infusion: Stir in dried basil or thyme into the dough for a fragrant addition. These herbs add a lovely aroma that elevates the dish and offers a little adventure on your palate.
-
Spicy Kick: Add chili flakes or paprika to the cheese topping for some heat. A slight spice will tantalize your taste buds and create a signature touch for your gathering.
-
Vegetable Boost: Incorporate finely diced spinach or finely chopped bell peppers into the dough for added nutrition and color. It’s a sneaky way to include some veggies while keeping it fun!
-
Gluten-Free Option: Use a gluten-free pie crust or puff pastry if you're avoiding gluten. This swap ensures everyone can enjoy these delicious crisps without compromising on taste.
-
Dip Pairing: Whip up a creamy dip, like homemade spinach-artichoke dip, to accompany your crisps; it’s an excellent way to keep the flavor harmonious and enhance the experience. For another great dip option, check out our irresistible Zucchini Tots.
-
Sweet Twist: For a dessert version, sprinkle a cinnamon-sugar mix on top after brushing with milk for a sweet treat. A surprise twist that can serve as a festive dessert for those who like a little sweetness in their life!
-
Make-Ahead: Prepare the crisps in advance and freeze them; just bake them fresh when you’re ready to serve. This way, you can enjoy fluffy crisps without the last-minute rush!
Make Ahead Options
These Shamrock Shaped Snack Crisps are perfect for meal prep enthusiasts looking to save time during busy festivities! You can cut out the shamrock shapes and store them in an airtight container in the refrigerator for up to 24 hours before baking. To maintain their quality, ensure the cutouts are placed between layers of parchment paper to prevent sticking. When you’re ready to impress your guests, simply brush them with egg white or milk, sprinkle on the cheese and parsley, and bake. You’ll have crispy, festive snacks with minimal effort—all while enjoying more time with your loved ones!
Expert Tips for Shamrock Shaped Snack Crisps
Thin Dough: Ensure your dough is rolled out to about ⅛ inch thick for maximum crispiness; thicker dough can lead to chewy, soggy bites.
Fresh Herbs: Opt for freshly chopped parsley for the best flavor; dried herbs won’t give you the same vibrant taste in these Shamrock Shaped Snack Crisps.
Cheese Choices: Feel free to experiment with different cheeses, such as cheddar or a cheese blend, to customize the flavor profile of your crisps.
Watch the Bake: Keep a close eye on the crisps as they bake; remove them from the oven as soon as the edges start to brown to prevent burning.
Serve Fresh: These crisps taste best when served fresh out of the oven; they can be reheated briefly if made ahead but might lose some crunch.
How to Store and Freeze Shamrock Shaped Snack Crisps
Room Temperature: Store the shamrock shaped snack crisps in an airtight container at room temperature for up to 2 days to maintain their crispiness.
Freezer: If you want to prepare them ahead of time, freeze the unbaked shapes on a baking sheet until solid, then transfer to a freezer bag or container. They'll last up to 2 months.
Reheating: To enjoy leftovers, reheat in a warm oven at 350°F (175°C) for 5-7 minutes until crispy again. This will revive that delicious crunch!
Make-Ahead Tip: These crisps can be made in advance, making them a convenient option for St. Patrick's Day gatherings—just follow the freezing instructions above!
What to Serve with Shamrock Shaped Snack Crisps
Transform your St. Patrick’s Day spread into a feast full of flavor and fun with these delightful pairings.
-
Creamy Spinach-Artichoke Dip: This classic dip's rich creaminess perfectly contrasts the crispy texture of the snack crisps, creating a delightful taste experience.
-
Savory Guacamole: Fresh and zesty, guacamole adds a creamy texture that complements the cheese flavor while providing a burst of freshness.
-
Herbed Yogurt Sauce: Light and tangy, this yogurt sauce made with fresh herbs enhances the savory notes of the snack crisps, making each bite a taste sensation.
-
Fresh Veggie Platter: Serve with crunchy carrot and cucumber sticks for a refreshing contrast to the cheesiness of the crisps; the colors also add festivity to your table.
-
Fruit Chutney: A sweet and slightly spicy fruit chutney offers a delightful balance to the savory snack crisps, elevating your tasting experience.
-
Craft Beer: Pairing with a chilled craft beer not only complements the savory flavors but also adds a celebratory spirit to your gathering.
-
Lemonade Spritzers: The refreshing citrus notes in lemonade spritzers make a light and invigorating drink option, enhancing your culinary spread.
-
Irish Cream Brownies: For dessert, cut into fudgy brownie squares swirled with Irish cream—this indulgent treat ends your meal on a sweet note.
Shamrock Shaped Snack Crisps Recipe FAQs
What type of pastry is best for making Shamrock Shaped Snack Crisps?
I recommend using store-bought pie dough or puff pastry for convenience. Each option creates a light, flaky texture that pairs perfectly with the savory Parmesan. If you're feeling adventurous, you can even make your own dough from scratch!
How should I store Shamrock Shaped Snack Crisps?
To keep your crispy treats fresh, store them in an airtight container at room temperature for up to 2 days. Just a heads up — they taste best on the day they're made, so try to enjoy them fresh!
Can I freeze Shamrock Shaped Snack Crisps?
Absolutely! To freeze, arrange the unbaked shamrock shapes on a baking sheet and place them in the freezer until solid. Once frozen, transfer them to a freezer-safe bag or container. They will maintain good quality for up to 2 months. When you’re ready to bake them, you can cook them straight from the freezer—just add a minute or two to the baking time.
What do I do if my crisps are too soggy?
If your Shamrock Shaped Snack Crisps turn out soggy, it could be due to underbaking. Ensure you roll the dough thinly for maximum crispiness, and keep a close eye on them while they bake. They should be removed from the oven as soon as the edges start to turn golden brown. If they do become a bit soft after storage, a quick reheat in a warm oven (350°F for 5-7 minutes) can restore some of that crunch!
Are Shamrock Shaped Snack Crisps suitable for vegetarians?
Yes! By brushing the shapes with milk instead of egg white, you can easily make these crisps vegetarian-friendly. Don’t forget to check the ingredients on your pastry to ensure it meets your dietary needs!
Savory Shamrock Shaped Snack Crisps to Celebrate St. Patrick's Day
Ingredients
Equipment
Method
- Preheat your oven to 375°F (190°C) and line a baking sheet with parchment paper.
- Roll out your pie dough or puff pastry to about ⅛ inch thick on a lightly floured surface.
- Cut out shamrock shapes using a cookie cutter and place on the prepared baking sheet.
- Lightly brush each shamrock shape with egg white or milk.
- Sprinkle grated Parmesan cheese and chopped parsley on each shamrock.
- Bake for 8-10 minutes, until the edges are golden brown and crispy.
- Allow to cool slightly before serving, and arrange on a platter.
Leave a Reply