
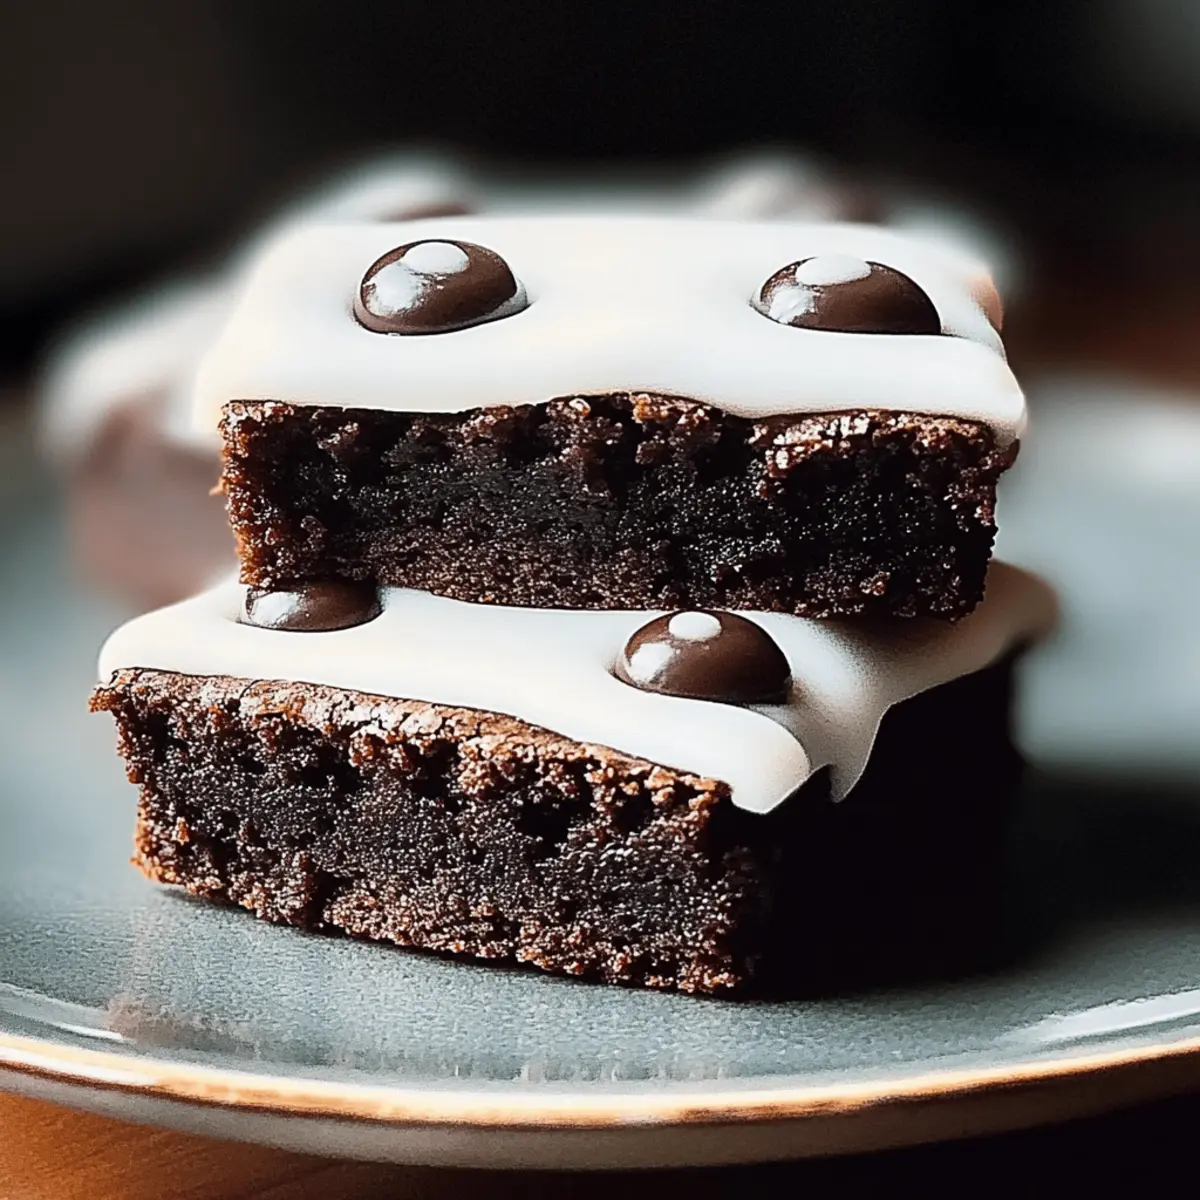
There's something magical about the aroma of baking brownies wafting through the house, especially when Halloween is just around the corner. Enter my Spooktacular Mummy Brownies—easy Halloween treats that blend your love for rich, fudgy chocolate with a playful twist that will leave everyone grinning. Not only are these brownies simple to whip up, but they also promise to delight both kids and adults alike, making them a perfect centerpiece for your spooky festivities. Plus, with options for gluten-free alternatives and customizations like nuts or chocolate chips, you can tailor them to suit any gathering. Are you ready to bring a little more fun to your Halloween celebrations? Let's dive into this decadent recipe together!
Why are Mummy Brownies a Halloween Must-Have?
Delightfully Fun: These Spooktacular Mummy Brownies add a quirky charm to your dessert table, catching the eye of kids and adults alike.
Ease of Preparation: With only a few simple steps, you'll have delicious brownies ready to impress without spending hours in the kitchen.
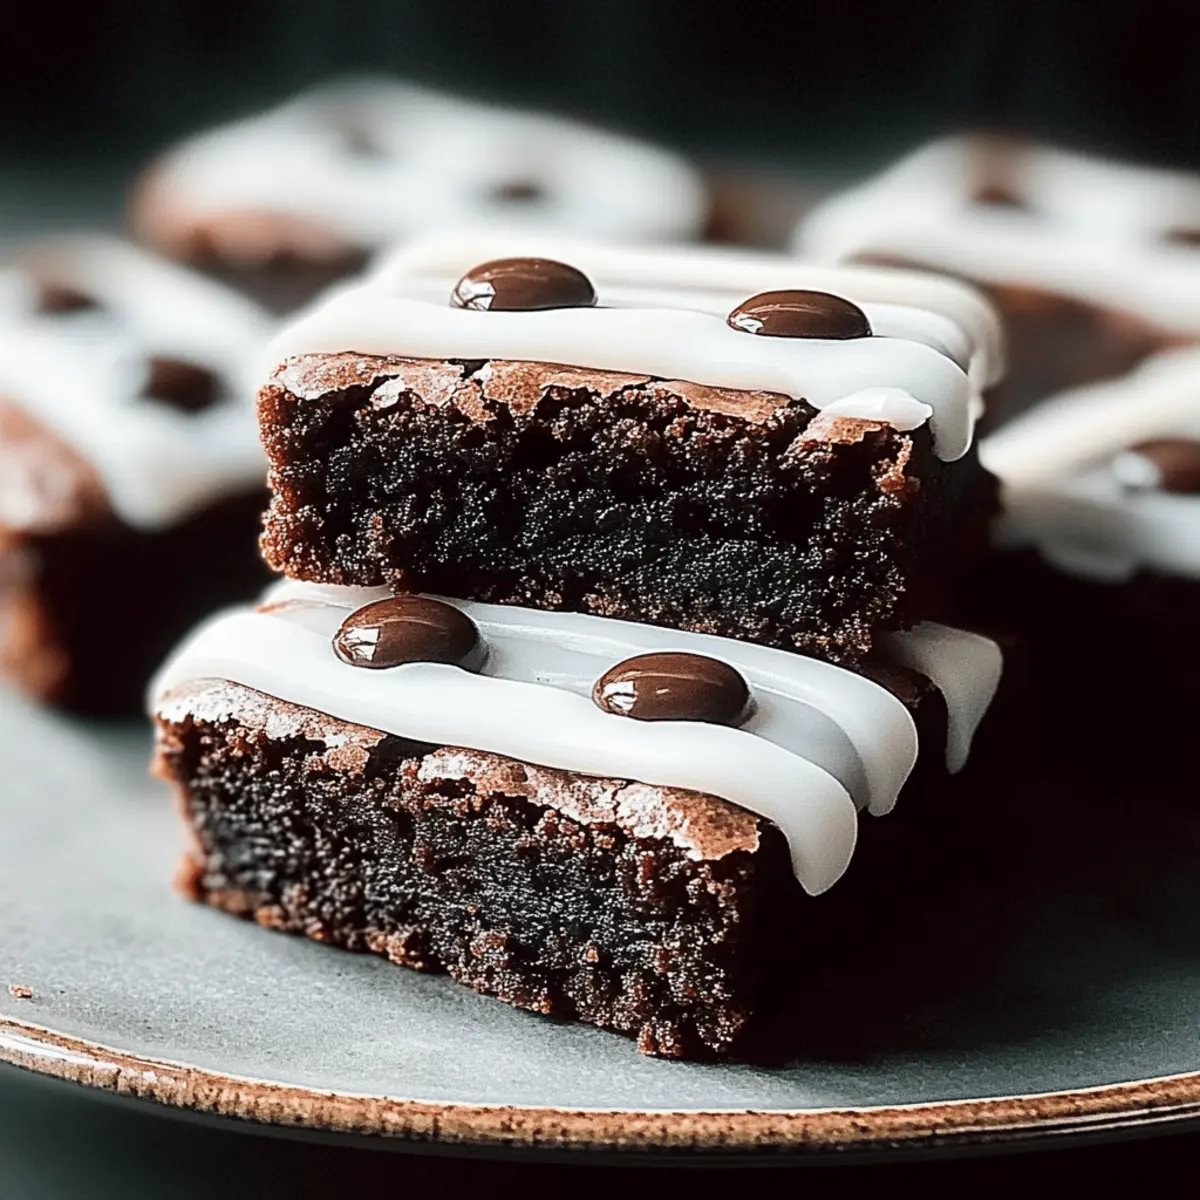
Fudgy Goodness: The rich, chocolatey flavor combined with a fudgy texture will have everyone coming back for seconds!
Versatile Treat: Customize them easily with nuts, mini chocolate chips, or themed icing for other occasions beyond Halloween. Feel free to pair them with a spooky drink or grab a slice to enjoy with your favorite Breakfast Egg Muffins.
Crowd-Pleasing: These brownies are perfect for parties, school events, or as a festive surprise for family gatherings, making them a guaranteed hit!
Spooktacular Mummy Brownies Ingredients
For the Brownies
• Unsweetened Cocoa Powder – Provides a rich, chocolate flavor essential for fudgy brownies.
• Granulated Sugar – Adds sweetness and moisture; try using brown sugar for a hint of caramel.
• All-Purpose Flour – Gives structure; substitute with gluten-free flour blend for a gluten-free version.
• Large Eggs – Bonds ingredients and adds moisture—no substitutes recommended for best results.
• Unsalted Butter – Contributes richness; melted for easy mixing, but coconut oil works for a dairy-free option.
For the Decoration
• White Icing – Perfect for creating mummy wrappings; swap for colored candy melts for an extra themed touch!
These Spooktacular Mummy Brownies are not only a treat but a festive delight that will thrill your guests!
Step‑by‑Step Instructions for Spooktacular Mummy Brownies – Easy Halloween Treats
Step 1: Preheat and Prepare
Begin by preheating your oven to 350°F (175°C). While it heats, prepare a baking pan by greasing it well or lining it with parchment paper for easy brownie removal later. This setup is crucial for achieving your delicious Spooktacular Mummy Brownies with a perfect texture.
Step 2: Mix Dry Ingredients
In a large mixing bowl, whisk together unsweetened cocoa powder, granulated sugar, all-purpose flour, and a pinch of salt until evenly combined. This dry mixture is foundational for your brownies’ rich chocolate flavor. Make sure to break up any clumps of cocoa or flour for a smooth brownie batter.
Step 3: Melt and Combine Wet Ingredients
Next, melt the unsalted butter in a microwave-safe bowl and let it cool slightly. Once cooled, whisk in the large eggs until the mixture is smooth and well blended. The creamy mixture should have a nice sheen, indicating it’s well combined and ready to integrate with the dry ingredients.
Step 4: Combine Wet with Dry Ingredients
Pour the wet ingredients into the dry mixture, stirring gently until just combined. Be careful not to overmix, as you want your Spooktacular Mummy Brownies to remain fudgy and dense. Stir until you can no longer see dry flour, then stop to keep that luscious texture.
Step 5: Bake Your Brownies
Spread the brownie batter evenly into your prepared baking pan. Bake in the preheated oven for 25-30 minutes. To check for doneness, insert a toothpick into the center; it should come out with a few moist crumbs attached. This step is vital for that perfect gooey middle!
Step 6: Cool and Cut
Once baked, remove your brownies from the oven and allow them to cool completely in the pan. This usually takes about 30 minutes. Avoid cutting too soon to prevent the icing from melting into the brownies. Once cooled, remove them from the pan and cut into squares.
Step 7: Decorate Your Mummy Brownies
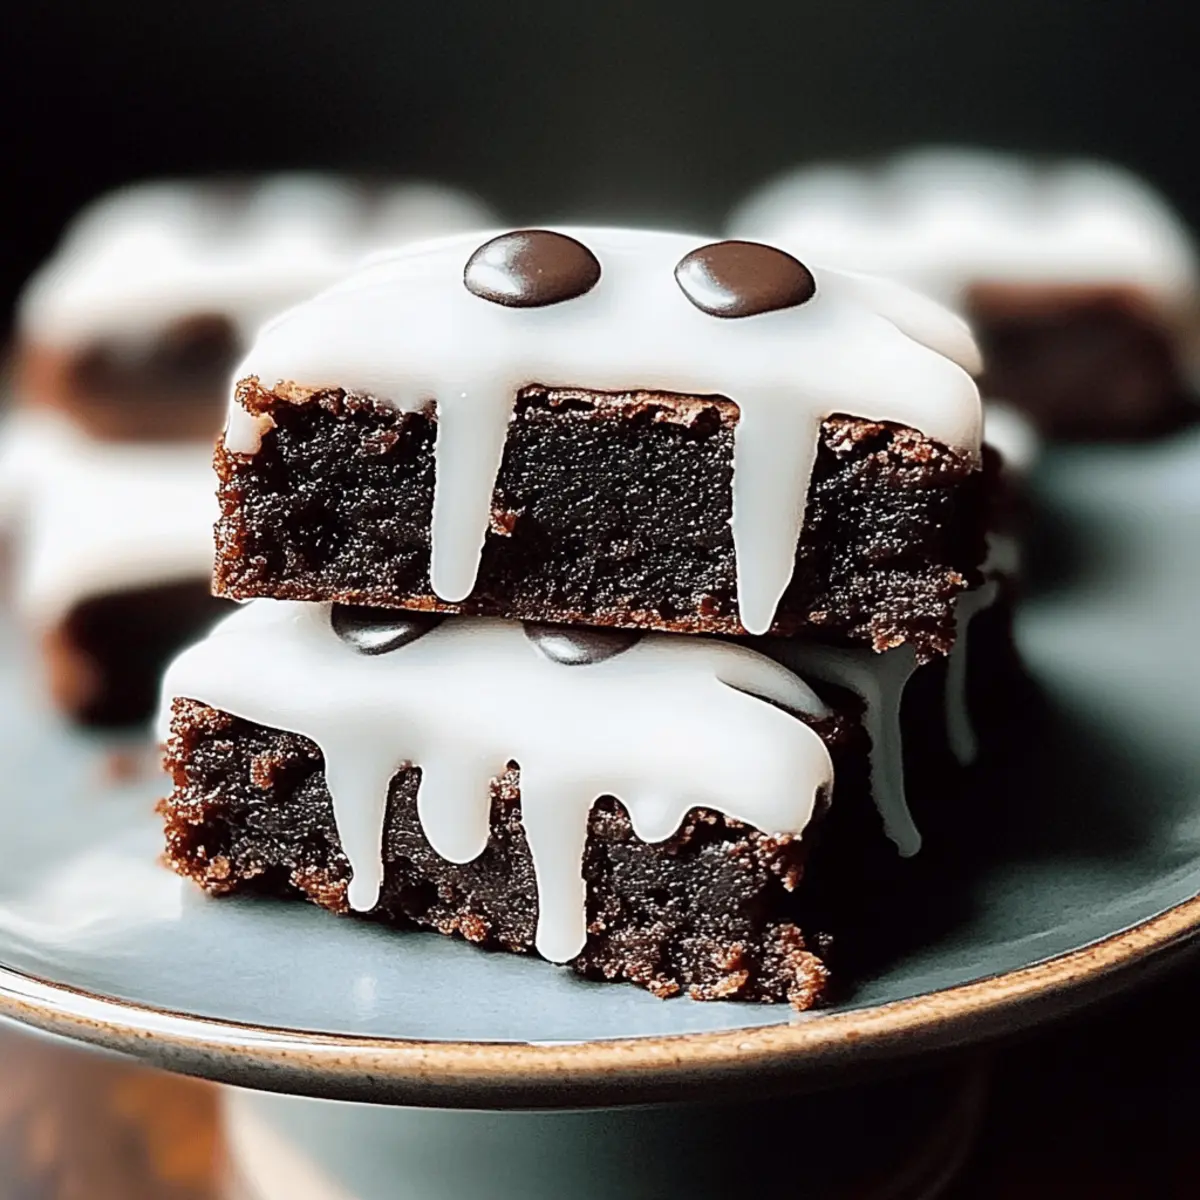
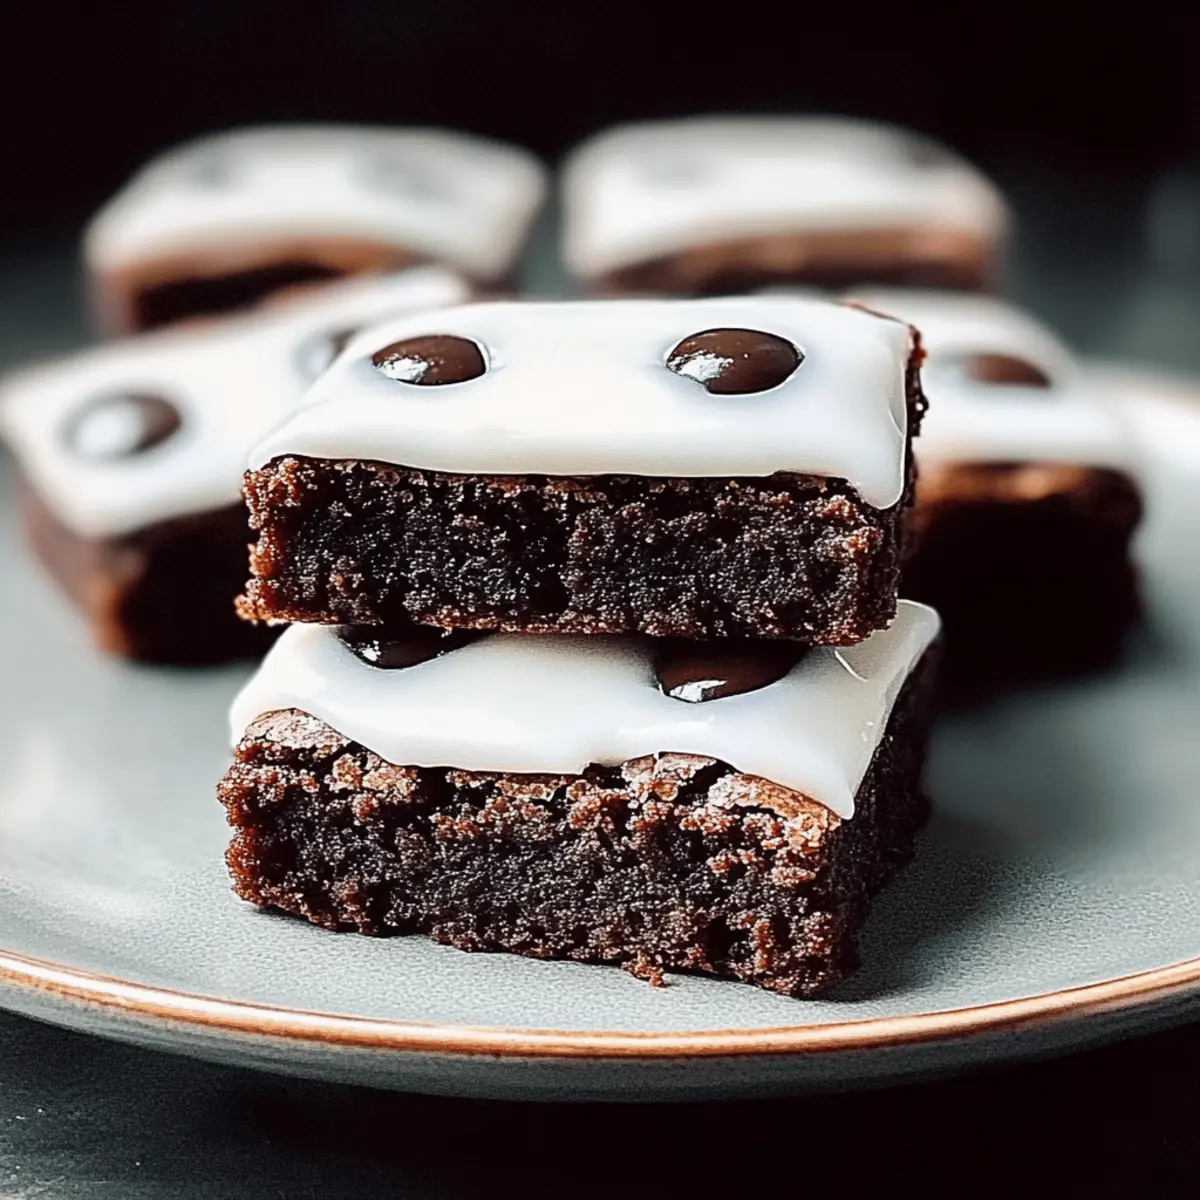
With your brownies cut, it’s time to get creative! Using white icing, pipe zigzag patterns over each brownie to create the look of mummy wrappings. Add candies for eyes, and watch your Spooktacular Mummy Brownies transform into a festive Halloween treat. Embrace the fun and get the kids involved in decorating!
How to Store and Freeze Spooktacular Mummy Brownies
Room Temperature: Store brownies in an airtight container at room temperature for up to 3 days for optimal freshness and flavor.
Fridge: If you'd like to extend their life, place the brownies in the fridge for up to a week. Just ensure they're well-wrapped to maintain moisture.
Freezer: For longer storage, freeze the brownies tightly wrapped in plastic wrap and then in foil for up to three months. Thaw at room temperature when ready to enjoy.
Reheating: If desired, warm individual pieces in the microwave for about 10-15 seconds. This will help restore that fudgy texture in your Spooktacular Mummy Brownies!
Make Ahead Options
These Spooktacular Mummy Brownies are perfect for home cooks looking to save time during the busy Halloween season! You can prepare the brownie batter up to 24 hours in advance; simply store it in an airtight container in the refrigerator. For added convenience, you can bake the brownies ahead of time and keep them stored at room temperature for up to 3 days or refrigerate them for up to a week. To maintain their fudgy texture, ensure that they are completely cooled before covering them. When you're ready to serve, just decorate with icing and candies for the final spooky touch, and you'll have delicious, festive treats that are just as delightful as when they were freshly baked!
Spooktacular Mummy Brownies Variations
Feel free to unleash your creativity and make these delightful brownies truly your own!
-
Nutty Surprise: Mix in chopped walnuts or pecans for a crunchy texture that complements the fudginess.
Feel the delightful crunch as you bite into these rich brownies, making every piece even more satisfying. -
Chocolate Chip Heaven: Fold in mini chocolate chips for bursts of melty goodness throughout your brownies.
Every bite will be a chocolate lover's dream, taking the existing fudge to new delicious heights. -
Gluten-Free Option: Swap all-purpose flour with a gluten-free flour blend for a special dietary twist that everyone can enjoy.
Celebrate inclusivity in dessert! No one will guess these brownies are gluten-free when they taste so divine. -
Flavorful Icing: Experiment with flavored icing, like lemon or raspberry, to give your mummies a refreshing twist.
Surprise your guests with an unexpected zing that harmonizes beautifully with rich chocolate and makes them smile! -
Colorful Candy Melts: Use vibrant colored candy melts instead of white icing for an extra festive look.
Match the colors with your party theme and watch these brownies become the highlight of your dessert table! -
Spicy Kick: Mix in a pinch of cayenne pepper or chili powder into the batter for a surprising and thrilling heat.
It pairs beautifully with the chocolate, creating a unique and exciting flavor profile that will dazzle adventurous taste buds! -
Pumpkin Spice Delight: Blend in a teaspoon of pumpkin spice for a seasonal twist that elevates your Mummy Brownies.
The warm spices will transport you to cozy autumn gatherings, making these brownies an irresistible fall favorite!
Check out these delightful brownies at your next gathering, and don't forget to pair them with a delicious drink like with a spooky punch or a delightful side of Ground Beef Enchiladas. Enjoy customizing these fun treats!
What to Serve with Spooktacular Mummy Brownies
Ready to build a Halloween feast that will impress your guests? Pairing treats with your delightful brownies will create a memorable dessert experience.
-
Haunted Milkshakes: These creamy, chocolatey drinks can match your brownies' indulgent nature. Add a touch of ghostly whipped cream for a spooky touch!
-
Pumpkin Spice Cookies: These soft, spiced cookies offer a seasonal flavor contrast to your rich brownies. Their autumnal charm makes them a festive duo.
-
Caramel Apple Slices: Crisp apples drizzled with sweet caramel bring a refreshing crunch that balances the fudginess of the brownies. A delightful play on textures.
-
Spooky Spritzers: Serve a refreshing drink made with sparkling water and cranberry juice for a tangy kick. It cleanses the palate and complements the sweetness.
-
Gummy Worms: Add a playful element by serving these chewy candies alongside your treats. Kids will delight in the fun addition, enhancing the Halloween spirit.
-
Halloween Themed Fruit Platter: Cut fruits into spooky shapes or arrange them in a haunted scene. Fresh fruit provides a refreshing contrast and adds vibrant color to the spread.
Expert Tips for Spooktacular Mummy Brownies
Avoid Overmixing: Mixing the batter too much will result in cakey brownies instead of the desired fudgy texture. Gently stir until just combined.
Proper Cooling: Allow the brownies to cool completely before decorating. If they're too warm, the icing will melt, ruining the mummy design!
Use Quality Ingredients: For the best flavor, opt for high-quality cocoa powder and fresh eggs. This enhances the depth of chocolate in your Spooktacular Mummy Brownies.
Fun Decorations: Get creative with the mummy wrappings! Use different icing techniques or swap white icing for colorful candy melts to match any theme.
Make Ahead: These brownies can be made in advance! Store them in an airtight container for up to three days to keep them moist and delicious.
Spooktacular Mummy Brownies Recipe FAQs
What type of cocoa powder should I use for Mummy Brownies?
Absolutely! For the richest flavor, I recommend using unsweetened cocoa powder. It imparts that deep chocolate taste that makes brownies irresistible. Avoid substitutes, as cocoa powder is vital to achieving the fudgy texture we're aiming for.
How should I store my Mummy Brownies?
Store your Spooktacular Mummy Brownies in an airtight container at room temperature for up to 3 days. If you wish to prolong their freshness, refrigerate them for up to a week—just ensure they're wrapped well to keep moisture in.
Can I freeze Mummy Brownies? How do I do it?
Certainly! For longer storage, you can freeze the brownies. Wrap them tightly in plastic wrap, then in aluminum foil to prevent freezer burn. They can stay fresh for up to three months. When you're ready to enjoy them, thaw the brownies at room temperature. For a warm treat, pop individual pieces in the microwave for about 10-15 seconds!
Why did my Mummy Brownies turn out cakey instead of fudgy?
Very! If your brownies turn out cakey, it’s likely due to overmixing the batter. Make sure to stir gently until just combined after mixing wet and dry ingredients. Also, check your oven temperature with a thermometer to avoid overbaking. Remember, the brownies should come out with a few moist crumbs on the toothpick.
Are there any dietary considerations for Mummy Brownies?
Yes! If you have gluten restrictions, simply substitute all-purpose flour with a gluten-free flour blend, and you’re good to go! If you’re vegan or dairy-sensitive, you can replace unsalted butter with coconut oil or vegan butter. Always check for allergies with toppings like candies, as they might contain common allergens.
Can I customize my Mummy Brownies with other ingredients?
Absolutely! Feel free to add mini chocolate chips, nuts, or your favorite candy pieces to the brownie batter for added texture and fun. You can also decorate with flavored icing instead of the standard white icing for a unique twist!
Spooktacular Mummy Brownies - Easy Halloween Treats to Thrill
Ingredients
Equipment
Method
- Preheat your oven to 350°F (175°C) and prepare a baking pan by greasing it or lining it with parchment paper.
- In a large mixing bowl, whisk together cocoa powder, sugar, flour, and a pinch of salt until evenly combined.
- Melt the butter in a microwave-safe bowl and let it cool. Whisk in the eggs until smooth.
- Pour the wet ingredients into the dry ingredients, stirring until just combined to maintain fudgy texture.
- Spread the brownie batter into the prepared pan and bake for 25-30 minutes. Check doneness with a toothpick.
- Allow the brownies to cool completely in the pan for about 30 minutes before cutting.
- Pipe white icing in zigzag patterns over each brownie to create mummy wrappings, adding candies for eyes.


Leave a Reply