
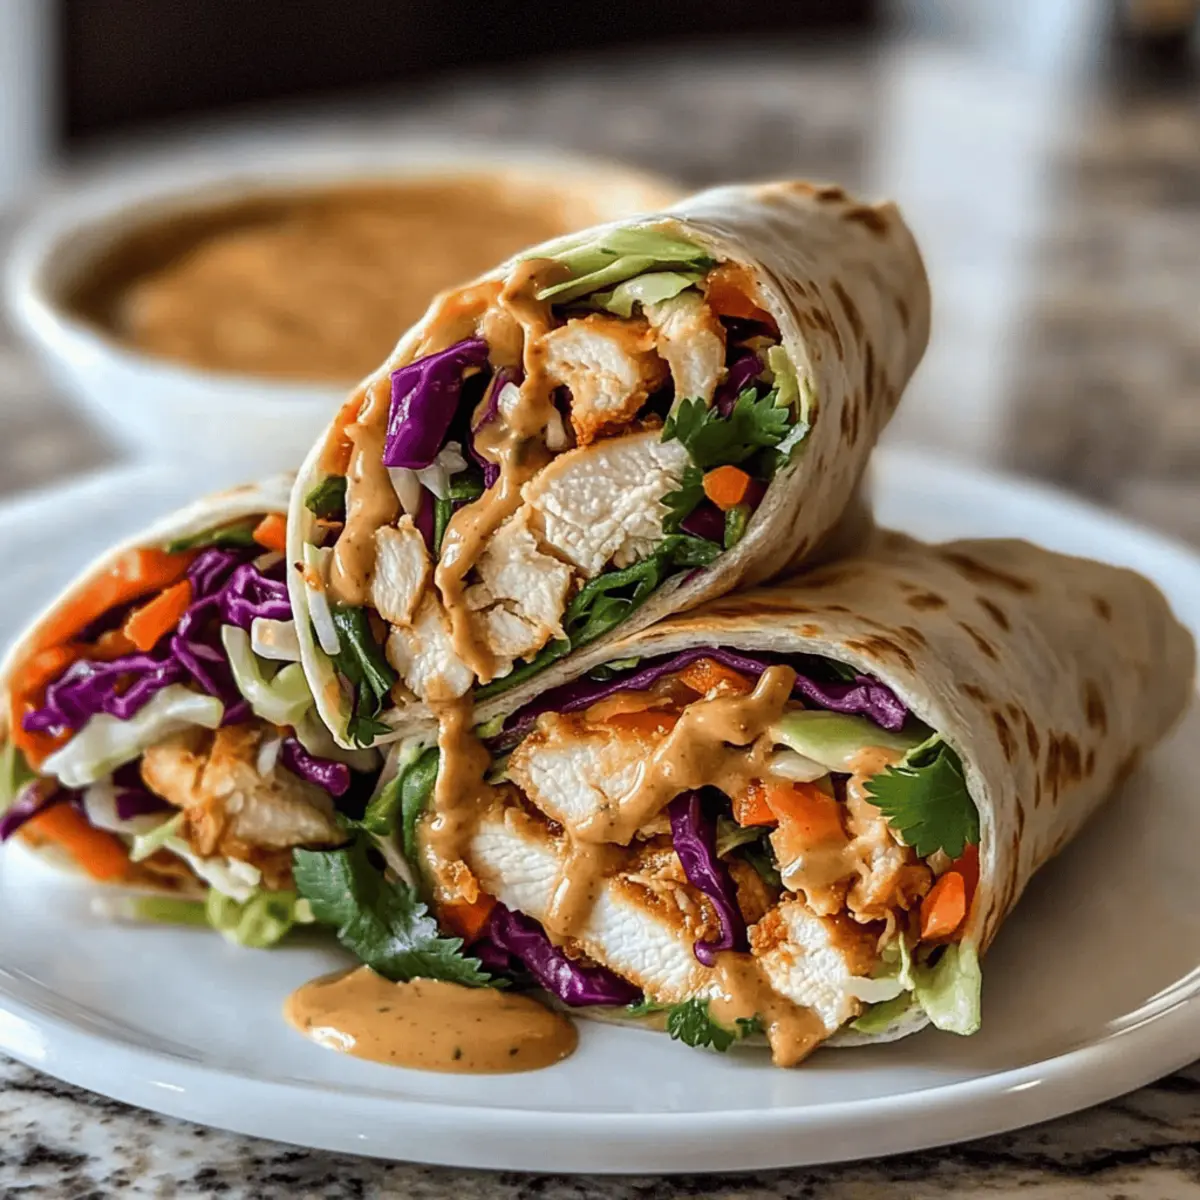
As I prepped dinner the other night, I found myself faced with a classic dilemma: how to whip up something quick yet utterly delicious. That’s when the idea of Easy Thai Peanut Chicken Wraps popped into my mind. These wraps are not just a feast for the senses with their colorful fillings but are also ready in just 15 minutes! Perfect for those busy weeknights, this recipe offers a customizable twist that caters to various dietary preferences—think peanut-free options or even a vegetarian spin. With tender chicken, fresh veggies, and a creamy homemade sauce all wrapped up in soft tortillas, they’re bound to become a new staple in your rotation. Are you ready to make dinner time a little more exciting? Let’s dive into this tasty adventure together!
Why Choose Thai Peanut Chicken Wraps?
Quick and Easy: These wraps come together in just 15 minutes, perfect for busy weeknights or last-minute lunches.
Endless Customization: You can easily adjust this recipe to fit your dietary needs by swapping chicken for tofu or using a low-carb wrap, like lettuce leaves.
Flavor Explosion: The combination of creamy peanut sauce, crunchy vegetables, and savory chicken ensures a taste that’s truly delightful.
Healthy Balance: Packed with protein, fresh veggies, and healthy fats, these wraps are a nutritious option for any meal.
Meal Prep Friendly: Prepare the filling and peanut sauce in advance, making assembling a breeze on hectic days.
Whether enjoyed as a quick dinner or meal-prepped for the week, these wraps are a fantastic and tasty solution to your food routine! Consider pairing them with a refreshing cucumber salad for a satisfying meal experience.
Thai Peanut Chicken Wraps Ingredients
For the Peanut Sauce
- Peanut Butter – Provides creaminess and flavor; substitute with sunflower seed butter or tahini for a peanut-free option.
- Soy Sauce – Adds umami depth and saltiness; opt for low-sodium if preferred.
- Brown Sugar/Honey – Balances savory flavors with sweetness; use maple syrup as an alternative.
- Rice Wine Vinegar – Offers acidity; can substitute apple cider vinegar if needed.
- Garlic – Enhances flavor; freshly minced is recommended for optimal taste.
- Ginger – Adds warmth and zest; fresh is best but ground ginger can substitute.
- Sriracha – Provides heat; adjust the quantity to taste or omit for a milder sauce.
For the Wrap Filling
- Chicken (cooked and chopped) – The primary protein source; rotisserie chicken works great for time-saving.
- Coleslaw Mix – Adds crunch and fiber; can replace with a mix of shredded cabbage and carrots.
- Grated Carrot – Enhances color and sweetness; optional but recommended.
- Cilantro – Adds freshness; omit if not a fan.
- Salted Peanuts – Provide crunch and flavor; can use unsalted if preferred.
For the Wrap Base
- Tortillas – The wrap base; use large lettuce leaves for a low-carb alternative.
These Thai Peanut Chicken Wraps are the perfect combination of delicious and convenient. Your family will love them, and with the option for a peanut-free variation, everyone can join in on the fun!
Step‑by‑Step Instructions for Thai Peanut Chicken Wraps
Step 1: Prepare the Peanut Sauce
In a medium bowl, whisk together ½ cup peanut butter, 2 tablespoons soy sauce, 1 tablespoon brown sugar or honey, 1 tablespoon rice wine vinegar, 1 minced garlic clove, 1 teaspoon freshly grated ginger, and 1 teaspoon sriracha. If the sauce is too thick, thin it with a little warm water until it reaches a pourable consistency. Set aside this creamy peanut sauce for later use.
Step 2: Combine Filling
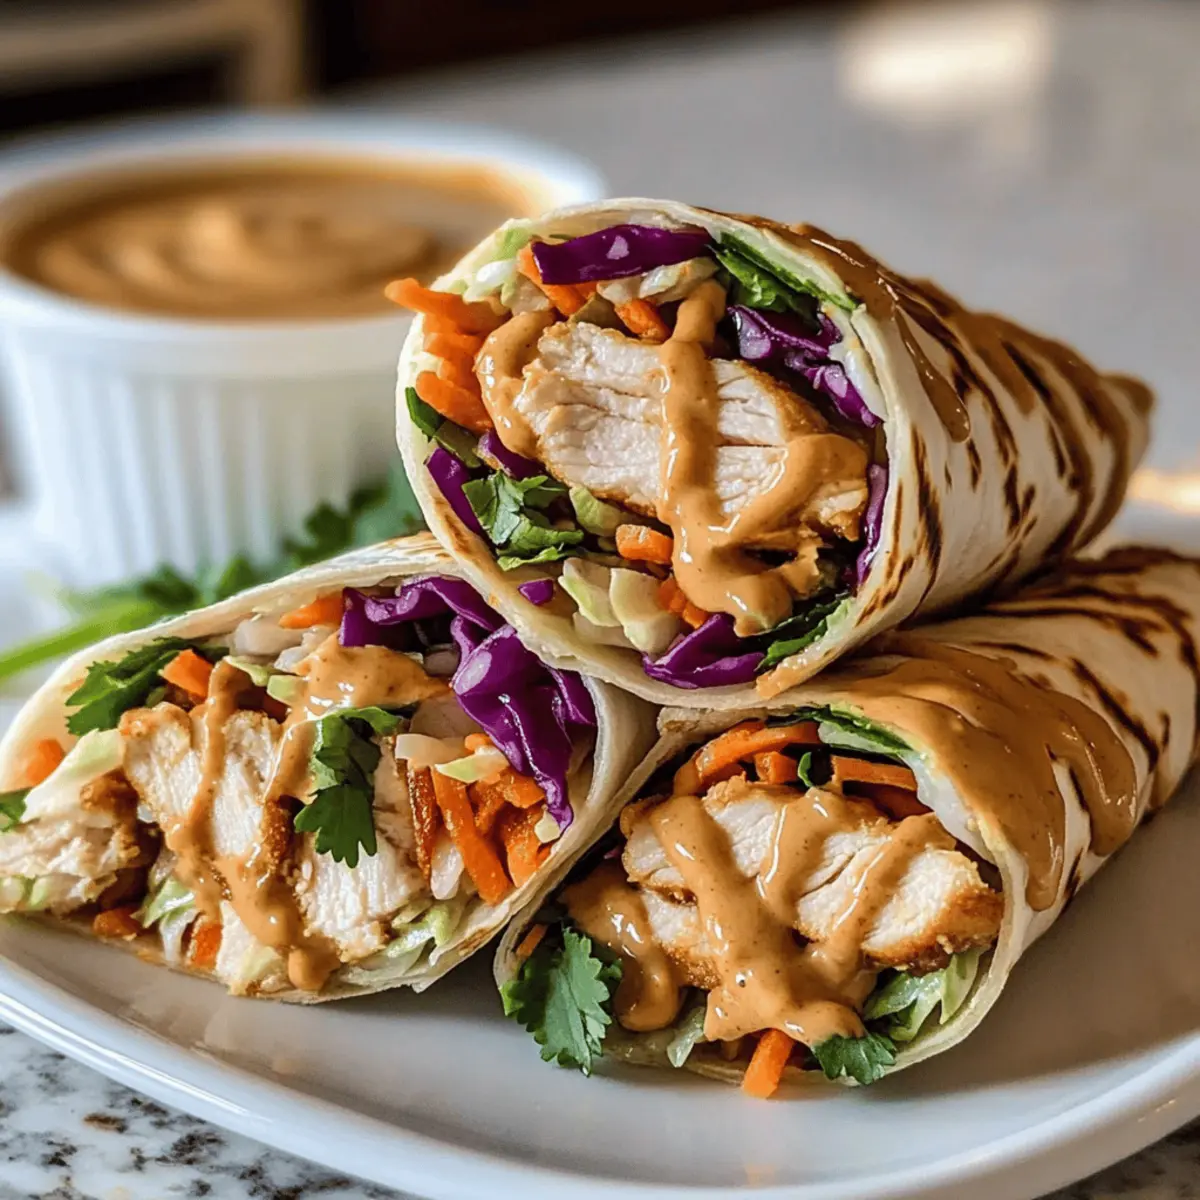
In a large mixing bowl, combine 2 cups of cooked and chopped chicken, 2 cups of coleslaw mix, ½ cup of optional grated carrots, ¼ cup chopped cilantro, and ¼ cup of chopped salted peanuts. Drizzle about half of the peanut sauce over the filling ingredients and gently toss everything together until evenly coated. This flavorful mixture will create a delightful crunch in your wraps.
Step 3: Warm Tortillas
To make assembly easier, warm the tortillas in the microwave for about 30 seconds or until they're soft and pliable. If you prefer, you can also heat them in a dry skillet on medium heat for about 15-20 seconds on each side. Warming the tortillas will help prevent tears and make rolling much smoother as you prepare your Thai Peanut Chicken Wraps.
Step 4: Assemble Wraps
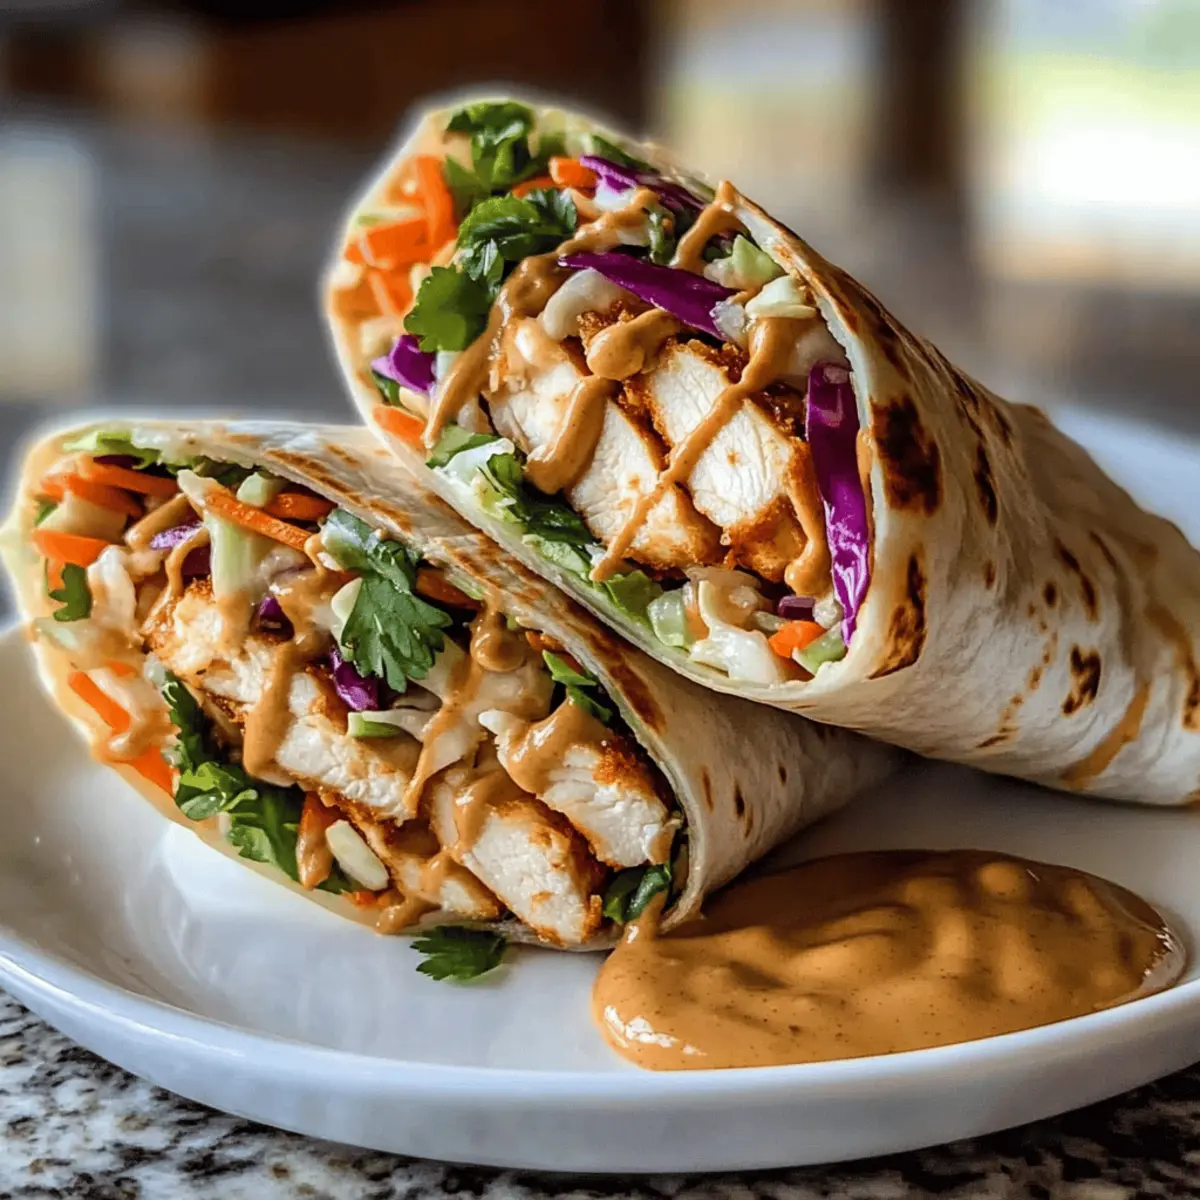
Lay one warmed tortilla flat on a clean surface, then scoop a generous portion of the filling mixture into the center, making sure not to overfill. Fold in the sides of the tortilla, then roll it from the bottom up to create a tight wrap. Repeat this process with the remaining tortillas and filling. Serve immediately for the best texture, or wrap them in parchment paper for later!

Thai Peanut Chicken Wraps Variations
Feel free to get creative and customize these wraps to your liking—there are endless possibilities just waiting to be explored!
-
Vegetarian: Replace chicken with firm tofu or chickpeas for a hearty, plant-based alternative that still packs a punch.
-
Peanut-Free: Swap peanut butter for sunflower seed butter or tahini, ensuring the wraps remain creamy and delicious without the allergens.
-
Low-Carb: For a lighter option, ditch the tortillas in favor of large lettuce leaves like romaine or butter lettuce, creating a refreshing wrap.
-
Spicy Twist: Add chopped jalapeños or a dash of chili flakes to the filling for a spicy kick that brings heat, flavor, and excitement in each bite.
-
Flavorful Additions: Enhance your wraps with crunchy bell peppers, creamy avocado, or refreshing cucumber slices to introduce different textures and flavors.
-
Sweet Spin: Incorporate diced mango or pineapple for a touch of sweetness that beautifully contrasts the nutty peanut sauce and savory filling.
-
Asian Fusion: Try a splash of sesame oil in the peanut sauce or sprinkle sesame seeds on top for a delightful sesame flavor and added crunch.
Don't forget, these wraps are perfect alongside a light side, like a fresh cucumber salad that complements their flavors beautifully. Enjoy the process of experimenting with your ingredients, and you'll discover your own perfect version of these Thai Peanut Chicken Wraps!
Make Ahead Options
These Thai Peanut Chicken Wraps are perfect for meal prep, making busy weeknights a breeze! You can prepare the peanut sauce and the filling (chicken, coleslaw mix, and other ingredients) up to 3 days in advance. Simply store them in airtight containers in the refrigerator. When you’re ready to serve, warm your tortillas for about 30 seconds in the microwave to keep them soft and pliable, then scoop your prepared filling into the center, fold in the sides, and roll them up. This way, you’ll have a delicious and satisfying meal ready in no time, just as fresh and flavorful as when made from scratch!
What to Serve with Easy Thai Peanut Chicken Wraps
Elevate your dinner experience with delightful sides that complement the flavors of your wraps.
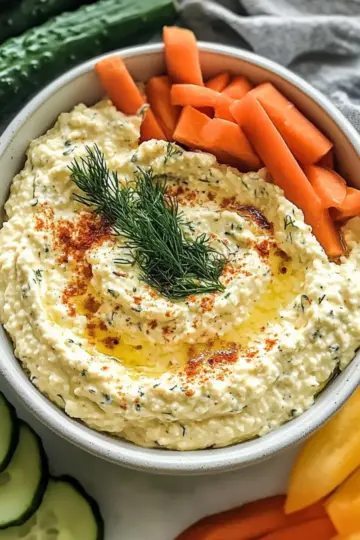
- Cucumber Salad: A light and refreshing salad dressed in rice vinegar balances the richness of the peanut sauce.
- Mango Salsa: Sweet, juicy mango adds a tropical contrast, brightening each bite and enhancing the wraps’ flavor.
- Steamed Jasmine Rice: The fluffy texture of steamed rice is perfect for soaking up any leftover sauce and makes for a satisfying pairing.
- Thai Sweet Chili Dipping Sauce: A sweet and spicy sauce can add an extra layer of flavor to your wraps, making them irresistible.
- Peanut Noodle Salad: This dish mirrors the peanut flavors while introducing a delightful chewiness that pairs beautifully with the wraps.
- Grilled Vegetables: Charred veggies add a smoky depth, harmonizing with the freshness of the ingredients inside the wraps.
- Iced Green Tea: A refreshing beverage that complements the bold flavors of the wraps and cleanses the palate beautifully.
- Coconut Rice Pudding: For a sweet finish, this creamy dessert satisfies any sweet tooth while echoing the rich flavors of Thai cuisine.
Enjoy this meal with family and friends, where every bite of your Thai Peanut Chicken Wraps feels even more delightful alongside these delicious companions!
How to Store and Freeze Thai Peanut Chicken Wraps
- Room Temperature: Serve wraps immediately after preparation for the best taste and texture. Avoid keeping them at room temperature for more than 2 hours.
- Fridge: Store any leftover wraps in an airtight container for up to 3 days. For best results, keep the filling separate from the tortillas to prevent sogginess.
- Freezer: If you wish to freeze prepared wraps, wrap each in plastic wrap and then place them in a freezer-safe bag. They can be frozen for up to 3 months.
- Reheating: To enjoy frozen wraps, thaw in the fridge overnight and then reheat in the microwave for 30-60 seconds until warm. Assembling fresh wraps from the filling is also a great option!
Expert Tips for Thai Peanut Chicken Wraps
-
Warm Tortillas First: Heating tortillas for about 30 seconds makes them more pliable and less likely to tear during assembly.
-
Mind the Fillings: Avoid overfilling the wraps to prevent messiness; keeping it balanced makes rolling easier.
-
Prep Ahead: For a stress-free meal, prepare the filling and sauce up to three days in advance. Simply assemble when you're ready to eat!
-
Customize Your Heat: Adjust the amount of sriracha based on your preferred spice level; remember, you can always add more but it’s hard to take it away!
-
Fresh Ingredients Matter: Use freshly minced garlic and ginger for maximum flavor; they make a significant difference in the sauce.
-
Go Low-Carb: Swap tortillas with large lettuce leaves for a refreshing, low-carb alternative while still enjoying delicious Thai Peanut Chicken Wraps.
Thai Peanut Chicken Wraps Recipe FAQs
What type of chicken is best for these wraps?
Absolutely! I recommend using cooked and chopped rotisserie chicken for convenience, but you can also use grilled chicken breast or even shredded chicken from a previous meal. The key is to have tender, flavorful chicken that complements the crisp vegetables and creamy sauce.
How should I store leftovers?
To keep your Thai Peanut Chicken Wraps fresh, store any leftovers in an airtight container in the fridge for up to 3 days. It’s best to keep the filling separate from the tortillas to avoid sogginess, ensuring both stay tasty for your next meal.
Can I freeze the wraps?
Yes, you can freeze these wraps! Wrap each one tightly in plastic wrap, and then place them in a freezer-safe bag. They’ll stay good for up to 3 months. When you’re ready to eat, just thaw them in the fridge overnight, and reheat in the microwave for 30-60 seconds until warm.
What if I have a nut allergy?
Not to worry! For a peanut-free option, simply replace the peanut butter with sunflower seed butter or tahini. This allows everyone to enjoy the delicious flavors of the Thai Peanut Chicken Wraps without compromising safety.
How can I prevent the wraps from getting soggy?
Very! To keep your wraps crisp, it's best to assemble them fresh just before eating. If you're prepping ahead, store the filling and tortillas separately in airtight containers. When assembling, make sure the filling isn't too wet; draining excess liquid can help maintain that delightful crunch.
Can I make this recipe vegetarian or low-carb?
Yes, indeed! For a vegetarian version, substitute the chicken with firm tofu or well-seasoned chickpeas. If you're looking for a low-carb alternative, use large lettuce leaves like romaine or butter lettuce instead of tortillas. It's a fantastic way to enjoy the same great flavors while adhering to dietary preferences.
Delicious Thai Peanut Chicken Wraps for Quick, Tasty Meals
Ingredients
Equipment
Method
- In a medium bowl, whisk together peanut butter, soy sauce, brown sugar, rice wine vinegar, minced garlic, grated ginger, and sriracha. If too thick, thin with warm water.
- In a large mixing bowl, combine chicken, coleslaw mix, grated carrots, cilantro, and peanuts. Drizzle half of the peanut sauce over the filling and toss together.
- Warm tortillas in the microwave for about 30 seconds or in a dry skillet for 15-20 seconds on each side until soft.
- Lay one tortilla flat, scoop a portion of the filling in the center, fold in the sides, and roll from the bottom up. Repeat with remaining tortillas.


Leave a Reply