
As I stood in my kitchen, the air thick with excitement, I recalled those carefree days at the fair, chasing after colorful ice cream dots that seemed to dance in the summer sun. Well, today, I'm bringing that nostalgia home with my DIY Liquid Nitrogen Ice Cream Dots. This fun dessert not only adds an adventurous twist to your ice cream game but also allows you to experiment with a variety of flavors and toppings, making it a crowd-pleaser for any occasion. Imagine crafting tiny frozen balls of joy that will melt in your mouth, reminiscent of those cherished moments. With these dippin dots homemade ice cream delights, you'll impress friends and family while shifting away from mundane fast food desserts! Who's ready to dive into this frozen adventure together?
Why Try Dippin Dots at Home?
Nostalgic Fun: Recreate childhood memories with a modern twist on a classic favorite.
Unique Experience: The thrill of using liquid nitrogen transforms ice cream into delightful, tiny dots that freeze in seconds.
Flavor Freedom: Mix and match flavors or add exciting toppings like mini marshmallows or fruit for a personal touch. Consider pairing your Dippin Dots with a scoop of Creamy Shrimp Alfredo to elevate your dessert spread!
Perfect for Gatherings: These bite-sized treats are ideal for parties, sparking conversations and creating smiles.
Science and Dessert Combined: It's not just cooking; you're creating a special experience that feels a bit like a science experiment! With your DIY Liquid Nitrogen Dots, you're all set to impress and delight anyone who takes a bite.
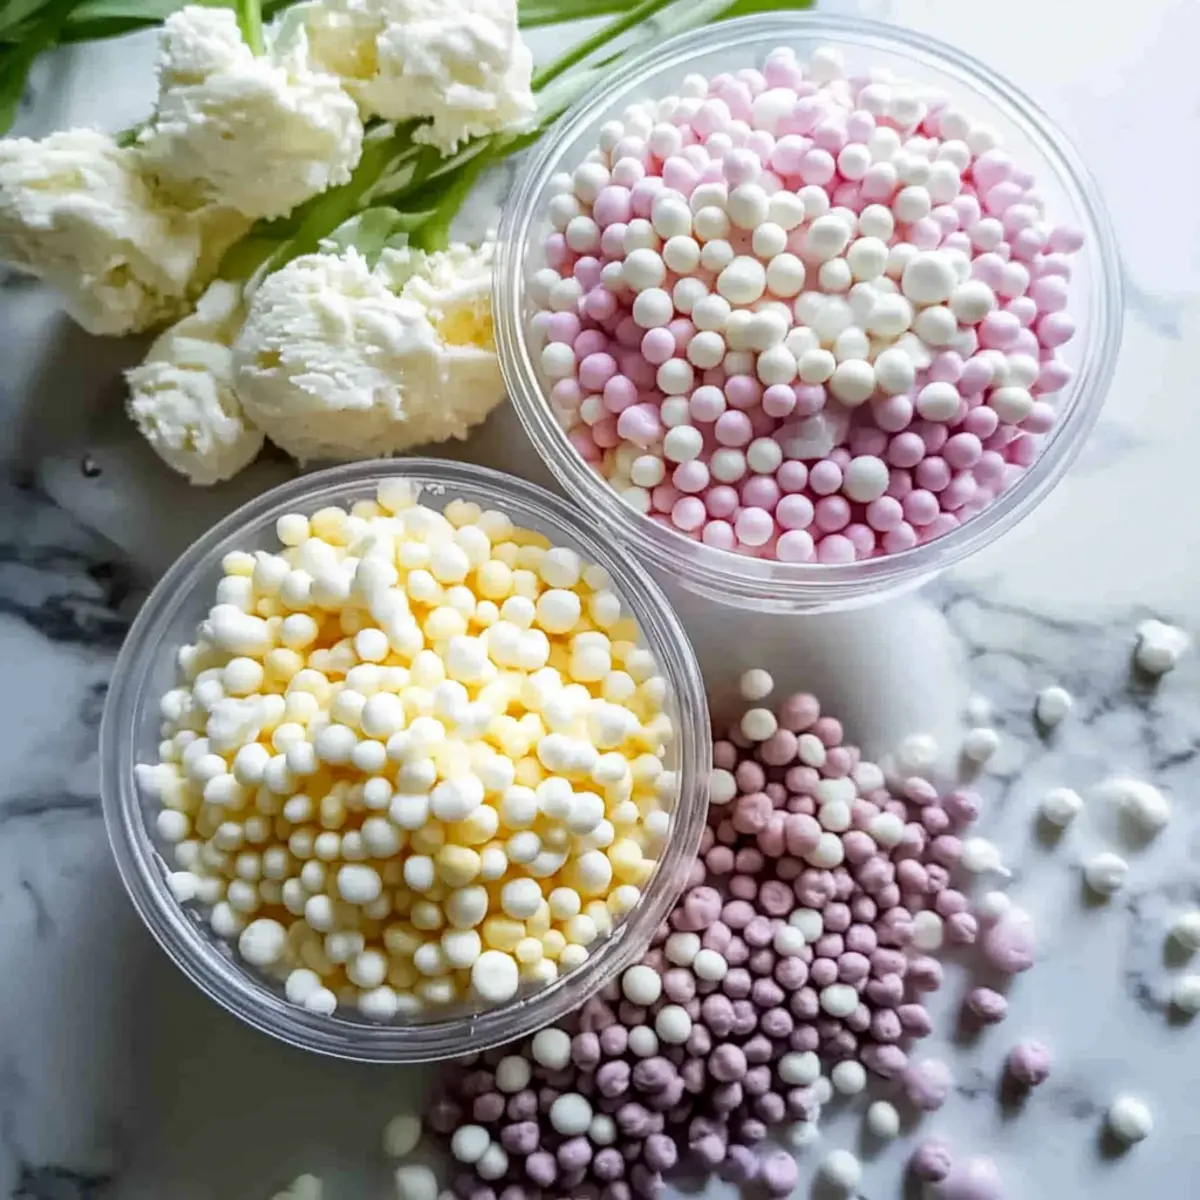
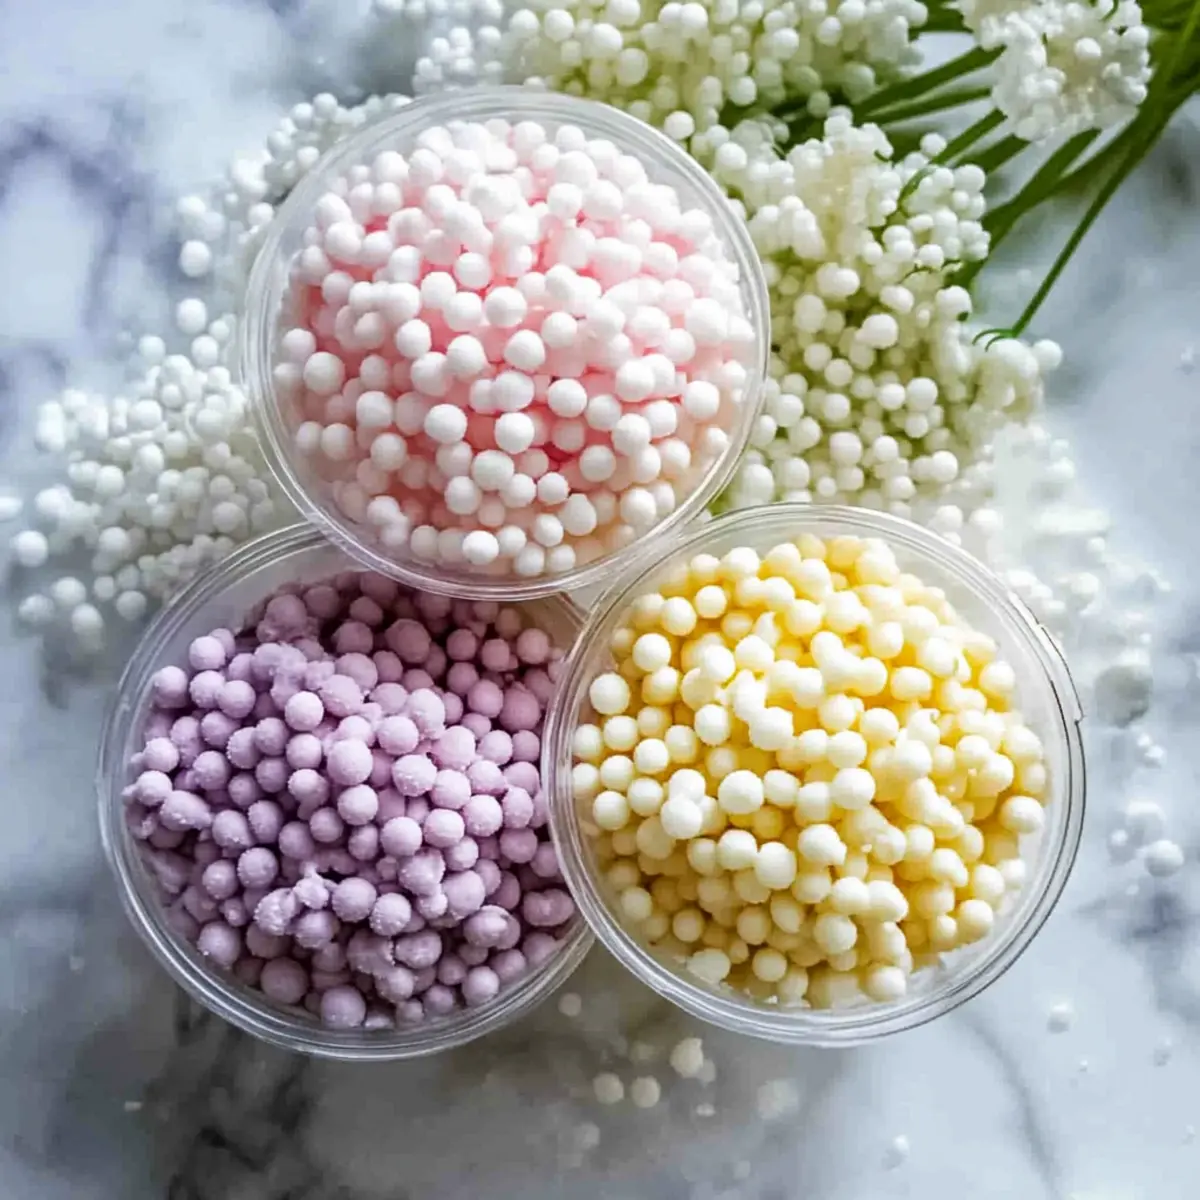
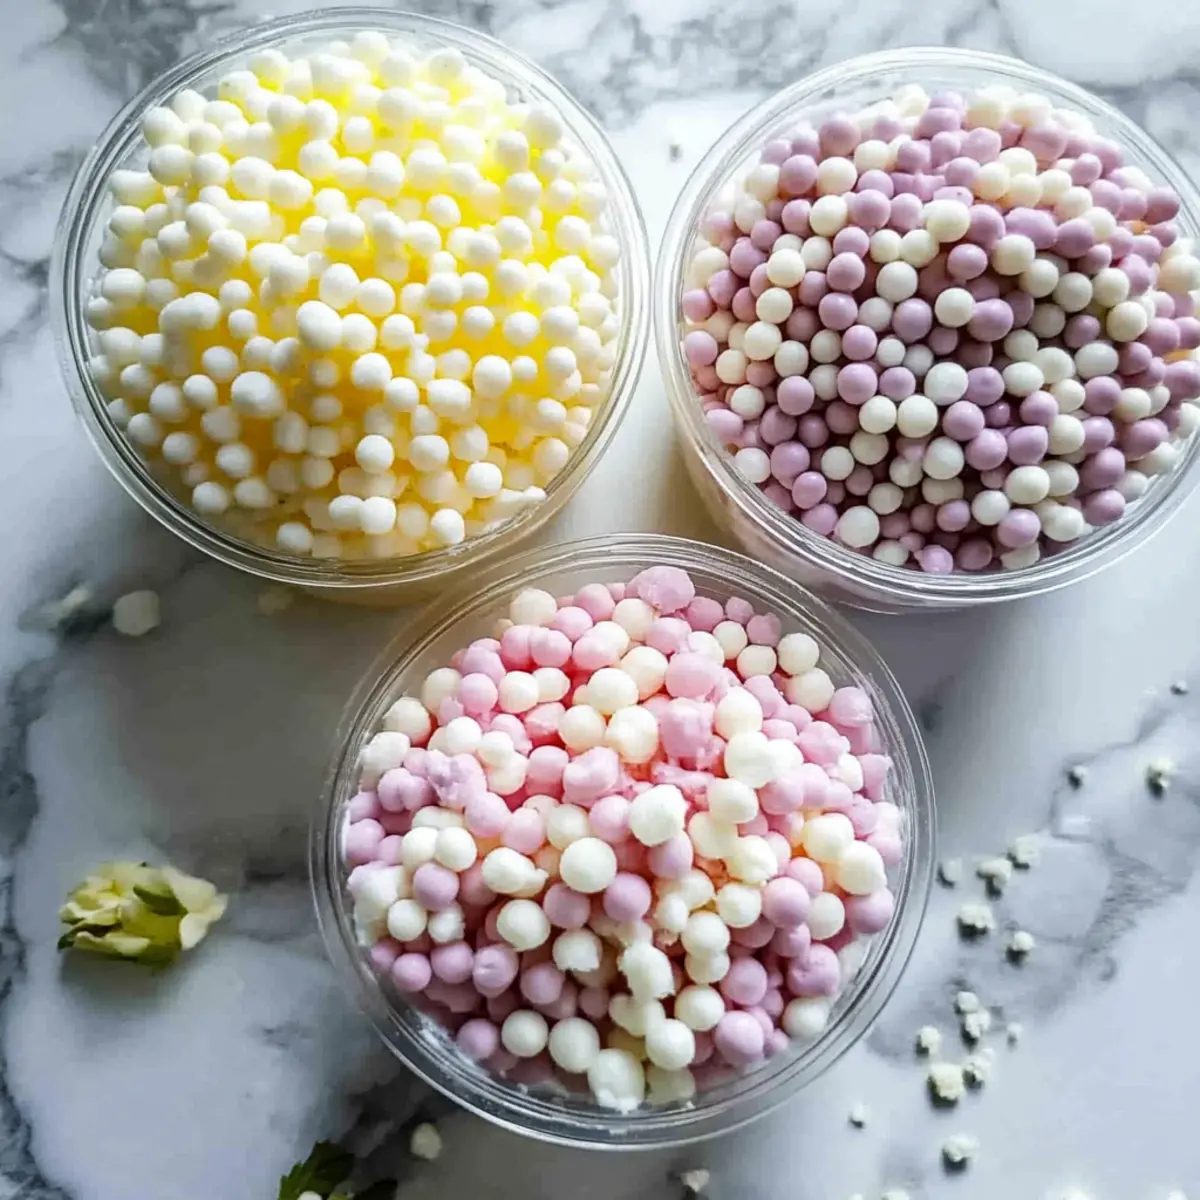
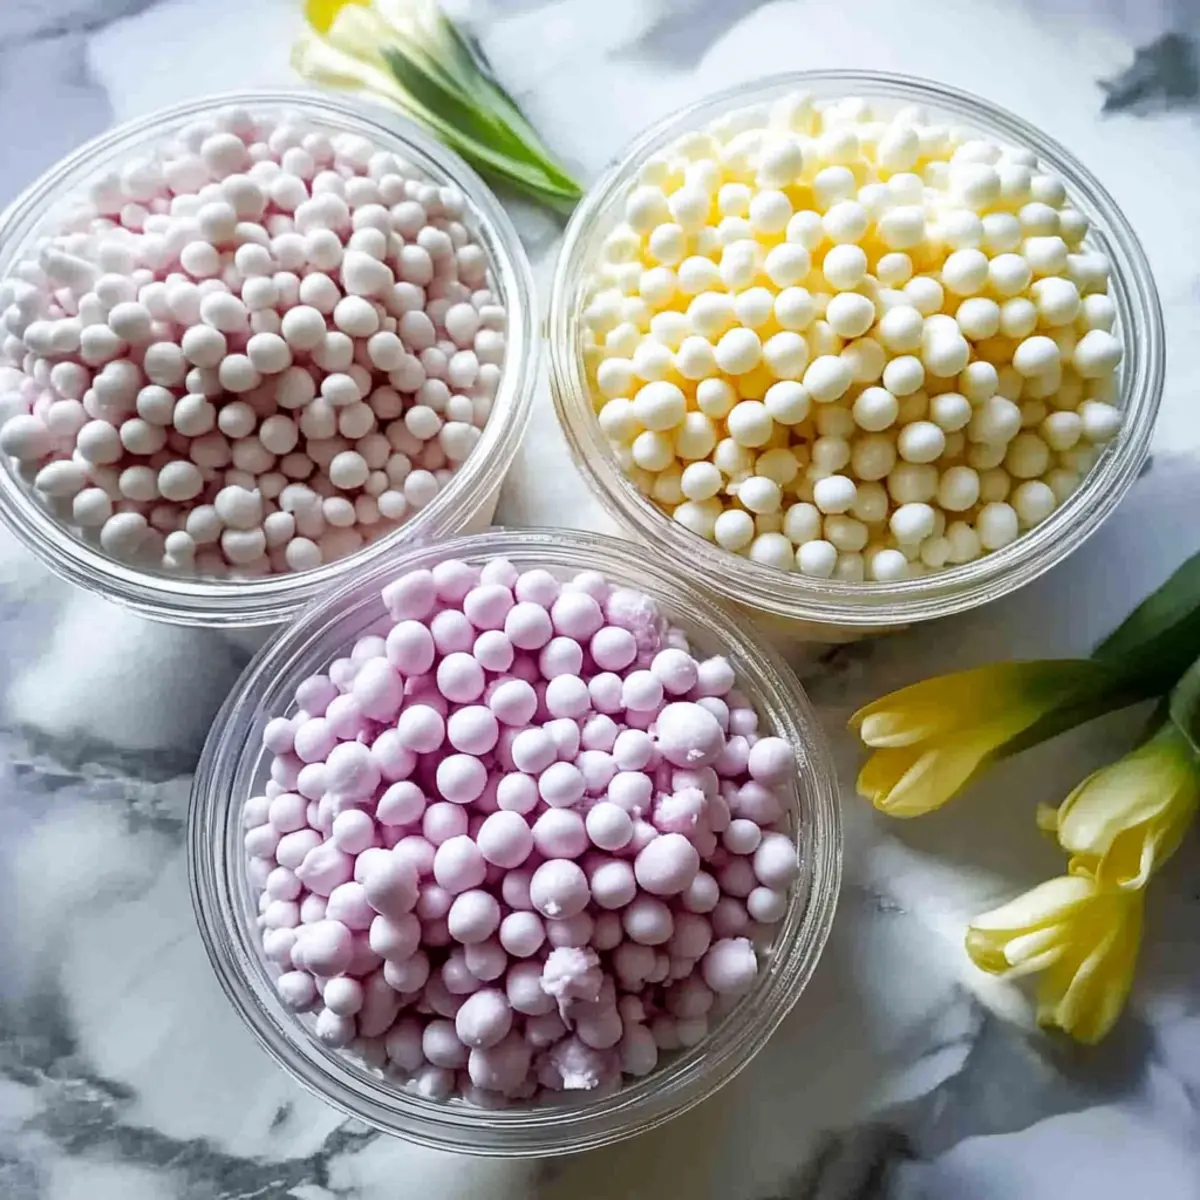
Dippin Dots Homemade Ice Cream Ingredients
For the Ice Cream Dots
• Liquid Nitrogen – Essential for flash-freezing your delicious ice cream drops; always handle with care!
• Ice Cream Base – Choose your favorite flavor, whether homemade or store-bought, as the foundation for your tasty dots.
For the Toppings (Optional)
• Mini Marshmallows – Add these fluffy delights for fun texture and flavor variation to your Dippin Dots homemade ice cream.
• Frozen Fruit – Diced fruit can be added to enhance flavor and create delightful combinations.
Feel free to get creative with your choices—it’s all about fun and flavor!
Step‑by‑Step Instructions for Dippin Dots Homemade Ice Cream
Step 1: Prepare Safety Gear
Before you begin making your Dippin Dots homemade ice cream, ensure your safety by putting on gloves and eye protection. Liquid nitrogen is extremely cold and can cause severe burns upon contact with skin or eyes. Once geared up, find a well-ventilated area to work in, as good airflow is crucial when handling nitrogen.
Step 2: Set Up the Bowl
Grab a sturdy, wide stainless steel bowl and pour in 1-2 inches of liquid nitrogen. Place the bowl on a stable surface, ensuring it's secure. You’ll want to see the nitrogen starting to shimmer; this means it's ready for the next step of creating your delightful ice cream dots.
Step 3: Prepare Ice Cream Mixture
Choose your favorite ice cream base—either homemade or slightly melted store-bought. Using a turkey baster, fill it with the ice cream mixture until it's about three-quarters full. This will allow for easy dripping into the liquid nitrogen, setting you up for success as you create those tiny, cold Dippin Dots.
Step 4: Drip Ice Cream Dots
Holding the turkey baster over the bowl of nitrogen, squeeze it gently to release small droplets of ice cream. Move the baster in a quick circular motion as you drip the ice cream into the nitrogen; the cold will cause the droplets to freeze almost instantly. Enjoy watching the magic happen as your Dippin Dots take shape!
Step 5: Gather Dots
After about 10 seconds, use a slotted spoon to scoop the now-frozen ice cream dots from the nitrogen. Be careful not to let them sit too long in the nitrogen, which could make them overly hard. If you prefer, transfer the dots to an ice bath to help maintain their temperature while you finish up the batch.
Step 6: Let Them Rest
Once you've gathered all your Dippin Dots, set them aside for about a minute. This waiting period is essential to ensure that any residual nitrogen evaporates. You want your homemade treats to be safe and ready for an incredible flavor experience as you prepare to share them with friends and family.
Step 7: Serve and Enjoy
After letting your Dippin Dots rest, serve them immediately for optimal enjoyment! Try drizzling them with chocolate syrup or adding some crushed nuts on top for added texture. These tiny frozen balls of joy will impress anyone who tries them, making for a delightful treat reminiscent of your favorite fair days!
Make Ahead Options
These Dippin Dots Homemade Ice Cream are perfect for meal prep enthusiasts! You can prepare your ice cream base up to 24 hours in advance, refrigerating it in an airtight container to keep it fresh and delicious. Once you're ready to create your dots, simply follow the steps to drip the cold mixture into liquid nitrogen. Additionally, if you want to save some time on the day of your gathering, you can pre-measure and set out your toppings (like mini marshmallows and fruit) in advance, ensuring everything is ready to go. This way, you'll impress your guests with minimal effort and truly enjoy the process!
What to Serve with Dippin Dots Homemade Ice Cream
Create a magical dessert experience that will delight your family and friends!
- Fruity Milkshakes: Blend fresh fruit with ice cream for a refreshing shake that beautifully complements the sweet, frozen dots.
- Chocolate Syrup Drizzle: A rich drizzle of chocolate syrup adds a decadent contrast, enhancing the overall dessert experience.
- Mini Pancake Stacks: Fluffy mini pancakes topped with dots and syrup create a playful twist on breakfast-for-dessert.
- Whipped Cream: Light and airy, this topping adds a delightful creaminess that pairs perfectly with the crunchy, frozen dots.
- Churros: Crunchy, cinnamon-sugar churros offer a satisfying texture that complements the softness of the ice cream dots.
- Bubbly Lemonade: A zesty, sparkling lemonade refreshes the palate between the spoonfuls of creamy, ice cream goodness.
- Frozen Fruit Cups: A mix of berries or melons brings a light, fruity touch that balances the sweetness of your Dippin Dots.
- Vanilla Ice Cream Scoop: For the classic ice cream lover, serve a scoop of velvety vanilla alongside for a double-dip delight.
Dippin Dots Homemade Ice Cream Variations
Feel free to let your imagination run wild and customize these delightful ice cream dots with your favorite flavors and textures!
- Flavor Experimentation: Explore unique ice cream bases like chocolate stout or coconut, adding your own fun twist that suits your taste buds.
- Textured Treats: Add mini marshmallows or crushed cookies into your ice cream base for texture and fun surprise bursts of flavor.
If you’d like a creamy option, try making your ice cream dots with a custard base, like in Creamy Mushroom Chicken, for indulgent decadence.
- Fresh Frozen Fruits: Freeze small pieces of strawberries or bananas, incorporating them into the ice cream mix for vibrant, fruity bites.
- Nutty Variations: Sprinkle crushed nuts or chocolate-covered nuts into your ice cream mix for additional crunch and delightful flavor notes.
You can also play with a savory-sweet pairing; serve your Dippin Dots alongside a rich dessert like Pistachio White Chocolate for the ultimate treat experience!
- Spicy Sweet: For adults seeking a kick, add a hint of cayenne or chili powder to your ice cream base for a surprising heat that contrasts perfectly with sweetness.
- Layered Dots: Use different ice cream bases in your turkey baster to create layered dots that look as good as they taste.
With so many fun options, the only limit is your creativity in transforming your Dippin Dots homemade ice cream into a truly memorable affair!
How to Store and Freeze Dippin Dots Homemade Ice Cream
Room Temperature: These delightful ice cream dots are best enjoyed right after making them; they melt quickly and lose their unique texture at room temperature.
Fridge: If you have any leftovers, store them in an airtight container in the fridge for up to 1 day. However, note that the creamy texture may change substantially.
Freezer: To preserve your Dippin Dots homemade ice cream, freeze them in a single layer on a baking sheet before transferring to an airtight container. They can last up to 2 weeks but may lose their original crunchy bite.
Reheating: When ready to serve frozen dots, allow them to sit at room temperature for a few minutes to soften slightly before enjoying.
Expert Tips for Dippin Dots Homemade Ice Cream
-
Safety First: Always wear gloves and goggles when handling liquid nitrogen to protect yourself from severe cold burns.
-
Bowl Stability: Ensure your stainless steel bowl is on a secure, stable surface to avoid spills or accidents while making your Dippin Dots homemade ice cream.
-
Drip Technique: Squeeze the turkey baster gently and keep it moving in a circular motion so that the ice cream droplets don’t clump together when they freeze.
-
Quick Scooping: Scoop out the dots promptly after freezing, as letting them sit too long in liquid nitrogen can lead to overly hard dots.
-
Topping Variety: Get creative with toppings! Add mini marshmallows and frozen fruits to enhance both flavor and texture. Experiment with combinations to take your Dippin Dots to the next level.
Dippin Dots Homemade Ice Cream Recipe FAQs
How should I select my ice cream base?
When choosing your ice cream base, opt for a flavor you truly love. Homemade ice cream gives you control over sweetness and creaminess, while any melting store-bought ice cream works just as well! Look for creamy bases without ice crystals; this ensures smoother and more flavorful Dippin Dots.
What’s the best way to store leftover Dippin Dots?
Leftover Dippin Dots are best kept in an airtight container in the freezer. To maintain their unique texture, freeze them in a single layer on a baking sheet first, then transfer them to the container. They can last up to 2 weeks but may lose some crunchiness.
Can I freeze Dippin Dots homemade ice cream for later?
Absolutely! After making your Dippin Dots, place them in a single layer on a baking sheet for about an hour until they're completely frozen. Then, transfer them to an airtight container, where they can last up to 2 weeks in the freezer. Just remember, they can lose some of that delightful crunch over time.
What should I do if my Dippin Dots are too hard after freezing?
If your Dippin Dots end up too hard, don't worry! Allow them to sit at room temperature for about 5 minutes. This will help soften them slightly, making them easier to enjoy. Alternatively, you can let them sit in an ice bath to keep cool while softening them to your preferred texture.
Are Dippin Dots safe for pets or people with allergies?
While Dippin Dots are a fun treat for humans, they aren't suitable for pets, especially dogs, as ice cream contains lactose, which many pets have trouble digesting. If you’re serving guests with allergies, be sure to use allergy-friendly ingredients and check that any additional toppings are safe for all your guests.
Dippin Dots Homemade Ice Cream: A Fun Twist on Classic Treats
Ingredients
Equipment
Method
- Prepare Safety Gear: Wear gloves and goggles when handling liquid nitrogen.
- Set Up the Bowl: Pour 1-2 inches of liquid nitrogen into a sturdy, wide stainless steel bowl.
- Prepare Ice Cream Mixture: Fill the turkey baster with your ice cream mixture until three-quarters full.
- Drip Ice Cream Dots: Squeeze the turkey baster to release small droplets into the nitrogen, moving in a circular motion.
- Gather Dots: Use a slotted spoon to scoop the frozen dots after about 10 seconds.
- Let Them Rest: Set the dots aside for about a minute to ensure safety for consumption.
- Serve and Enjoy: Serve your Dippin Dots immediately, adding chocolate syrup or toppings if desired.


Leave a Reply