
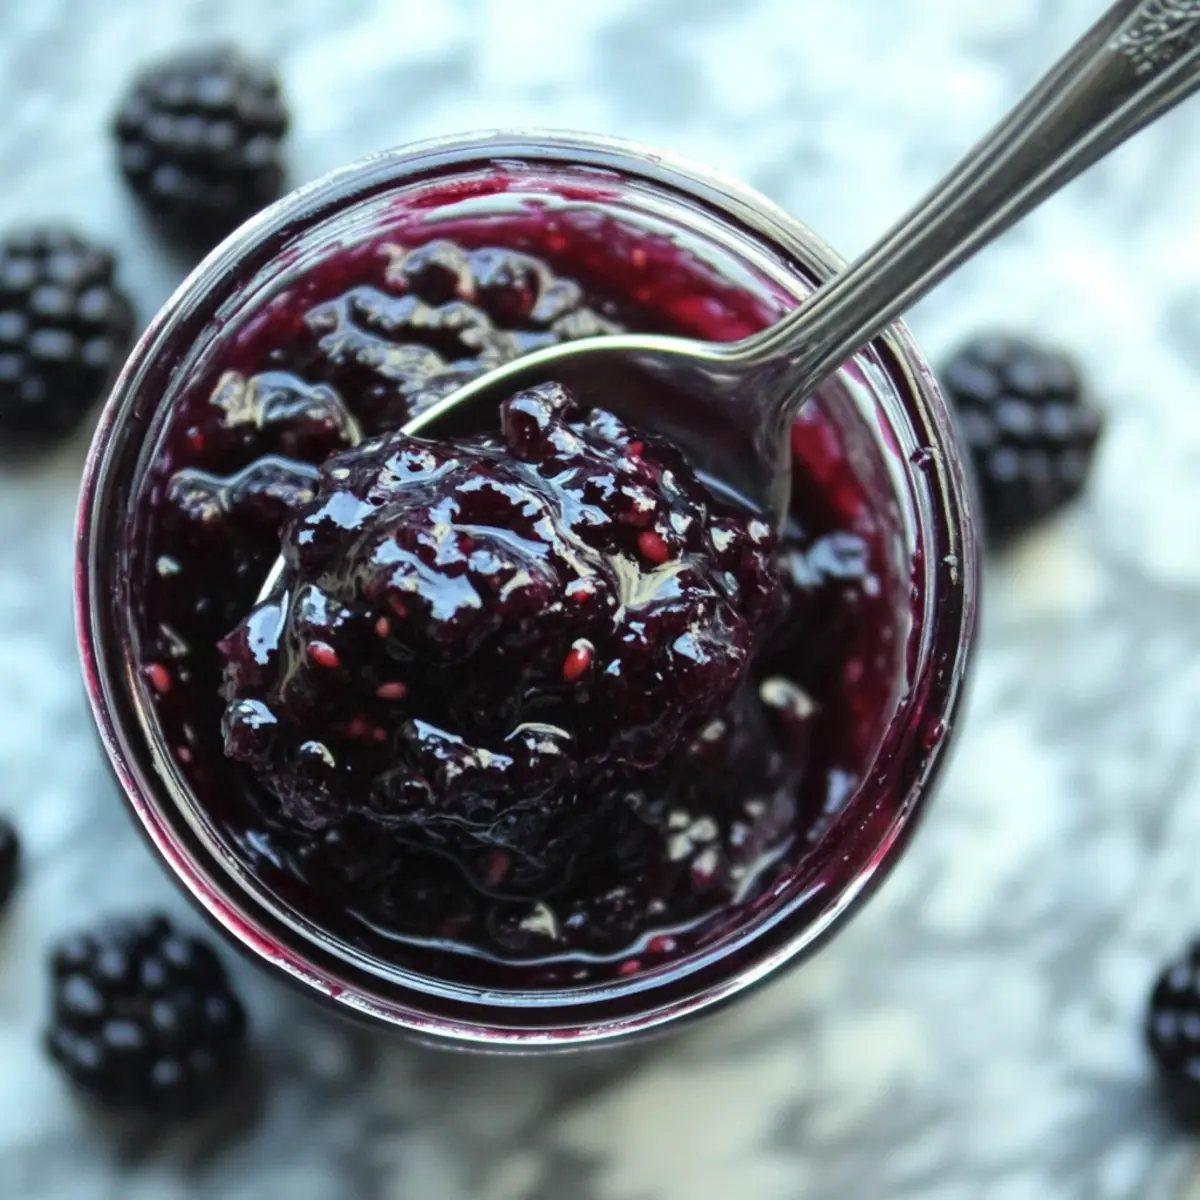
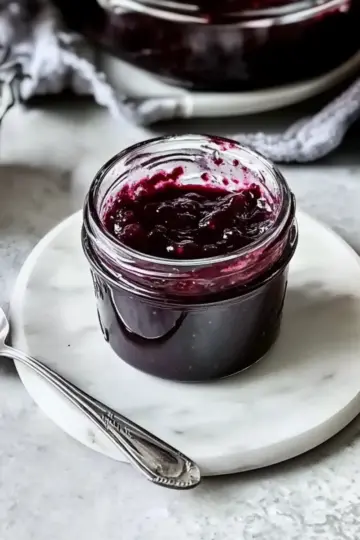
Standing in my kitchen, the sweet-tart scent of ripe blackberries wafted through the air, reminding me of sun-soaked summer days. This Homemade Blackberry Jam Recipe captures the essence of those lazy afternoons, allowing you to enjoy the luscious flavor of berries all year long. What makes this delightful treat even more appealing? It’s a beginner-friendly recipe that requires no pectin and offers flexible sweetness levels—whether you prefer regular sugar, low sugar, or even honey for a natural twist. Plus, it’s perfect for canning, so you can savor your handiwork for months ahead. Ready to spread a taste of summer on your breakfast toast? Let’s dive into this berry-filled adventure!
Why is homemade blackberry jam so special?
Flavorful Delight: The vibrant taste of ripe blackberries shines through in every jar, providing a burst of summer joy all year round.
Flexible Sweetness: Tailor this recipe to suit your palate with options for regular, low, or alternative sweeteners, making it adaptable for every dietary preference.
Beginner-Friendly: With a simple, no-pectin approach, even novice cooks can create a deliciously thick jam without any fuss.
Perfect for Canning: This jam is ideal for preserving, letting you stock up and enjoy your homemade treat whenever you want! Check out our tips on canning for more insights.
Versatile Uses: Spread it on toast, swirl it into yogurt, or use it as a filling for baked goods. The possibilities are endless!
Blackberry Jam Recipe Ingredients
For the Jam
• Mashed Blackberries – Approximately 6 cups of whole blackberries yield a naturally sweet and delicious base; feel free to use fresh, wild, or even frozen for convenience.
• Granulated Sugar – Essential for sweetness and gelling; opt for 4 cups for balanced sweetness, 2-3 cups for a low-sugar jam, or 6 cups if you prefer a sweeter, firmer set.
• Lemon Juice (Optional) – Adds a lovely tang and enhances flavors; it's optional since blackberries have natural acidity but a bit of lemon doesn't hurt!
Optional Sweeteners
• Honey or Maple Syrup – A great alternative for those looking for natural sweetness; use about ⅔ the amount of sugar specified in the recipe for an equally delightful jam.
This easy blackberry jam recipe invites you to embrace the sweetness of summer’s bounty any time of the year!
Step‑by‑Step Instructions for Blackberry Jam Recipe
Step 1: Prepare Canning Setup
Begin your homemade blackberry jam recipe by washing and sterilizing 5-6 half-pint jars. Keep them hot by placing them in a warm oven or a pot of hot water. Place the lids in warm water to soften the seals, ensuring a tight fit during canning. This preparation is essential for preserving your delicious jam safely.
Step 2: Crush Berries
Rinse and sort your fresh blackberries, carefully removing any stems or blemished fruit. Using a potato masher, crush the berries until you have about 6 cups of a smooth, fruity mixture. The vibrant color and fragrant aroma of the crushed berries will heighten your anticipation of the delightful blackberry jam to come.
Step 3: Combine Ingredients
In a large jam pot, combine the mashed blackberries with your chosen sugar type and optional lemon juice. Stir the mixture well until the sugar dissolves completely, ensuring a balanced sweetness in your jam. This step is crucial as it lays the foundation for the flavor profile of your sweet, homemade treat.
Step 4: Bring to Boil
Heat the blackberry mixture over medium-high heat, stirring frequently to prevent scorching. As the mixture heats up, expect heavy foaming, which is completely normal. Keep a close eye on it and continue stirring until the mixture reaches a rolling boil, signaling that we’re on the right path to transforming those beautiful blackberries into jam.
Step 5: Cook to Gel Stage
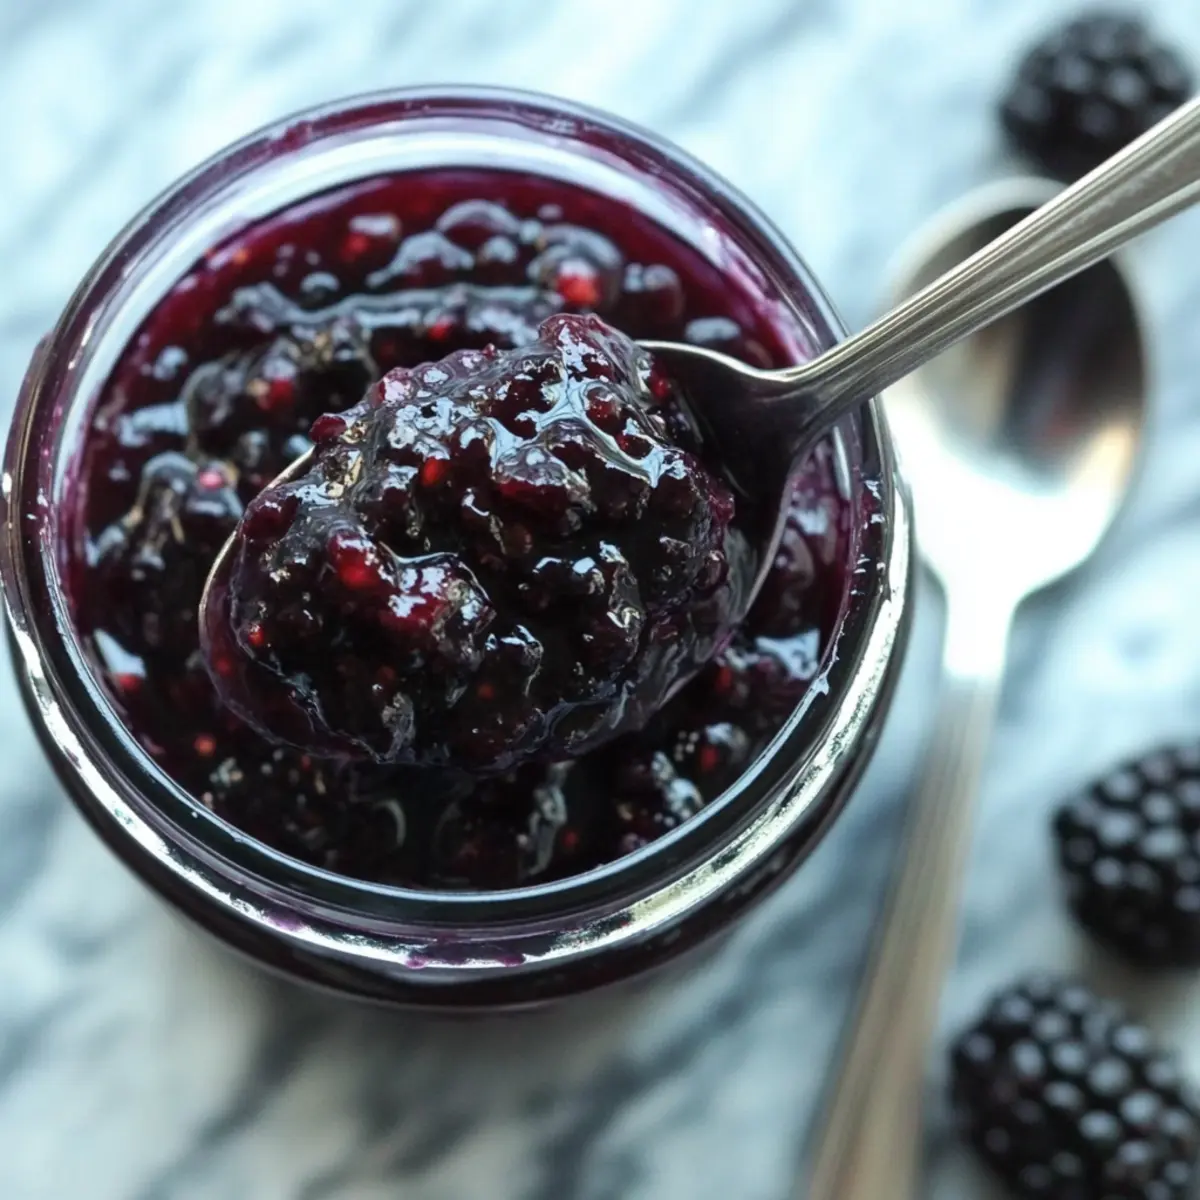
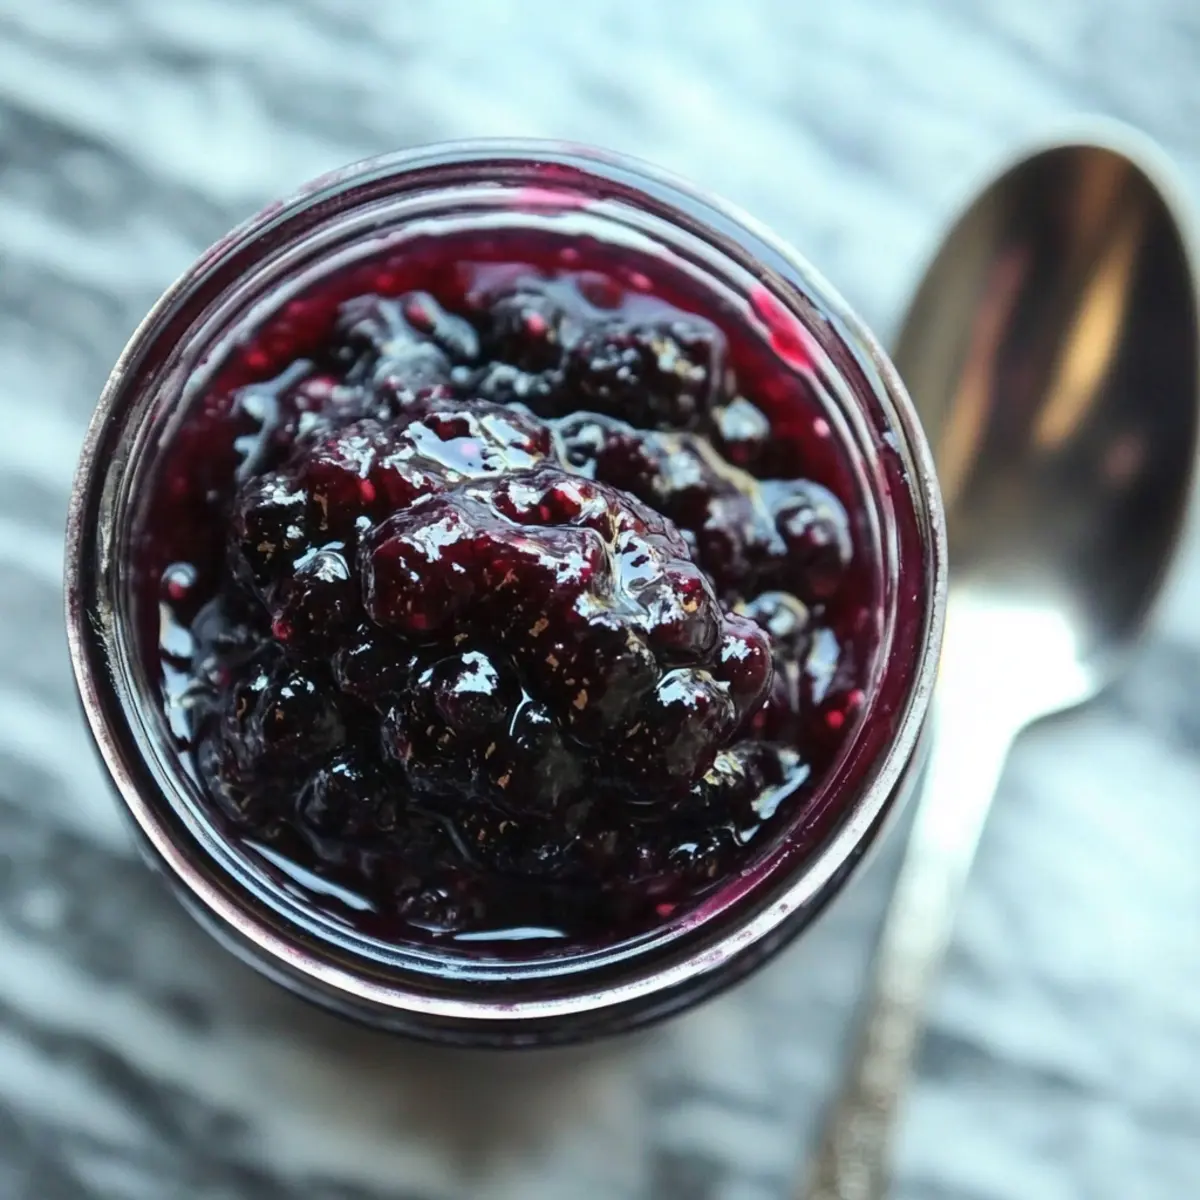
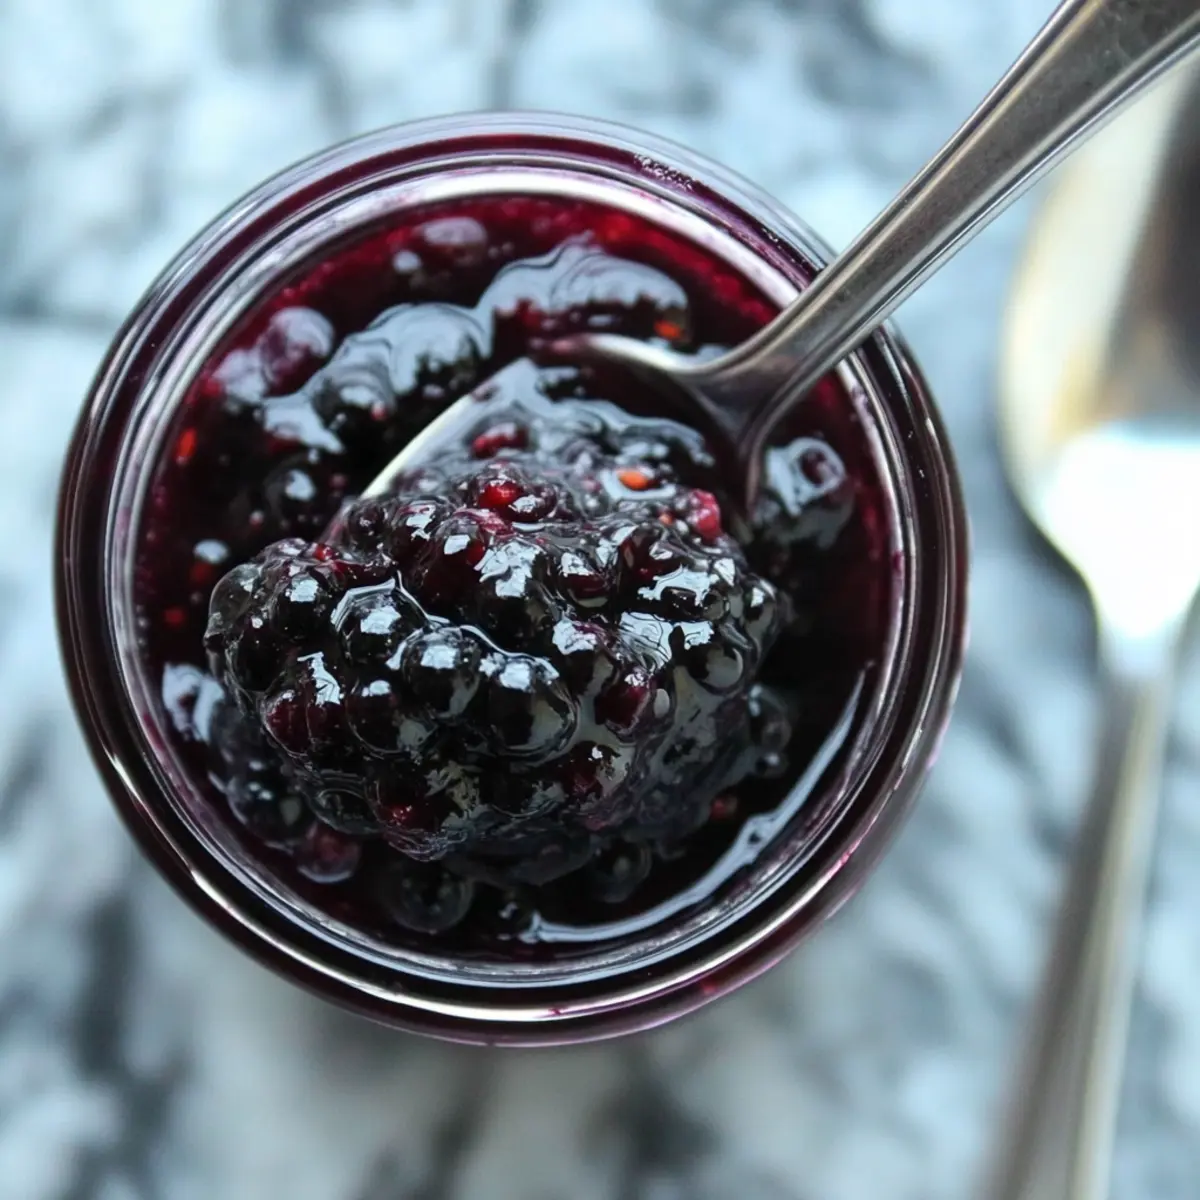
Allow the mixture to boil for 20-30 minutes, stirring often. You’ll notice it thickening as it cooks; look for a glossy, syrupy consistency that signals it’s nearing the gel stage. To be sure, check the temperature; it should reach 220°F at sea level. Alternatively, use the freezer plate test—place a spoonful of jam on a cold plate and see if it firms up.
Step 6: Ladle into Jars
Once your blackberry jam has reached the desired consistency, carefully ladle it into the hot sterilized jars, leaving about ¼ inch of headspace. Wipe the rims with a clean cloth to remove any residue, apply the warm lids, and secure them tightly. This step is vital to ensure a proper seal, preserving your jam for future enjoyment.
Step 7: Process in Water Bath Canner
Submerge the filled jars in a boiling water bath, ensuring they are fully covered by at least an inch of water. Process the jars for 10 minutes (increase to 15 minutes if you’re over 6,000 feet elevation). This step helps seal your jam while ensuring it's safe to store and enjoy for months to come.
Step 8: Cool and Store
After processing, carefully remove the jars from the water bath and allow them to sit undisturbed for 12-24 hours. Once cooled, check the seals; the lids should not flex when pressed. Label each jar with the date and store them in a cool, dark place. Your delicious homemade blackberry jam is ready for future toast, yogurt swirls, or delightful desserts!
What to Serve with Blackberry Jam Without Pectin
Homemade blackberry jam brings a luscious sweetness to your breakfast table, perfectly complementing a variety of delicious pairings.
- Freshly Toasted Bread: The warm, crunchy exterior of toasted bread beautifully contrasts the smooth, sweet jam, providing a delightful start to your day.
- Creamy Yogurt: Swirling blackberry jam into tangy yogurt creates a harmoniously balanced breakfast or snack, rich in flavor and texture.
- Fluffy Pancakes: Drizzle warm blackberry jam over pancakes for a sweet, fruity twist that makes breakfast feel like a special occasion.
- Smooth Oatmeal: Mix in a spoonful of jam with creamy oatmeal for a burst of fruity goodness that transforms a simple bowl into a morning treat.
- Baked Goods: Use blackberry jam as a filling in pastries or tarts, adding a touch of sweetness and a hint of tartness that heavenly complements baked goods.
- Charcuterie Board: Serve your jam with an assortment of cheeses, nuts, and meats on a charcuterie board for an elegant appetizer that dazzles guests.
- Herbal Tea: Pair your jam with a cup of fragrant herbal tea, offering a soothing combination that enhances the bright berry flavors.
- Scones or Biscuits: Slathering blackberry jam onto freshly baked scones or buttery biscuits elevates any afternoon tea experience to a delightful indulgence.
- Vanilla Ice Cream: A warm scoop of blackberry jam poured over cold vanilla ice cream creates a terrific dessert that balances temperatures and flavors beautifully.
Blackberry Jam Recipe Variations
Feel free to explore these delightful twists on your blackberry jam—each variation adds a new layer of flavor and deliciousness!
-
Sugar Levels: Adjust sugar levels to your taste by using 2-3 cups for a low-sugar version or stick with the traditional 4 or 6 cups for a sweet jam.
-
Natural Sweeteners: Substitute honey or maple syrup for a natural sweetness, using about ⅔ the amount of sugar for a delicate flavor twist.
-
Lemon Zest: Add lemon zest along with the juice for an extra citrusy brightness that enhances the berry flavor beautifully.
-
Herbal Infusion: Infuse your jam with fresh herbs like mint or thyme during cooking for an unexpected, aromatic taste that pairs wonderfully with cheese.
-
Spicy Kick: Toss in a pinch of cayenne or jalapeño for some heat! It’s a surprising but delightful contrast to the jam's sweetness.
-
Seedless Version: For a smoother texture, strain your cooked jam through a fine mesh strainer, ensuring a luxurious, seed-free spread.
-
Berry Blend: Combine blackberries with strawberries, raspberries, or blueberries for a mixed berry jam; each addition brings a unique flavor and vibrancy.
Want more creative canning ideas? Check out our helpful canning tips in this canning article to elevate your blackberry jam experience! Enjoy your culinary journey!
Make Ahead Options
These delicious blackberry jam recipe is perfect for meal prep lovers! You can easily crush and mix your blackberries with sugar up to 24 hours in advance, storing the mixture in the refrigerator to prevent it from browning. When you're ready to cook, simply bring it back to room temperature before heating it over medium-high heat. Additionally, you can sterilize your jars ahead of time; just keep them hot until you're ready to fill them. Following these steps will ensure your blackberry jam retains its luscious flavor and texture, giving you restaurant-quality results with minimal effort when it's time to can!
Storage Tips for Blackberry Jam Recipe
Room Temperature: Store sealed jars of blackberry jam in a cool, dark place; they can last for up to 18 months, maintaining their delightful flavor and texture.
Fridge: Once opened, keep your blackberry jam in the refrigerator; consume within 2-3 weeks for the best quality and flavor.
Freezer: If you want to extend the life of your jam, transfer it into freezer-safe containers, leaving room for expansion; it can be frozen for up to 12 months.
Reheating: When ready to use frozen jams, simply thaw in the fridge overnight, then enjoy it in your favorite recipes or on your morning toast!
Expert Tips for Blackberry Jam Recipe
• Prepping Jars: Ensure your jars are not only sterilized but also kept hot before filling; this helps maintain the jam's freshness and prevents breakage.
• Sugar Choices: Don’t hesitate to experiment with sugar levels. If you’re trying low sugar options, start with 2 cups, and adjust based on your taste preferences during the cooking process.
• Avoid Foam Spillover: Always stir the mixture frequently to manage foaming; if things get a bit bubbly, you can add a small pat of butter to help reduce foam.
• Batch Size Caution: Stick to doubling at most when increasing your batch. Larger quantities may struggle to set properly, ruining your delightful blackberry jam!
• Setting Issues: If your jam doesn’t set, it’s not a lost cause! You can gently reheat it and add a bit of pectin to help it firm up.
Enjoy making your homemade blackberry jam recipe with these handy tips!
Blackberry Jam Without Pectin Recipe FAQs
What type of blackberries should I use for the best jam?
Absolutely! Fresh, ripe blackberries yield the best flavor and texture. You want to look for plump, shiny berries without any dark spots or signs of overripeness. If fresh blackberries aren't available, frozen berries are an excellent alternative; just ensure they are thawed and drained properly before use.
How should I store my homemade blackberry jam?
For sure! Store your sealed jars of blackberry jam in a cool, dark place, like a pantry or cupboard. They can last up to 18 months if kept properly. Once opened, transfer the jar to the refrigerator and consume it within 2-3 weeks for optimal freshness.
Can I freeze blackberry jam, and how do I do it?
Yes, you can! To freeze your blackberry jam, allow it to cool completely after canning. Then, transfer the jam into freezer-safe containers, leaving ½ inch of space at the top for expansion. You can also use resealable freezer bags—just lay them flat in the freezer for easier storage. It will keep well for up to 12 months!
What should I do if my jam doesn't set?
Don't worry! If your blackberry jam doesn’t set, it’s a simple fix. You can reheat the jam in a pot, bringing it to a gentle boil. Then, add a tablespoon of pectin for each quart of jam while stirring, and cook for a few minutes more until it reaches the desired gel stage. Always remember to check the temperature, which should hit 220°F at sea level!
Are there dietary considerations for this blackberry jam recipe?
Indeed! This recipe is quite flexible. You can adjust sugar levels for low-sugar alternatives or substitute regular sugar with natural sweeteners like honey or maple syrup. Just remember, if using honey, you’ll want to use about ⅔ the amount of sugar specified in the recipe. Always check for any allergies related to your modifications as well!
How can I tell when my blackberry jam is ready to be canned?
Great question! You'll know your jam is ready when it thickens to a glossy, syrupy consistency after boiling for about 20-30 minutes. To test for the gel stage, use the freezer plate test: drop a spoonful of jam onto a cold plate, let it cool for a few seconds, and then push it with your finger; if it wrinkles and holds its shape, you're good to go!
Delicious Blackberry Jam Recipe: No Pectin, Low Sugar Options
Ingredients
Equipment
Method
- Prepare Canning Setup by washing and sterilizing 5-6 half-pint jars.
- Crush Berries until you have about 6 cups of a smooth mixture.
- Combine Ingredients in a large pot with mashed blackberries, chosen sugar type, and optional lemon juice.
- Bring to Boil over medium-high heat, stirring frequently.
- Cook to Gel Stage for 20-30 minutes, stirring often until thickened.
- Ladle into Jars leaving ¼ inch of headspace, wipe rims, and apply lids.
- Process in Water Bath Canner for 10 minutes.
- Cool and Store jars, checking seals after 12-24 hours.
Leave a Reply