
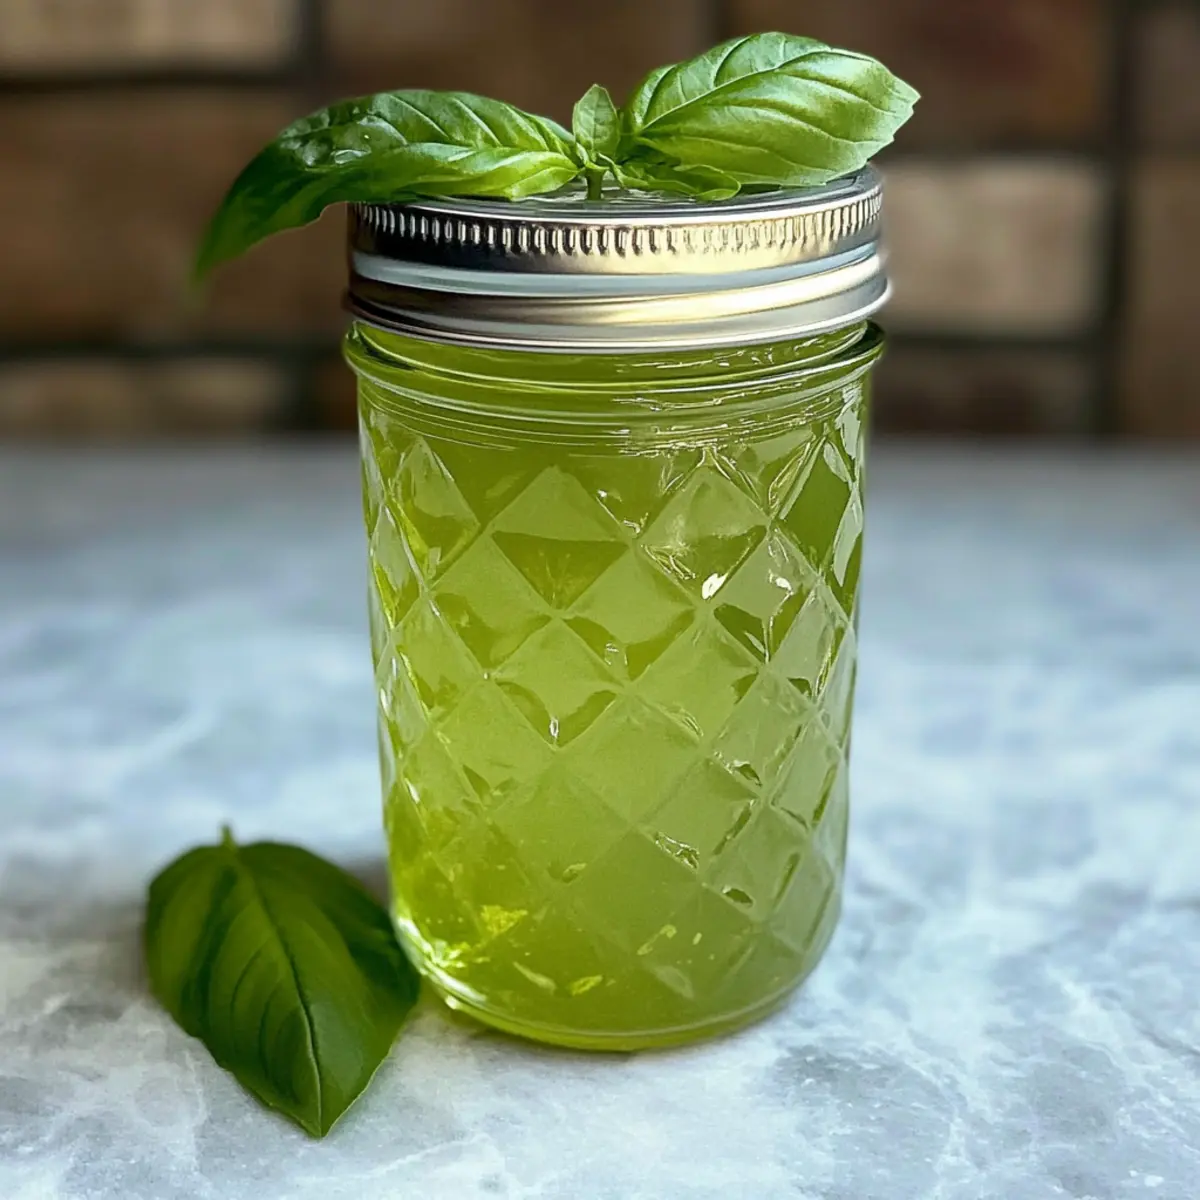
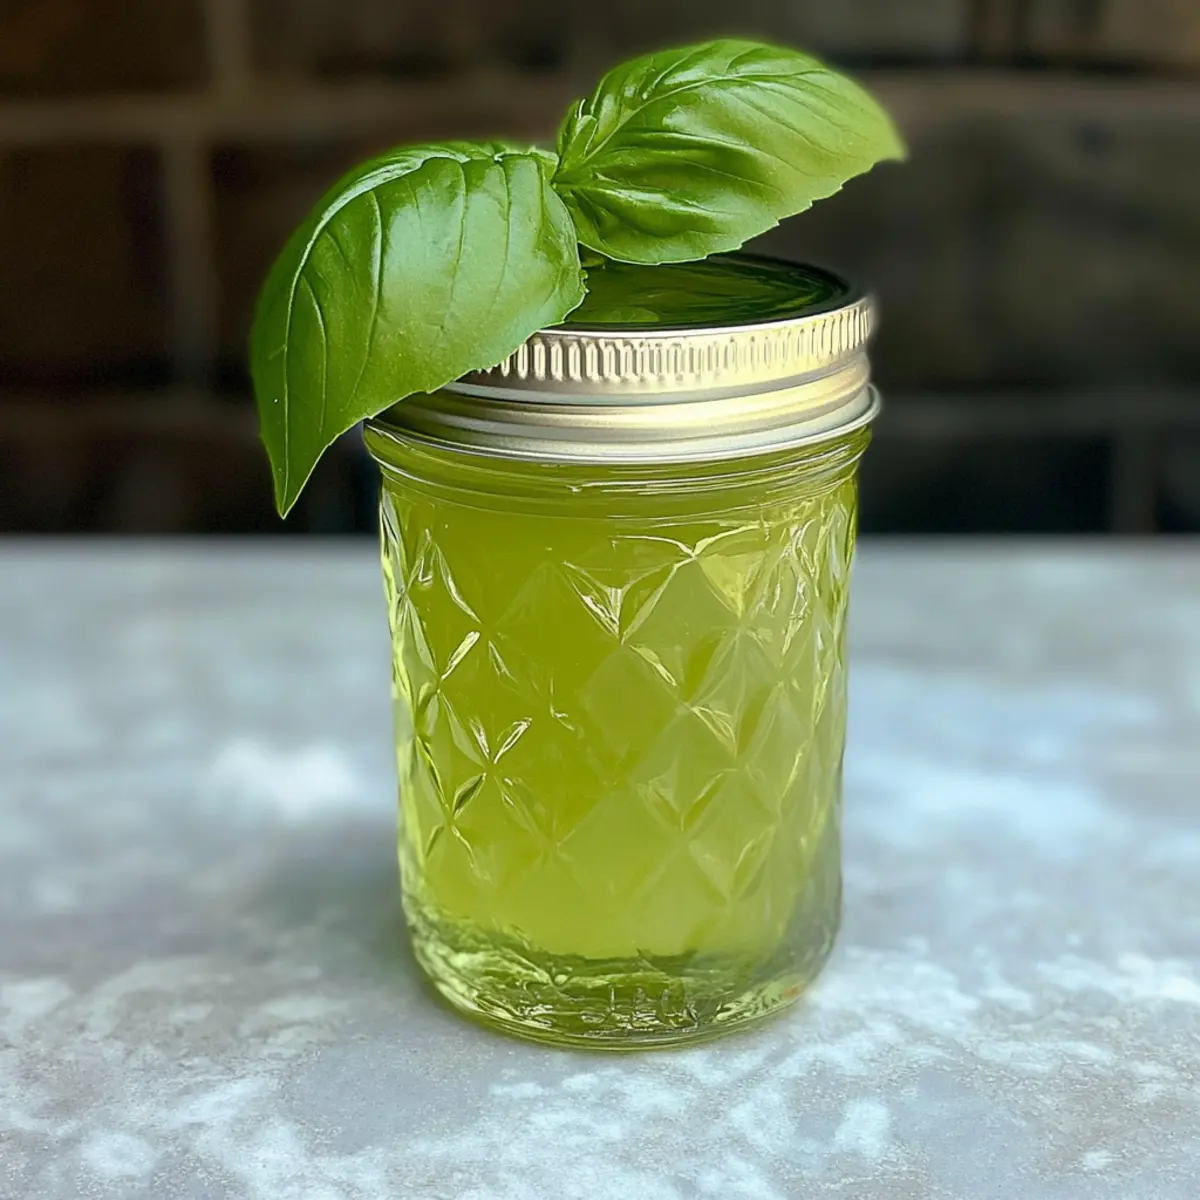
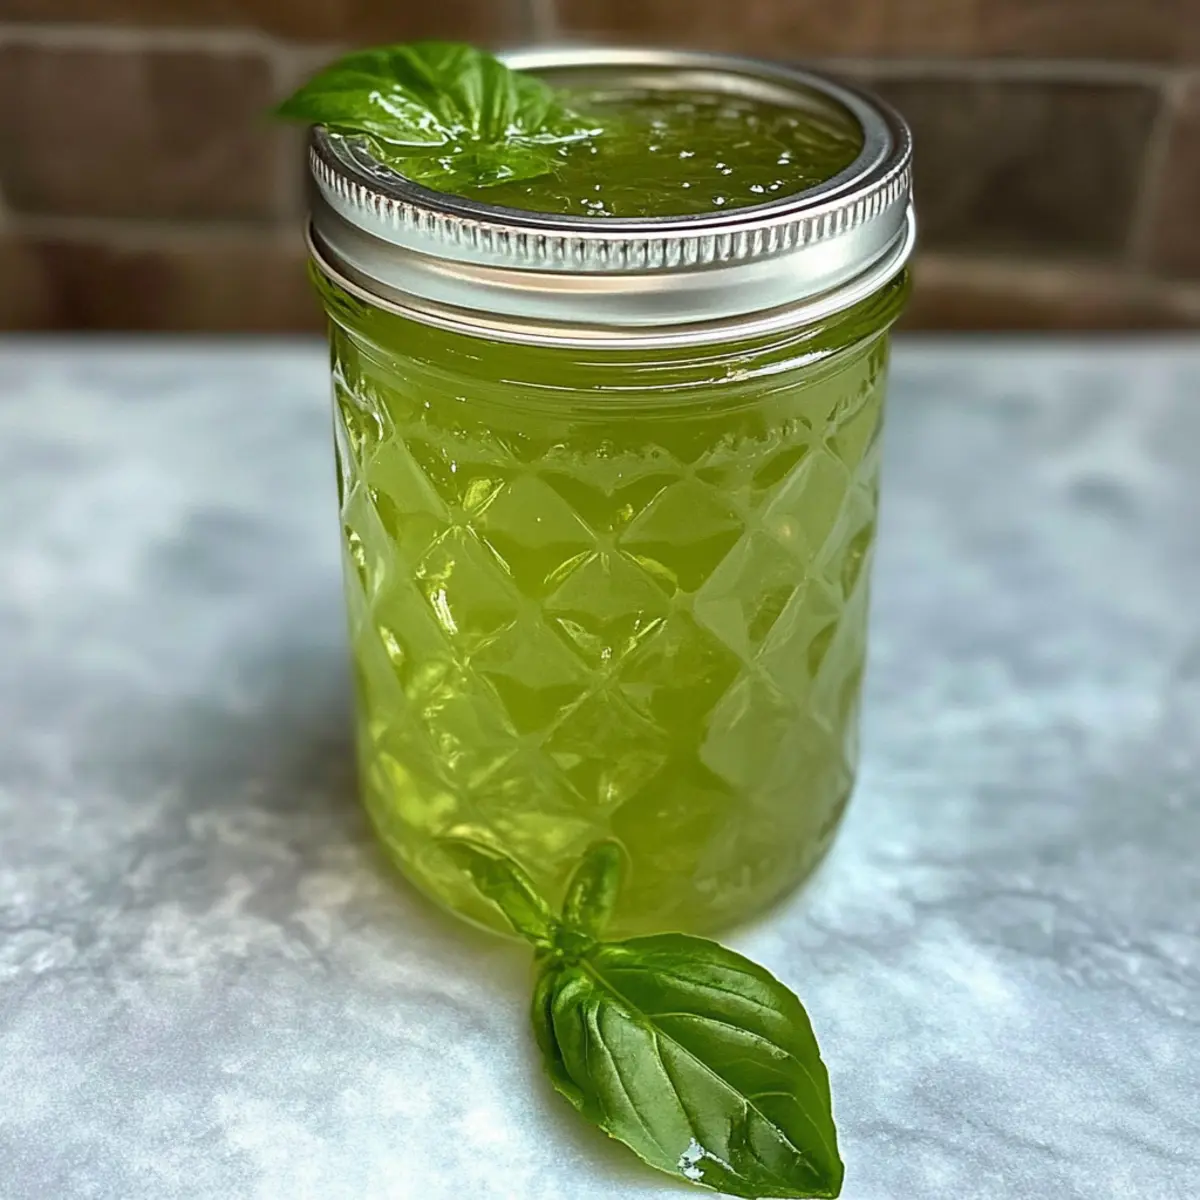
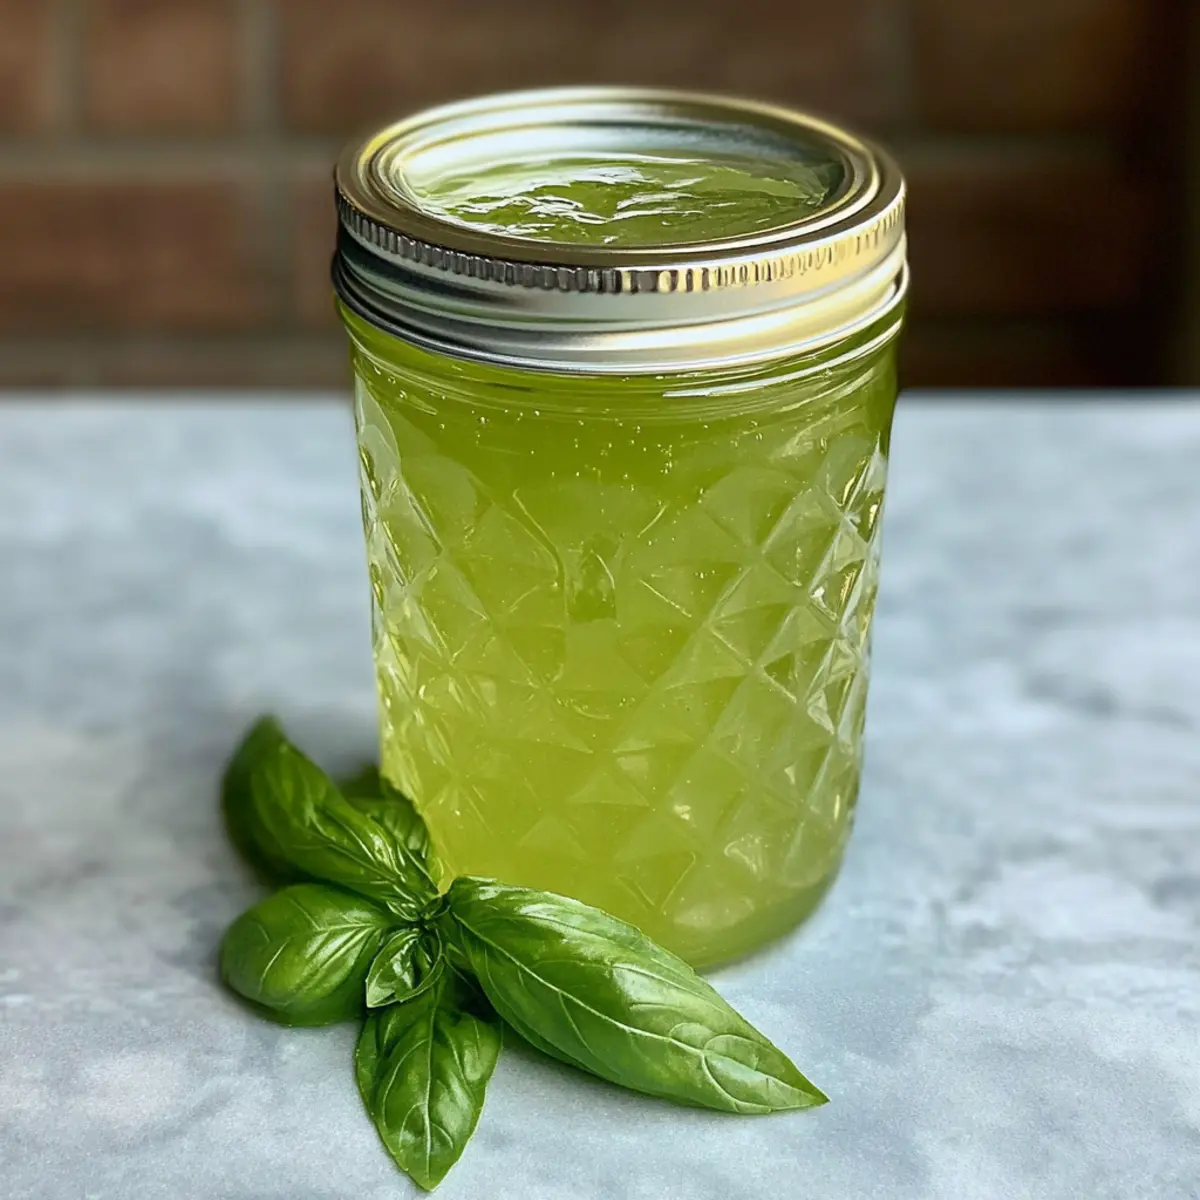
As I stood in my garden, the summer sun warming my skin, I couldn't help but notice the lush basil plants thriving all around me. This moment propelled me to craft something genuinely special: Easy Gluten-Free Basil Jelly. With its unique blend of fresh basil and zesty apple cider vinegar, this jelly isn’t just a delightful spread for your morning toast, but a gourmet addition that will elevate your next charcuterie board. Best of all, making this homemade treat is quick, requiring no fancy canning tools—just straightforward steps anyone can tackle. Whether you're a seasoned kitchen pro or just dipping your toes into the world of canning, this recipe offers the perfect mix of fun and deliciousness. Ready to add a vibrant twist to your culinary repertoire? Let’s dive into the world of basil jelly!
Why Is Basil Jelly So Special?
Unique Flavor: This basil jelly delivers an enchanting twist to traditional spreads, perfectly blending the aromatic flavor of fresh basil with the tang of apple cider vinegar.
Beginner-Friendly: No advanced canning skills are needed! This recipe is approachable for everyone, making it a great starting point for anyone interested in homemade jellies.
Versatile Use: Not just for toast! From peanut butter sandwiches to meat glazes, this jelly elevates any meal and shines on cheese boards alongside your favorite crackers.
Quick Process: Made swiftly in under an hour, you’ll have a delightful jelly ready to impress in no time.
Perfect for Gifting: How about making an extra batch? This vibrant jelly makes a beautiful homemade gift for friends and family, especially during summer when basil is plentiful!
Try pairing it with other delightful recipes, like Zucchini Feta Basil for a charming summer spread. Enjoy the journey of canning and flavor!
Basil Jelly Ingredients
• Create your own delightful basil jelly with these simple ingredients!
For the Jelly
- Fresh Basil Leaves – The star ingredient that infuses this jelly with aromatic flavor; include some stems for a more intense essence.
- Apple Cider Vinegar – Adds the tangy acidity necessary to balance out the sweetness; white vinegar can be used as a substitute if needed.
- Lemon Juice – Brightens the flavor and helps preserve the jelly; freshly squeezed lemon juice works best for optimal taste.
- Water – Forms the base of your jelly, blending all the ingredients together seamlessly.
- Granulated Sugar – Sweetens the jelly while aiding in preservation; no substitutes recommended as sugar plays a critical role in gelling.
- Liquid Pectin (Certo) – Vital for achieving the perfect jelly consistency; avoid using powdered pectin for this recipe.
- Green Food Coloring – Optional for a more vibrant look; add according to your color preference.
With these ingredients, you’ll be on your way to crafting a unique and delicious basil jelly that’s perfect for many occasions!
Step‑by‑Step Instructions for Basil Jelly
Step 1: Sterilize Your Jars
Begin by preparing your canning jars, lids, and rims. Place them into a dishwasher and run a hot cycle, or boil them in a large pot of water for at least 10 minutes. This ensures everything is sanitized and ready for your homemade basil jelly, preventing any unwanted bacteria.
Step 2: Prepare the Basil
While the jars are sterilizing, wash a generous handful of fresh basil leaves under cold water to remove any dirt. Gently pat them dry with a clean towel, inspecting for any brown or damaged leaves. Keeping the stems attached will enhance the infusion of the basil flavor into your jelly.
Step 3: Mix the Ingredients
In a large pot, combine the cleaned basil leaves with freshly squeezed lemon juice and apple cider vinegar. Stir to mix the ingredients together. This fusion of herbs and acidity forms the base of your basil jelly, creating a delightful flavor profile that’s both aromatic and tangy.
Step 4: Add Water
Pour in 2 cups of water into the pot, ensuring all ingredients are submerged. Place the pot over medium heat and stir occasionally until the mixture is heated through, about 5-7 minutes. Look for bubbles forming but not a rolling boil yet, as this helps to meld the flavors together.
Step 5: Optional Coloring
If you desire a richer hue for your basil jelly, now is the time to stir in a few drops of green food coloring. Mix well to ensure even distribution. This step is optional but can elevate the visual appeal of your final product, making it even more inviting.
Step 6: Heat the Mixture
Increase the heat to high and bring the mixture to a gentle boil. Continue to cook it for 2-3 minutes, stirring occasionally. You’ll know it’s ready when the liquid begins to bubble vigorously, releasing a fragrant aroma that brings the garden indoors.
Step 7: Prepare the Sugar
While waiting for the mixture to boil, measure out 4 cups of granulated sugar in a separate bowl. Once the basil mixture is boiling, you're ready to proceed, as this sugar is essential for achieving the right texture in your basil jelly.
Step 8: Add Sugar
Quickly add the measured sugar to your pot of boiling liquid, stirring continuously to dissolve all the sugar. This process should take about 1-2 minutes. Watch for the mixture to return to a boil, indicating that the sugar is completely integrated into your basil jelly.
Step 9: Incorporate Liquid Pectin
Once boiling, add in the entire pouch of liquid pectin (Certo) and stir thoroughly. This step is crucial for achieving the perfect jelly consistency. Continue to boil for an additional minute, maintaining a hard boil while stirring to avoid scorching at the bottom.
Step 10: Remove the Basil
After one minute of boiling, use a slotted spoon to carefully remove the basil leaves from the pot. Take your time here, as you want to leave just the vibrant jelly behind. The infusion has already done its job, leaving you with a delightful flavor.
Step 11: Fill Jars with Jelly
Now, it's time to pour the hot basil jelly into your sterilized jars. Use a ladle or a funnel to avoid spills and fill each jar, leaving about ¼ inch of headspace at the top. This air gap is essential for vacuum sealing once the jars cool.
Step 12: Seal the Jars
Once filled, take a damp towel and wipe the rims of each jar to ensure a clean seal. Place the lids on each jar securely and tighten clockwise. A proper seal is vital for preserving your homemade basil jelly and keeping unwanted air out.
Step 13: Invert for Sealing
For an extra layer of sealing, invert the jars for 5 minutes. This allows the hot jelly to form a seal as it cools. After that, place the jars upright on a towel or cooling rack and let them cool completely at room temperature.
Step 14: Check the Seals
Once the jars have cooled, check the integrity of the seals by pressing down in the center of each lid. If it clicks back, the jar didn’t seal properly. Store any unsealed jars in the refrigerator and use within a few weeks, while sealed jars can be stored at room temperature.
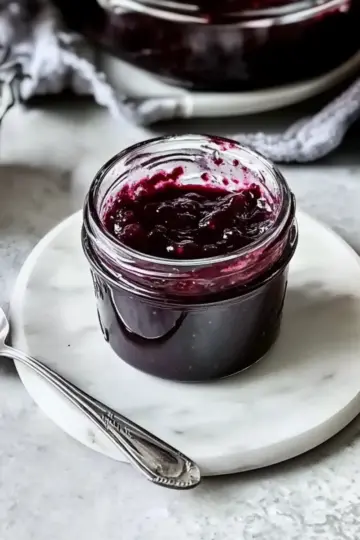
Step 15: Store Your Basil Jelly
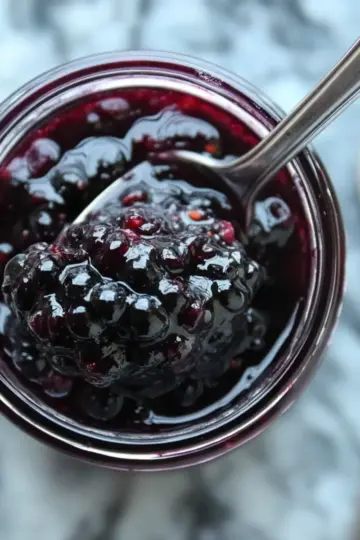
Store your sealed jars of basil jelly in a cool, dark place. This homemade delight will last for up to one year if unopened. Once you pop a jar open, be sure to refrigerate any leftovers and enjoy your basil jelly within a few weeks for the best flavor.
What to Serve with Easy Gluten-Free Basil Jelly
Imagine an inviting spread that brings a bright, garden-fresh flavor to your table, perfectly pairing with your favorite dishes.
-
Creamy Goat Cheese: The tangy creaminess complements the herbal notes of basil jelly for a delightful contrast. Spread it onto crusty bread for a rich bite.
-
Savory Roasted Chicken: This jelly adds an unexpected twist as a glaze or dipping sauce, enhancing the dish with a vibrant sweetness that's simply irresistible.
-
Crunchy Crostini: Top crispy crostini with basil jelly and a sprinkle of sea salt for a satisfying texture contrast, perfect for entertaining guests.
-
Nutty Cheese Board: Pair with aged cheddar or gouda for a gourmet touch. The richness of the cheese balances the sweet and tangy flavor of the basil jelly beautifully.
-
Zesty Cucumber Salad: Tossed with lemon juice and dill, the salad's freshness and crunch work harmoniously with the basil jelly, providing a refreshing bite.
-
Homemade Vanilla Ice Cream: Drizzle basil jelly over vanilla ice cream for a surprising and delectable dessert that merges sweet and savory in every creamy spoonful.
With basil jelly in hand, each of these pairings will transform a simple meal into a gourmet experience that is sure to impress!
Basil Jelly Variations & Substitutions
Get ready to personalize your delightful basil jelly experience with these fun and tasty ideas!
-
Herb Infusion: Try incorporating fresh mint or thyme for a unique spin. Each herb brings its own character, making your jelly even more interesting.
-
Spicy Kick: Add a teaspoon of chili flakes for a savory twist that pairs beautifully with cheese. This adds an exciting heat that will surprise your taste buds.
-
Citrus Zing: Replace lemon juice with lime juice for a zesty alternative that complements the basil flavor perfectly. This variation offers a refreshing vibe that's perfect for summer.
-
Fruit Fusion: Experiment with pureed strawberries or raspberries blended into the mixture before cooking. This adds a fruity sweetness, turning your jelly into a berry-infused delight!
-
Sweetener Swap: For a healthy option, try using honey instead of granulated sugar. Be aware that honey may alter the gelling process slightly, so adjust accordingly.
-
Colorful Garden: Mix in a few drops of natural food coloring or fresh beet juice for a vibrant splash of color. This will make your basil jelly an eye-catching centerpiece at any gathering.
-
Local Flair: Use locally sourced vinegars, like balsamic vinegar, to add a different flavor dimension. This tangy alternative will complement the basil in a truly special way.
Feel free to let your creativity shine! Consider pairing your basil jelly with an elegant cheese platter or spreading it over grilled zucchini for a delicious twist found in dishes like Zucchini Feta Basil. Dive into flavor & enjoy!
Expert Tips for Making Basil Jelly
- Proper Sterilization: Ensure all jars and lids are fully sterilized before use to prevent any contamination that could spoil your basil jelly.
- Fresh Ingredients: Use the freshest basil leaves for the best flavor; older leaves may yield a less vibrant jelly and could affect gelling.
- Blend It Well: Stir the sugar into the boiling mixture quickly to ensure it's fully dissolved before adding the liquid pectin; this helps achieve that perfect jelly consistency.
- Avoid Mistakes: Don’t skimp on the hard boil after adding pectin; this step is crucial for your basil jelly to set correctly.
- Seal Integrity: Test jar seals after cooling; if any lids pop back, consider refrigerating that jar for immediate use since proper sealing is key for preservation.
- Enjoy Versatility: Experiment with different herbs or spices in your basil jelly for a personal twist; the basic recipe is a fantastic canvas for creativity!
Make Ahead Options
These Easy Gluten-Free Basil Jelly jars are perfect for busy home cooks looking to save time! You can prepare the basil mixture (steps 3-5) up to 24 hours in advance; simply refrigerate it to keep the flavors fresh. The granulated sugar can also be measured ahead of time and stored in a cool, dry place. When you're ready to complete the recipe, simply heat the basil mixture until boiling and add the sugar and liquid pectin as stated in steps 8-9. With this prep, you’ll have your basil jelly ready in no time, providing a delightful gourmet touch to your meals without the hassle on busy weeknights!
How to Store and Freeze Basil Jelly
Room Temperature: Store sealed jars at room temperature until opened. A cool, dark place is ideal for maintaining freshness.
Fridge: Once opened, keep your basil jelly in the refrigerator for up to 3 weeks. Make sure it's tightly sealed to preserve the flavors.
Freezer: Basil jelly can be frozen for longer-term storage. Transfer to airtight containers, leaving space for expansion, and freeze for up to 1 year.
Reheating: Reheat gently if the jelly thickens upon refrigeration. A quick stir or microwave on low heat works wonders to restore its smooth consistency.
Basil Jelly Recipe FAQs
What kind of basil should I use for basil jelly?
Absolutely! Use fresh basil leaves, preferably from your garden or a local farmers' market. Look for bright green leaves without any dark spots or yellowing. Using stems can also enhance the flavor infusion, making your basil jelly aromatic and vibrant.
How long can I store my basil jelly?
Sealed jars of basil jelly can be stored at room temperature for up to one year. Once opened, you should keep it in the refrigerator, where it will stay fresh for about 3 weeks. Just make sure the jar is tightly sealed!
Can I freeze basil jelly?
Yes, you can! To freeze your basil jelly, scoop it into airtight containers or freezer-safe bags, leaving some space at the top for expansion. It can be stored in the freezer for up to 1 year. When you’re ready to use it, simply thaw it in the refrigerator overnight.
What should I do if my basil jelly doesn't set properly?
Very! If your basil jelly hasn’t set after following the recipe, it could be due to improper boiling or not enough pectin. You can remedy this by reheating the jelly and adding an additional pouch of liquid pectin following the same steps, bringing it back to a rolling boil for a minute before removing from heat.
Is basil jelly safe for pets?
While basil is generally safe for dogs and cats in small amounts, the sugar content in the jelly and any added flavors should be consumed cautiously. It's always best to consult your veterinarian before introducing homemade treats to your pets.
Can I substitute any ingredients in basil jelly?
While the ingredients work together to create the right flavor and consistency, if needed, you can swap apple cider vinegar for white vinegar for a slight change in taste. However, I wouldn't recommend substituting granulated sugar as it plays a vital role in the gelling process and preservation.
Homemade Basil Jelly That Will Elevate Your Breakfast Game
Ingredients
Equipment
Method
- Sterilize your jars and lids by running them through a hot dishwasher cycle or boiling them for 10 minutes.
- Wash basil leaves under cold water and pat dry.
- In a large pot, combine basil leaves, lemon juice, and apple cider vinegar.
- Add 2 cups of water and heat over medium, stirring occasionally until warm.
- Optionally add green food coloring and mix well.
- Increase heat to high and bring to a gentle boil for 2-3 minutes.
- Measure out 4 cups of granulated sugar in a bowl.
- Add sugar to the boiling mixture and stir until dissolved.
- Add the pouch of liquid pectin and boil for 1 more minute.
- Remove basil leaves with a slotted spoon.
- Pour jelly into sterilized jars, leaving ¼ inch headspace.
- Wipe jar rims clean, apply lids securely.
- Invert jars for 5 minutes for extra sealing.
- Check seals after jars cool; if the lid pops back, refrigerate that jar.
- Store sealed jars in a cool, dark place for up to one year.
Leave a Reply