
As I unwrapped the gooey caramel squares, the sweet aroma enveloped my kitchen, reminiscent of cozy evenings spent baking with family. These Carmelitas, with their rich layers of chocolate and a crunchy oatmeal base, have become my go-to indulgence whenever I want to whip up something special yet surprisingly easy. Perfect for celebrations or an afternoon treat, these delightful cookie bars deliver both satisfaction and a bit of homemade joy. Plus, they’re versatile enough to customize with your favorite chocolate or a hint of sea salt to elevate that luscious sweetness. Ready to dive into this deliciously simple recipe? Let’s get started!
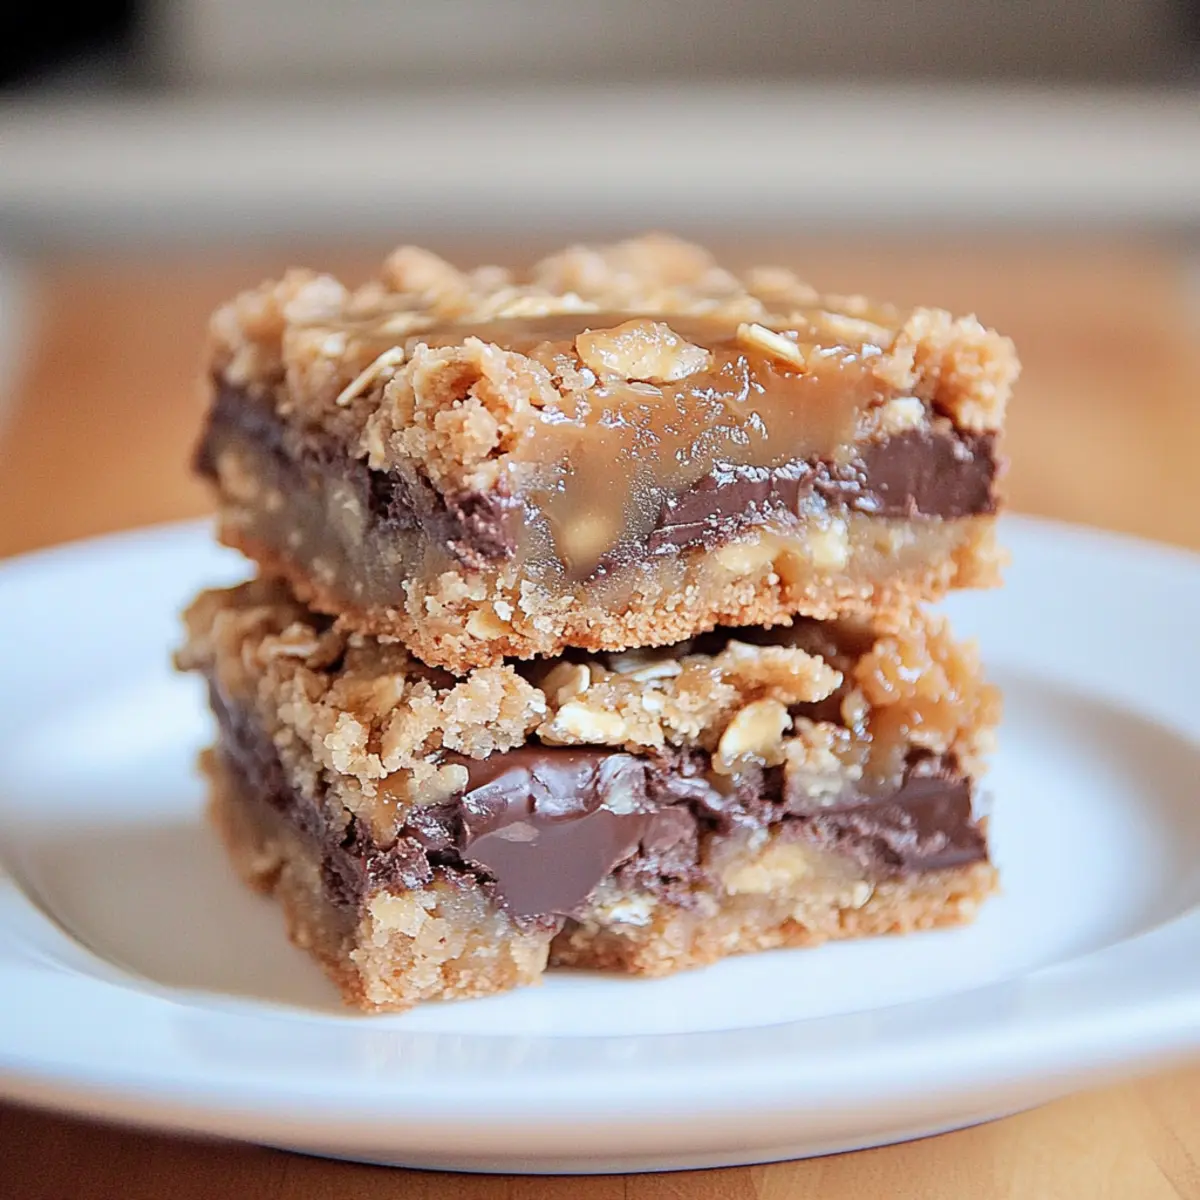
Why are Carmelitas so addictive?
Irresistible, these Carmelitas deliver a flavor explosion that’ll captivate your senses! Gooey caramel paired with rich chocolate creates a heavenly contrast, while the crunchy oatmeal base adds delightful texture. Quick and easy to prepare, they’re perfect for anyone seeking a homemade treat that wows. Whether enjoyed solo or served warm with ice cream, these cookie bars are sure to impress at any gathering or cozy night in. Don’t forget to check out my tips on variation ideas to customize your Carmelitas even further!
Carmelitas Ingredients
-
For the Caramel Filling
• Caramel squares or bits – Provides the gooey filling; use 11 ounces for a rich flavor; caramel bits make melting easier.
• Heavy cream – Helps in melting the caramel into a smooth consistency; substitute with whole milk for a lighter option. -
For the Cookie Base
• Butter (melted) – Adds richness and moisture; use unsalted butter for better sweetness control.
• Brown sugar (packed) – Gives sweetness and a delightful chewy texture; light or dark can be used interchangeably.
• Flour – Acts as the structural component of the bars; all-purpose is best, or opt for a gluten-free blend if needed.
• Rolled oats – Provides a hearty texture; while quick oats work, rolled oats yield better results.
• Baking soda – Helps the bars rise and maintain their structure; be sure it's fresh for optimal action. -
For the Topping
• Semisweet chocolate chips – Adds a rich, indulgent chocolate flavor; you can swap with dark or milk chocolate chips for variation or sprinkle sea salt on top for added balance.
Enjoy making these Carmelitas; they’re a delightful dessert that brings warmth and joy to every bite!
Step‑by‑Step Instructions for Carmelitas
Step 1: Preheat and Prepare the Pan
Begin by preheating your oven to 350°F (175°C). Line an 8 x 8 or 9 x 9 inch baking pan with aluminum foil or parchment paper, allowing some overhang for easy removal later. This step is essential, as it ensures your gooey Carmelitas come out beautifully without sticking, making serving a breeze.
Step 2: Melt the Caramel
In a saucepan over low heat, combine the caramel squares or bits with the heavy cream. Stir continuously until the mixture is smooth and fully melted, creating a luscious caramel sauce that will seep into the cookie bars. Once ready, set it aside to cool slightly while you prepare the cookie base.
Step 3: Mix the Cookie Base
In a large mixing bowl, whisk together the melted butter and brown sugar until well combined. Gradually add flour, rolled oats, and baking soda into the mixture. Blend everything together until a thick, cohesive dough forms. The mixture should resemble a crumbly cookie dough, ready to be shaped into the bottom crust of your Carmelitas.
Step 4: Form the Bottom Layer
Take half of the oatmeal mixture and press it firmly into the bottom of your prepared baking pan. Use the back of a spatula or your hands to create an even layer across the base. This will serve as the sturdy foundation for the Carmelitas. Bake this crust in the preheated oven for about 10 minutes until it is just starting to set.
Step 5: Add Chocolate Chips
After the bottom layer is baked, remove it from the oven and immediately sprinkle the semisweet chocolate chips evenly over the warm crust. The warmth will slightly melt the chocolate, helping it adhere better once the remaining layers are added. This layer of chocolate adds an irresistible depth to your Carmelitas.
Step 6: Pour on the Caramel
Once the chocolate chips are in place, pour the prepared caramel sauce evenly over the chocolate layer. Use a spatula to gently spread it if necessary, ensuring every chip is covered in gooey caramel goodness. This luscious layer is what truly makes your Carmelitas a decadent treat.
Step 7: Crumble the Top Layer
Take the remaining oatmeal mixture and crumble it over the caramel layer. Distribute it evenly across the top to create a rustic finish on your Carmelitas. Make sure it’s a good balance of cookie to caramel to achieve that perfect chewiness when baked.
Step 8: Bake to Golden Perfection
Return the pan to the oven and bake for an additional 15-20 minutes. Look for the edges to turn a beautiful golden brown, and the center should be set but still slightly soft. This is the perfect baking point that promises a delightful mix of textures in every bite of your Carmelitas.
Step 9: Cool and Slice
Once baked, remove the pan from the oven and let the Carmelitas cool completely in the pan. This step is crucial; cooling allows the layers to firm up, making it easier to slice into bars without losing their shape. Once cooled, lift the bars out using the overhanging foil or parchment, and slice into squares to serve this delightful treat.
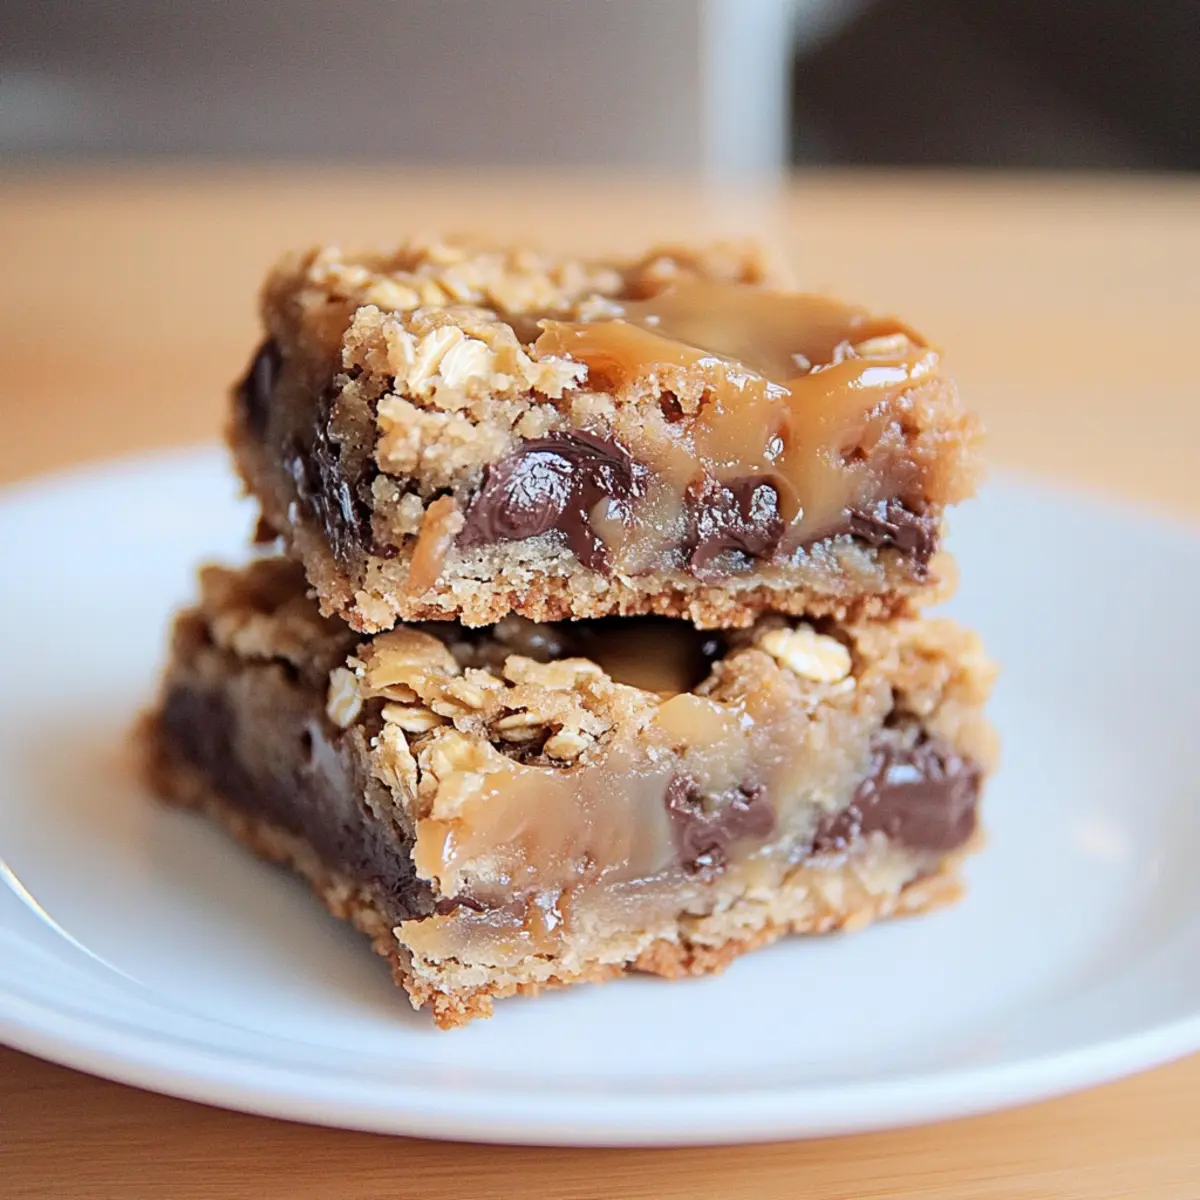
How to Store and Freeze Carmelitas
Room Temperature: Keep Carmelitas in an airtight container at room temperature for up to 5 days to maintain their gooey texture and flavor.
Fridge: For longer freshness, store them in the fridge, where they can last for about a week, though they may lose some of their soft texture.
Freezer: Freeze sliced Carmelitas in an airtight container or freezer bag for up to a month. Layer parchment paper between bars to prevent sticking.
Reheating: For best results, warm frozen bars gently in the microwave for a few seconds before enjoying, reviving their gooey caramel goodness!
Expert Tips for Carmelitas
-
Perfectly Melted Caramel: Ensure you melt the caramel slowly over low heat, avoiding high temperatures that can cause it to burn. A smooth caramel layer is essential for impeccable Carmelitas.
-
Cool Completely: Allow the bars to cool in the pan before slicing; this prevents them from being overly gooey and helps maintain their structure for perfect servings.
-
Butter Consistency: Use fully melted unsalted butter in your mixture. This enhances the texture and moisture of the cookie base while allowing better control over sweetness.
-
Balance Sweetness: Consider adding a sprinkle of sea salt to the top before baking. It enhances the rich flavors of the Carmelitas and balances the sweetness of the chocolate and caramel.
-
Ingredient Substitutions: Feel free to experiment with different types of chocolate chips, like dark or white chocolate, to customize the flavor profile of your Carmelitas according to your preference.
Carmelitas Variations & Substitutions
Feel free to explore the delightful ways you can customize these Carmelitas to suit your personal taste!
-
Chocolate Variations: Swap semisweet chocolate chips for dark or white chocolate to create different flavor profiles.
-
Nutty Twist: Add chopped pecans or walnuts for a delightful crunch and nutty flavor that complements the sweetness of the caramel.
-
Coconut Crunch: Mix in shredded coconut for an exotic twist. This addition enhances the texture and adds a tropical vibe to your bars.
-
Peanut Butter Drizzle: For a nutty, creamy touch, drizzle melted peanut butter over the top before baking. It brings a wonderful contrast to the sweet layers.
-
Gluten-Free Option: Substitute all-purpose flour with a 1:1 gluten-free flour blend for a tasty version that everyone can enjoy.
-
Sea Salt Extra: Sprinkle a pinch of flaky sea salt over the top before baking to elevate the sweet and salty flavor combination that takes these bars to the next level.
-
Caramel Alternatives: Try using homemade caramel sauce for a richer taste, or experiment with butterscotch chips for a different sweetness.
-
Spicy Kick: For a surprising kick, mix in a pinch of cayenne pepper with the dry ingredients. It will add a warm, subtle heat that enhances the overall indulgence.
Each of these variations can transform your Carmelitas into a personal masterpiece. So grab your ingredients and get creative—enjoy making these gooey treats reflect your unique flavors! If you're looking for even more delicious ideas, don't forget to check out my tips on variation ideas to customize your Carmelitas even further!
Make Ahead Options
These Carmelitas are perfect for meal prep enthusiasts! You can easily prepare the cookie base and caramel filling up to 24 hours in advance. To do this, mix the ingredients for the cookie base and press half into the pan, then prepare the caramel mixture and let it cool. Cover the pressed base and caramel separately in the refrigerator. When you're ready to bake, simply layer the chocolate chips over the crust, pour the chilled caramel, crumble the remaining oatmeal mixture on top, and bake as directed. This method ensures your Carmelitas will be just as delicious, saving time for busy weeknights or gatherings!
What to Serve with Decadent Carmelitas?
Indulging in extra sweetness is delightful, and these rich bars pair beautifully with various accompaniments that enhance their charm.
-
Vanilla Ice Cream: A scoop of creamy vanilla ice cream adds a refreshing contrast to the warm, gooey Carmelitas, creating an irresistible dessert experience. The cooler temperature beautifully balances the sweetness.
-
Fresh Berries: Sweet and tart fresh berries like raspberries or strawberries provide a burst of freshness. Their natural acidity cuts through the richness, offering a delightful mouthfeel.
-
Espresso or Coffee: A bold shot of espresso or a cup of rich coffee pairs perfectly with the sweet, gooey bars. The warmth and slight bitterness enhance the flavors of chocolate and caramel.
-
Whipped Cream: Light and fluffy whipped cream lends a touch of airiness and sweetness. It can be dolloped on top of a warm Carmelita for a luxurious finish to this indulgent treat.
-
Chocolate Sauce Drizzle: If you're a chocolate lover, consider drizzling warm chocolate sauce over the Carmelitas. It intensifies the chocolate flavor and adds an extra depth to the already delectable dessert.
-
Sea Salt Sprinkles: A light sprinkle of flaky sea salt on top balances sweetness while enhancing the rich flavors, making every bite even more satisfying.
Feel free to mix and match these pairing options for the ultimate dessert spread!
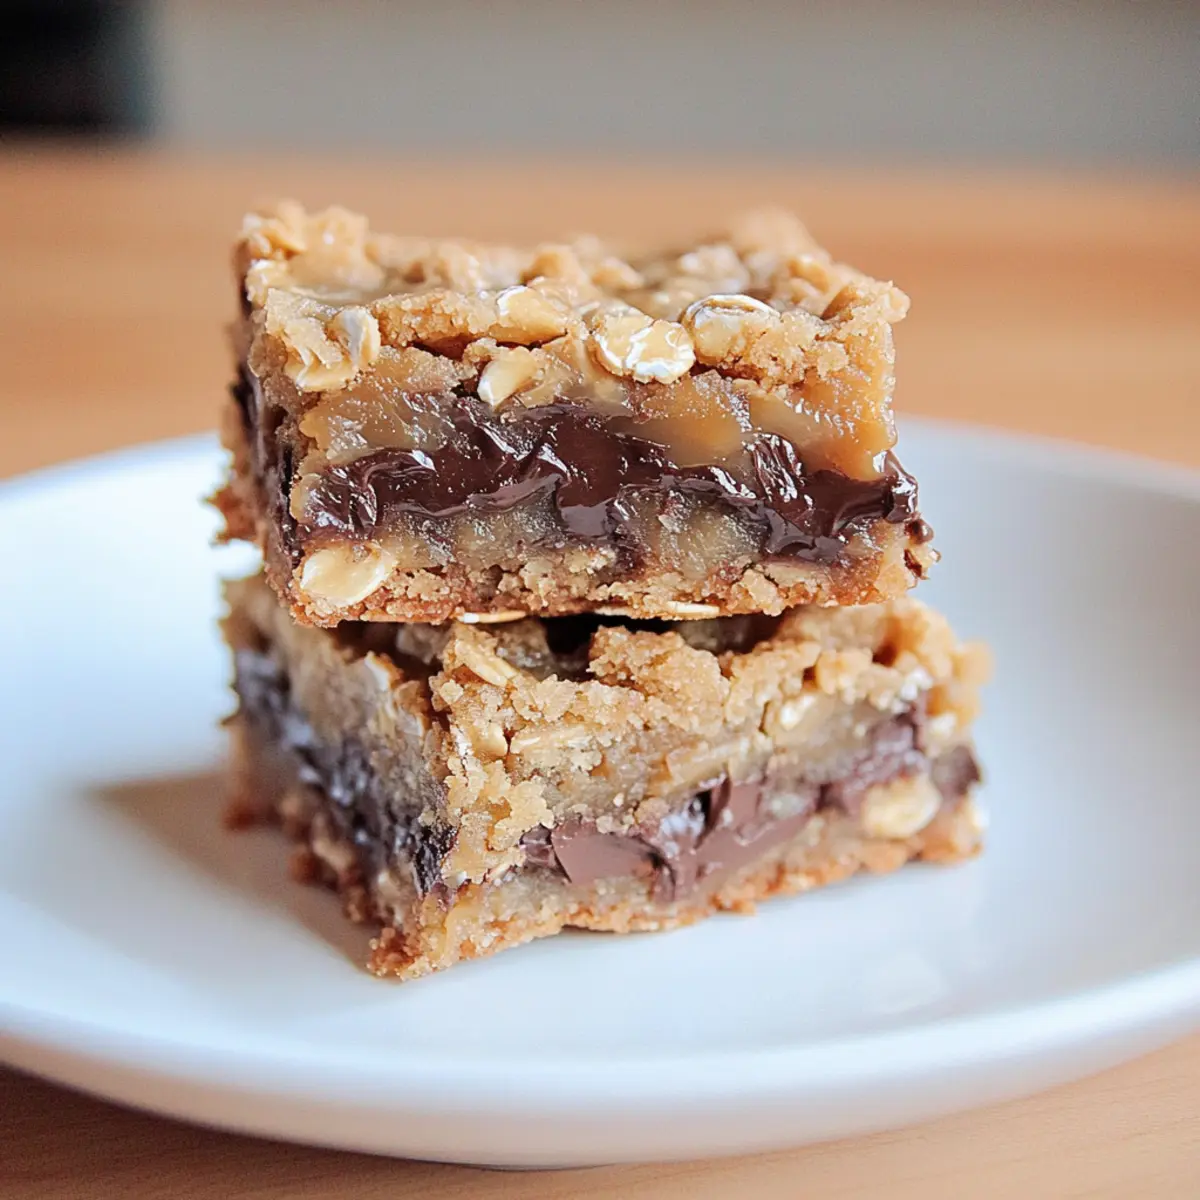
Carmelitas Recipe FAQs
How do I choose the best caramel for my Carmelitas?
Absolutely! For the richest filling, I recommend using high-quality caramel squares or bits. If you're in a pinch, caramel bits are fantastic as they melt easily and save you the hassle of unwrapping. Look for soft, pliable caramels without dark spots to ensure a smooth texture in your bars.
What is the best way to store leftover Carmelitas?
Very! To keep your Carmelitas fresh, store them in an airtight container at room temperature for up to 5 days. If you find you have some left over longer than that, pop them in the fridge for up to 7 days; just know that they may lose some gooeyness over time!
Can I freeze Carmelitas for future enjoyment?
Absolutely! To freeze your Carmelitas, slice them before freezing for easy portioning. Lay parchment paper between each layer to prevent sticking. Place them in an airtight container or a freezer bag, and they’ll stay delicious for up to a month. When you're ready to enjoy them, simply warm them gently in the microwave for a few seconds to revive their gooey goodness.
What should I do if my Carmelitas are too gooey after baking?
Oh no! If your Carmelitas end up too gooey, it’s likely they need more time in the oven. Make sure to allow them to cool completely in the pan before slicing, as this helps them set up. Next time, you can also try baking them a few extra minutes, keeping an eye on the edges until they turn a lovely golden brown for perfect texture.
Are Carmelitas safe for pets and people with allergies?
While Carmelitas are a treat for humans, they are not safe for pets due to the chocolate and sugar content. If you or someone has a dairy or gluten allergy, I recommend using dairy-free chocolate chips and a gluten-free flour blend as substitutes for the perfect, allergen-friendly sweet. Always check ingredient labels to be certain!
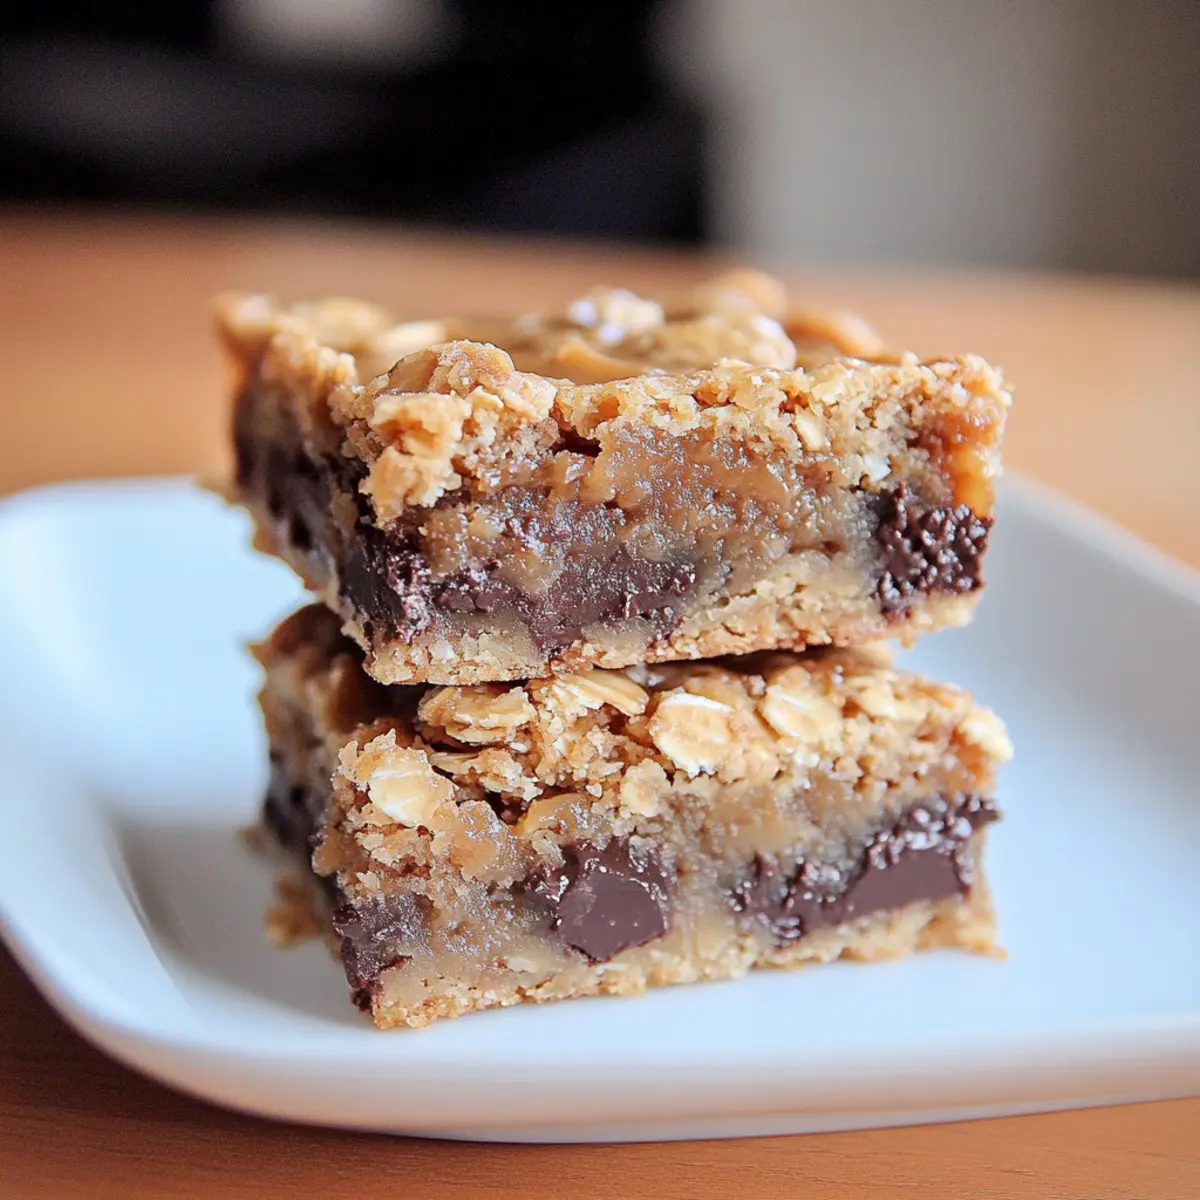
Gooey Carmelitas: Irresistible Caramel & Chocolate Bars
Ingredients
Equipment
Method
- Preheat your oven to 350°F (175°C) and prepare a baking pan with foil or parchment paper.
- Melt the caramel squares or bits with heavy cream in a saucepan over low heat.
- In a large mixing bowl, whisk together melted butter and brown sugar.
- Press half of the oatmeal mixture into the bottom of the pan.
- After baking the bottom layer for 10 minutes, sprinkle chocolate chips over it.
- Pour the melted caramel over the chocolate chips.
- Crumble the remaining oatmeal mixture over the caramel layer.
- Bake for an additional 15-20 minutes until golden brown.
- Allow to cool completely in the pan before slicing into squares.
Leave a Reply