
Every single morning, I find myself craving that cozy cup of coffee that feels like a warm hug. That's where my homemade butterscotch coffee creamer comes in, turning my ordinary brew into a delicious, café-quality experience right at home. This rich and creamy delight harmonizes the buttery sweetness of caramelized brown sugar with silky milk and cream, all without any artificial ingredients. Not only is this recipe incredibly simple to whip up in just 10 minutes, but it’s also customizable, ensuring everyone can enjoy their own signature coffee fix. Whether you’re looking for a comforting drink to savor or a fun way to upgrade your morning ritual, this creamer is sure to impress. Curious about how to add a touch of magic to your daily brew? Let's dive in!
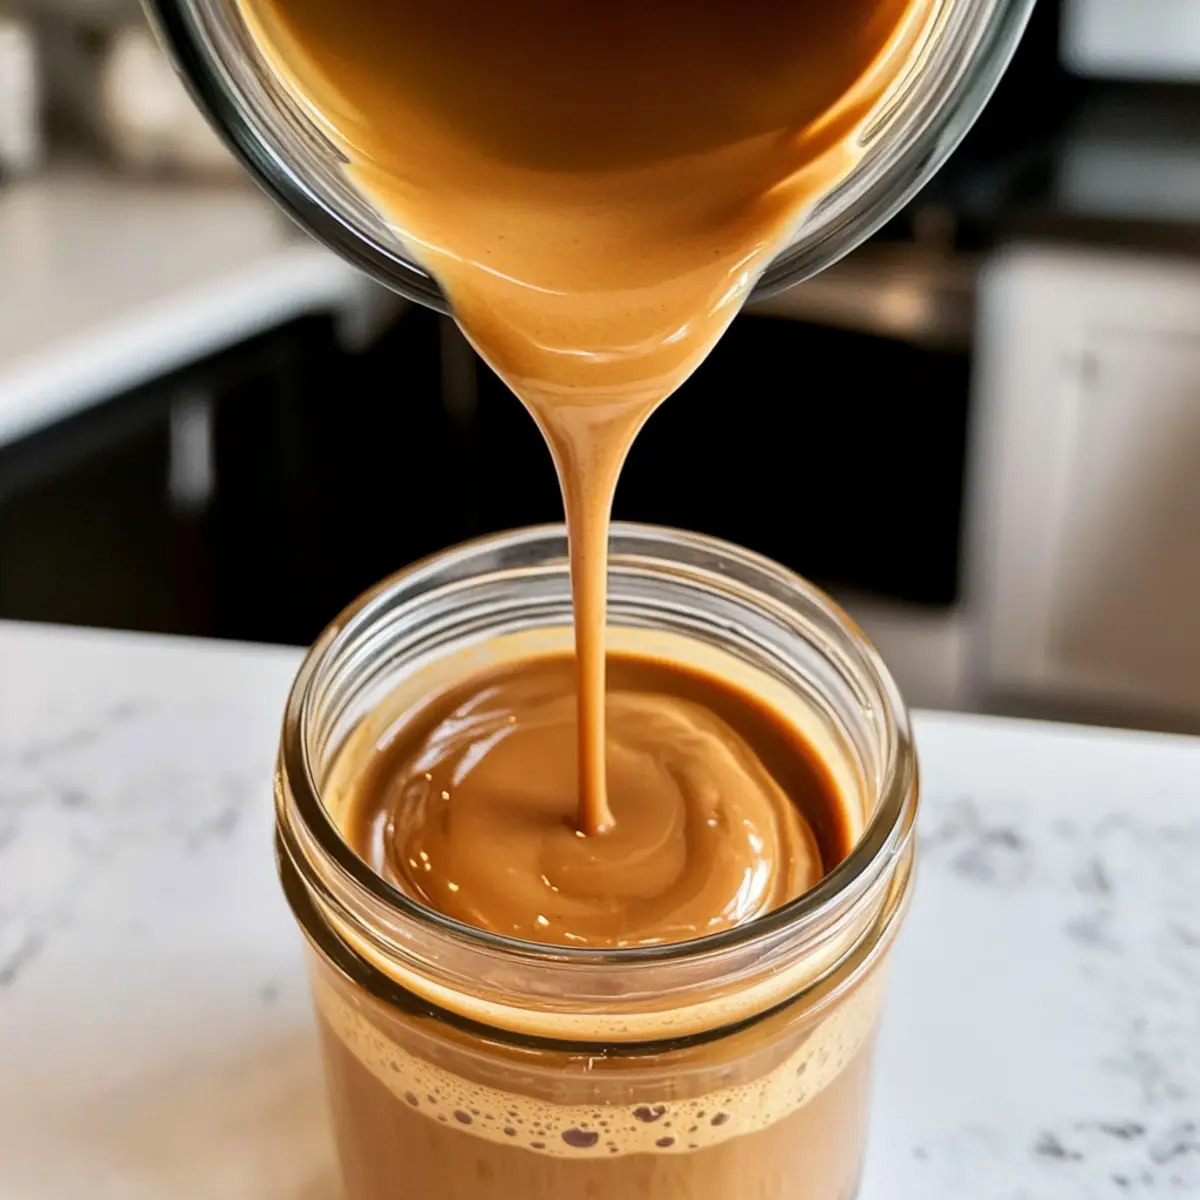
Why is Homemade Butterscotch Creamer Special?
Simplicity at your fingertips: With just a few ingredients, you can craft a delightful creamer in under 10 minutes.
Versatile options: Tailor this creamer to your taste by choosing non-dairy milks or adjusting the sweetness level.
Rich, buttery flavor: This homemade treat brings a luxurious, café-style experience to your morning coffee.
Great for sharing: Impress your friends and family with this simple recipe at brunch or coffee gatherings.
No artificial ingredients: Enjoy pure flavors without the preservatives often found in store-bought creamers.
Elevate your coffee game with this easy homemade butterscotch coffee creamer; it’s the perfect addition to warm up your everyday routine!
Homemade Butterscotch Coffee Creamer Ingredients
For the Base
• Heavy Cream – Provides the luxurious creaminess that makes your coffee feel indulgent; consider full-fat coconut milk for a dairy-free alternative.
• Whole Milk – Adds smoothness; you can substitute it with almond or oat milk for lactose-free options.
For the Sweetness
• Brown Sugar – Infuses the creamer with that rich, buttery flavor; feel free to mix light and dark brown sugar for a deeper sweetness.
• Unsalted Butter – Enhances texture and adds a decadent depth; use a plant-based butter for a non-dairy version.
For Flavor
• Vanilla Extract – Gives a warm, sweet aroma; opt for pure vanilla extract for the best results.
• Sea Salt – Balances the sweetness and amplifies the overall flavor; a pinch goes a long way.
With these ingredients, you can create a homemade butterscotch coffee creamer that's perfect for enhancing your morning ritual!
Step‑by‑Step Instructions for Homemade Butterscotch Coffee Creamer
Step 1: Melt the Butter and Sugar
In a medium saucepan, melt 2 tablespoons of unsalted butter over medium heat. Stir in ½ cup of brown sugar and keep stirring constantly for about 2-3 minutes until the mixture becomes smooth and bubbly. You'll know it's ready when the sugar is fully dissolved, and the mixture has a rich caramel color.
Step 2: Incorporate the Cream and Milk
Reduce the heat to medium-low and gradually whisk in 1 cup of heavy cream and 1 cup of whole milk. Stir continuously for a few minutes until the mixture is smooth and fully combined, allowing it to bubble slightly. The creamy texture will become evident as the ingredients meld together, creating a luscious base for your homemade butterscotch coffee creamer.
Step 3: Add Flavor Enhancements
Remove the saucepan from the heat and whisk in 1 tablespoon of pure vanilla extract and ½ teaspoon of sea salt. Keep whisking until all ingredients are fully incorporated, bringing out the sweet allure of the butterscotch flavors. The aroma will fill your kitchen, promising a delectable creamer.
Step 4: Cool the Creamer
Allow the butterscotch coffee creamer to cool for 10-15 minutes in the saucepan. You’ll notice the mixture thickening slightly as it cools, enhancing its indulgent texture. Once it’s cooled, it will be easier to pour without splattering.
Step 5: Store for Later Use
Transfer the cooled creamer into a glass jar or bottle for storage. Ensure it’s sealed tightly, and refrigerate for up to 7 days. The rich, buttery flavor of your homemade butterscotch coffee creamer will be ready to elevate your morning coffee whenever you need a cozy treat.
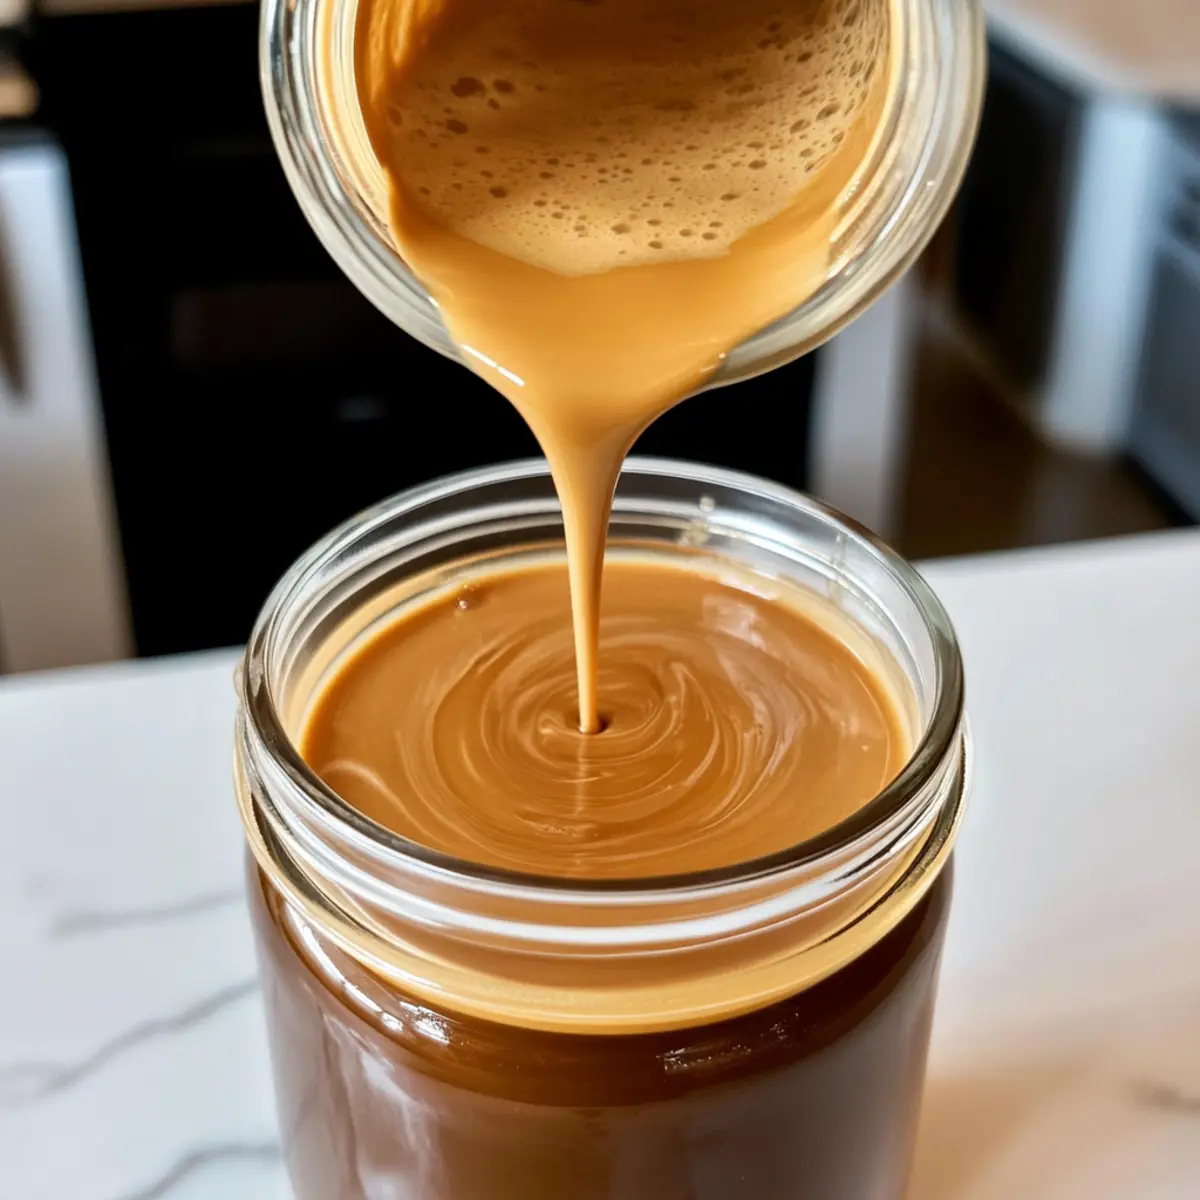
How to Store and Freeze Butterscotch Coffee Creamer
Fridge: Store your homemade butterscotch coffee creamer in a sealed jar or bottle in the refrigerator for up to 7 days. Always shake well before each use to mix the ingredients.
Freezer: For longer storage, pour the cooled creamer into ice cube trays and freeze. Transfer the frozen cubes to a freezer bag for up to 2 months to enjoy in future coffee drinks.
Thawing: When ready to use, simply thaw the desired amount in the fridge overnight or warm gently in the microwave.
Serving: Give the creamer a little shake or stir before adding it to your coffee to ensure a smooth and rich experience every time.
What to Serve with Homemade Butterscotch Coffee Creamer
Imagine cozy mornings made richer and sweeter; let's complete your coffee experience!
-
Chocolate Croissants: Flaky and buttery, these pastries offer a delightful contrast to the creamy sweetness of your coffee. Pairing them creates a wonderful balance between soft and crispy textures.
-
Spiced Pumpkin Muffins: The warm spices in these muffins echo the sweet notes of the creamer, making every sip feel like a hug on a chilly morning.
-
Oatmeal with Fresh Fruit: A warm bowl of oatmeal topped with berries or bananas adds a hearty element to your breakfast, complemented perfectly by the butterscotch notes in your coffee.
-
Caramelized Banana Bread: The buttery sweetness of banana bread adds an indulgent touch to your coffee routine, creating a duo that feels distinctly gourmet.
-
Cinnamon Roll Bites: These soft, gooey treats are a heavenly match for your creamy concoction, as the sweetness of both mingles perfectly for a truly decadent start to your day.
-
Iced Coffee with a Twist: Blend your butterscotch creamer with iced coffee for a refreshing delight, perfect for warm days or a midday treat.
-
Chai Tea Lattes: The spiced warmth of chai contrasts beautifully with the butterscotch flavors, creating an inviting, aromatic experience for tea lovers.
-
Chocolate-covered Strawberries: For an elegant dessert option, pair these sweet treats with your coffee as a delightful finishing touch to your meal.
-
Hazelnut Biscotti: Crunchy biscotti offer a satisfying texture to dip in your coffee, enhancing each sip with a hint of nutty flavor.
Explore these combinations to elevate your mornings, transforming routine coffee moments into cherished experiences!
Make Ahead Options
These homemade butterscotch coffee creamer is a fantastic option for busy home cooks looking to streamline their mornings! You can prepare the entire mixture up to 3 days in advance, storing it in a sealed jar in the refrigerator. Just make sure it cools completely before refrigerating to maintain its creamy texture. When you're ready to enjoy, simply shake the jar to redistribute any settled ingredients, and pour into your coffee for a delicious cup that feels like a warm hug. This way, your indulgent treat is just a pour away, saving you time on hectic mornings while still delivering that delightful café-quality flavor!
Expert Tips for Homemade Butterscotch Coffee Creamer
• Watch the Heat: Keep the heat on medium while caramelizing the sugar; too high and it might burn, ruining the flavor.
• Dairy-Free Choices: For a vegan version, substitute heavy cream and milk with full-fat coconut milk or unsweetened almond milk.
• Taste as You Go: Adjust the sweetness by varying the amount of brown sugar until it matches your preference for homemade butterscotch coffee creamer.
• Storage Savvy: Use a clean, airtight jar for storage, and label it with the date to keep track of freshness for up to 7 days.
• Creative Variations: Don’t hesitate to experiment with add-ins like cinnamon or flavored extracts for a personal twist on this delicious creamer.
Homemade Butterscotch Coffee Creamer Variations
Feel free to get creative with this delightful recipe and discover a world of flavors that can elevate your morning coffee even more!
-
Dairy-Free: Use full-fat coconut milk or almond milk instead of heavy cream and whole milk for a creamy, plant-based alternative. You'll still enjoy that luxurious texture and taste without any dairy!
-
Sweetness Swap: Try using coconut sugar instead of brown sugar for a unique, caramel-like sweetness. This variation gives a lovely depth while keeping it refined sugar-free.
-
Flavor Boost: Add a pinch of cinnamon or a sprinkle of nutmeg while heating the ingredients to introduce warm, inviting spice notes. It's like wrapping your coffee in a cozy blanket!
-
Seasonal Twists: Infuse the creamer with seasonal flavors such as peppermint or pumpkin spice. Just add 1-2 teaspoons of your chosen flavoring at the end to bring a holiday cheer to your morning brew.
-
Coffee Enhancer: Mix in a tablespoon of your favorite flavored coffee syrup to intensify the taste profile. It’s a great way to personalize your morning cup!
-
Choco-Butterscotch: Stir in some cocoa powder or melted dark chocolate when mixing in the milk for a rich mocha-inspired variation. Chocolate lovers will rejoice in this creamy goodness!
-
Salted Caramel: Add an extra pinch of sea salt to amplify the butterscotch essence and create a salted caramel twist. It beautifully balances the sweetness, making each coffee sip unforgettable.
-
Spicy Kick: For a little heat, incorporate a dash of cayenne pepper or chili powder—this pleasantly surprises your palate and adds some excitement to your creamer.
Explore these delightful options to tailor your homemade butterscotch coffee creamer to your unique taste and enjoy different flavors with every cup! If you want to learn more about flavor variations, check out our Pickle Brine Essentials for even more inspiration!
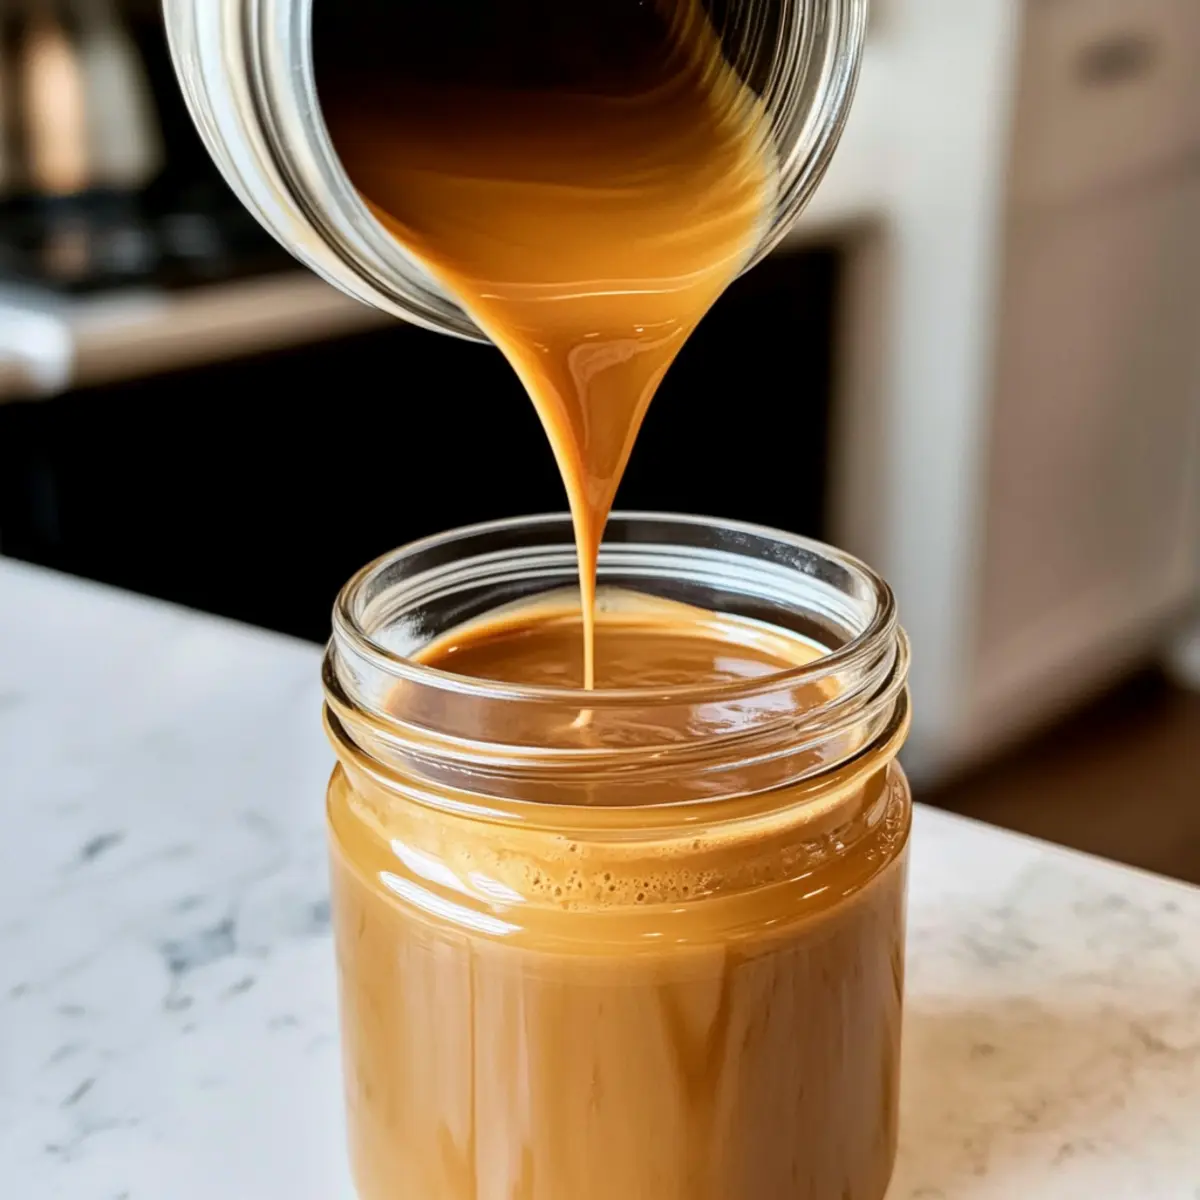
Butterscotch Coffee Creamer Recipe FAQs
What type of milk is best for homemade butterscotch coffee creamer?
I recommend using whole milk for its creamy texture, but feel free to substitute with full-fat coconut milk or oat milk for a dairy-free alternative. These options maintain a rich flavor while catering to different dietary preferences.
How long does homemade butterscotch coffee creamer last in the fridge?
Store your homemade butterscotch coffee creamer in a sealed jar or bottle in the refrigerator for up to 7 days. Always make sure to shake well before each use, as ingredients may separate over time.
Can I freeze butterscotch coffee creamer?
Absolutely! Pour the cooled butterscotch coffee creamer into ice cube trays and freeze. Once solid, transfer the cubes into a freezer bag, where they can be stored for up to 2 months. This is a great way to have pre-measured creamer on hand for future coffee adventures.
What should I do if my creamer is too sweet?
If you find the flavor a bit too sweet for your liking, you can dilute it by adding a little more milk or cream. Alternatively, adding a pinch of sea salt can help balance the sweetness—a little goes a long way!
Can I make this recipe vegan-friendly?
Yes! To make a vegan version of the butterscotch coffee creamer, simply replace the heavy cream and whole milk with full-fat coconut milk or almond milk. You can also use a plant-based butter alternative to maintain the creamy texture while keeping it dairy-free.
What are some creative variations I can try with this recipe?
I often like to play with flavors! Adding a dash of cinnamon or nutmeg can bring in warm spice notes. For a seasonal twist, try infusing flavors like peppermint extract during winter or pumpkin spice in the fall. Be adventurous and customize it to suit your taste!
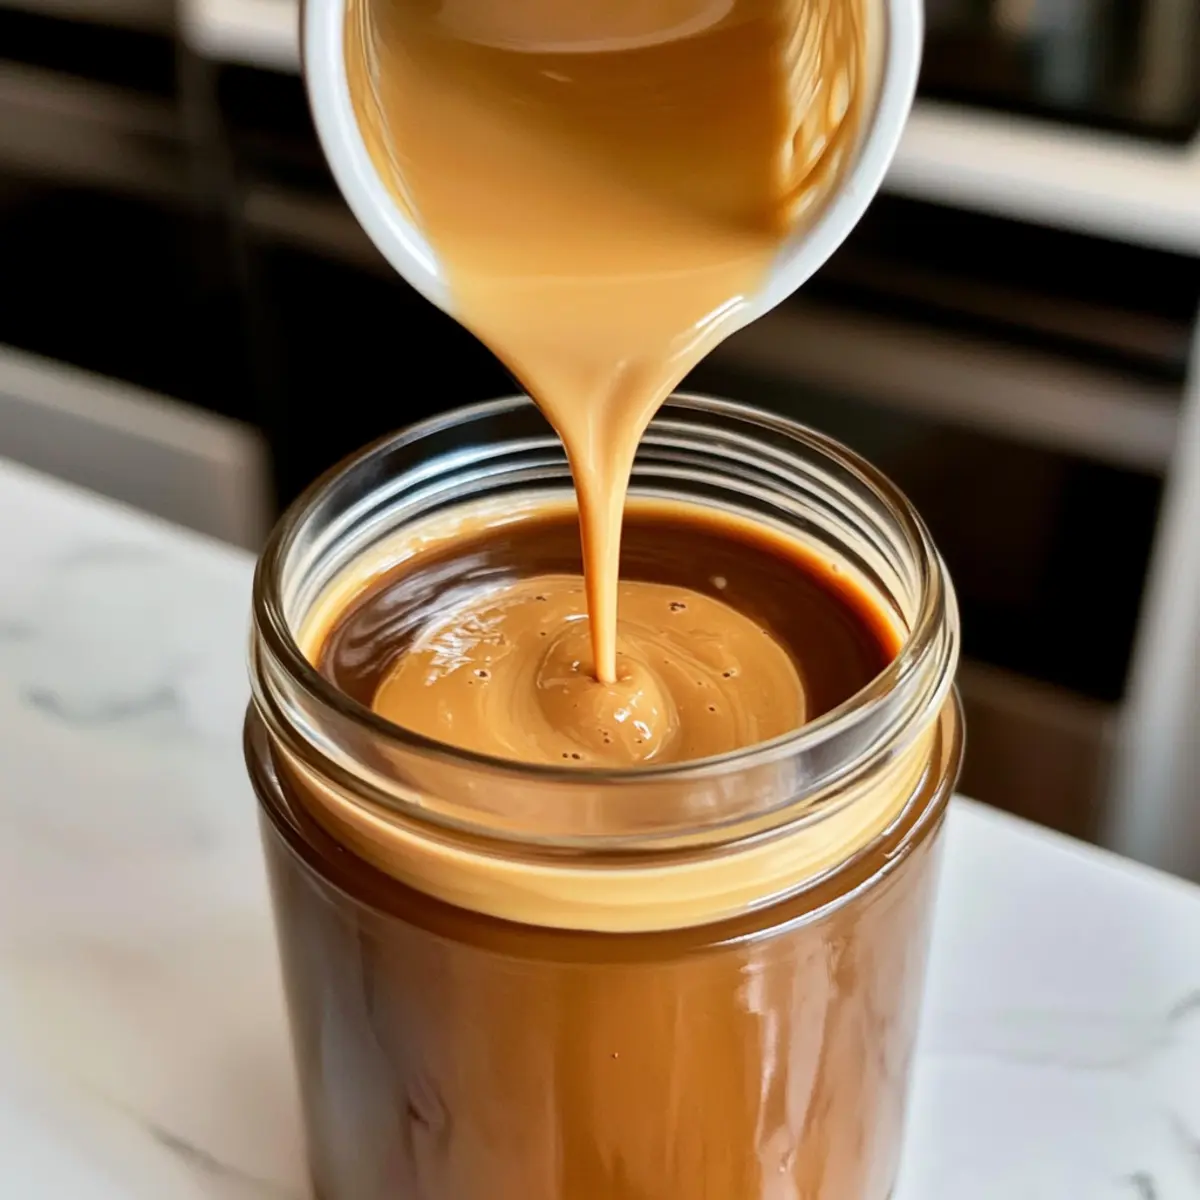
Homemade Butterscotch Coffee Creamer for Cozy Mornings
Ingredients
Equipment
Method
- In a medium saucepan, melt 2 tablespoons of unsalted butter over medium heat. Stir in ½ cup of brown sugar and keep stirring constantly for about 2-3 minutes until the mixture becomes smooth and bubbly.
- Reduce the heat to medium-low and gradually whisk in 1 cup of heavy cream and 1 cup of whole milk. Stir continuously for a few minutes until the mixture is smooth and fully combined.
- Remove the saucepan from the heat and whisk in 1 tablespoon of pure vanilla extract and ½ teaspoon of sea salt.
- Allow the butterscotch coffee creamer to cool for 10-15 minutes in the saucepan.
- Transfer the cooled creamer into a glass jar or bottle for storage.




Leave a Reply