
On a particularly sweltering summer afternoon, I found myself in desperate need of a sweet escape without turning on the oven. That's when these No Bake Mini Cheesecakes came to the rescue! They're an absolute delight, combining a cool, creamy filling with a buttery crust that requires zero baking—you heard that right! Perfect for gatherings or a little indulgence at home, these mini cheesecakes are completely customizable, allowing you to add fresh fruits or creative toppings that suit any occasion. Plus, they’re gluten-free, making them a crowd-pleaser for all! Isn’t it exciting to whip up a dessert that’s not only satisfying but also so darn easy? Curious to see how you can make these adorable treats your own? Let’s dive in!
Why Are No Bake Mini Cheesecakes So Irresistible?
Simplicity at its finest: With no baking required, you can whip these up in no time, making them perfect for those last-minute summer gatherings.
Customizable flavors: Experiment with various toppings like fresh berries, or get creative with flavor extracts to match any occasion.
Crowd-pleaser: Their small size makes them ideal for sharing, so everyone can enjoy a little taste of something special.
Gluten-free goodness: Easily adapt this recipe to be gluten-free, ensuring everyone's dietary needs are met.
Light and refreshing: With a creamy filling and buttery crust, they offer a delightful treat that won’t weigh you down. For more delightful no-bake options, check out these Soft Baked Maple treats or our Baked Italian Vegetable for a savory twist!
No Bake Mini Cheesecakes Ingredients
Get ready to create delightful No Bake Mini Cheesecakes with this perfect ingredient list!
For the Crust
- Digestive Biscuits – The foundation of your cheesecake; can substitute with graham crackers or Nilla wafers if needed.
- Unsalted Butter – Adds richness; melt it to mix well with cookie crumbs for the perfect base.
For the Filling
- Full Fat Cream Cheese – Ensures a smooth, creamy texture; remember, it should be at room temperature for easy blending.
- White Sugar – Sweetens the filling; if you're looking for a change, castor sugar works well without altering the flavor too much.
- Vanilla Extract – Elevates the dessert's flavor; use pure vanilla for the best taste, though imitation will do in a pinch.
- Lemon Juice – Balances sweetness and provides a refreshing zing; fresh lemon juice is your best bet for maximum flavor.
- Thickened Cream – Makes the filling light and airy; substitute with heavy cream if necessary.
For Decoration (Optional)
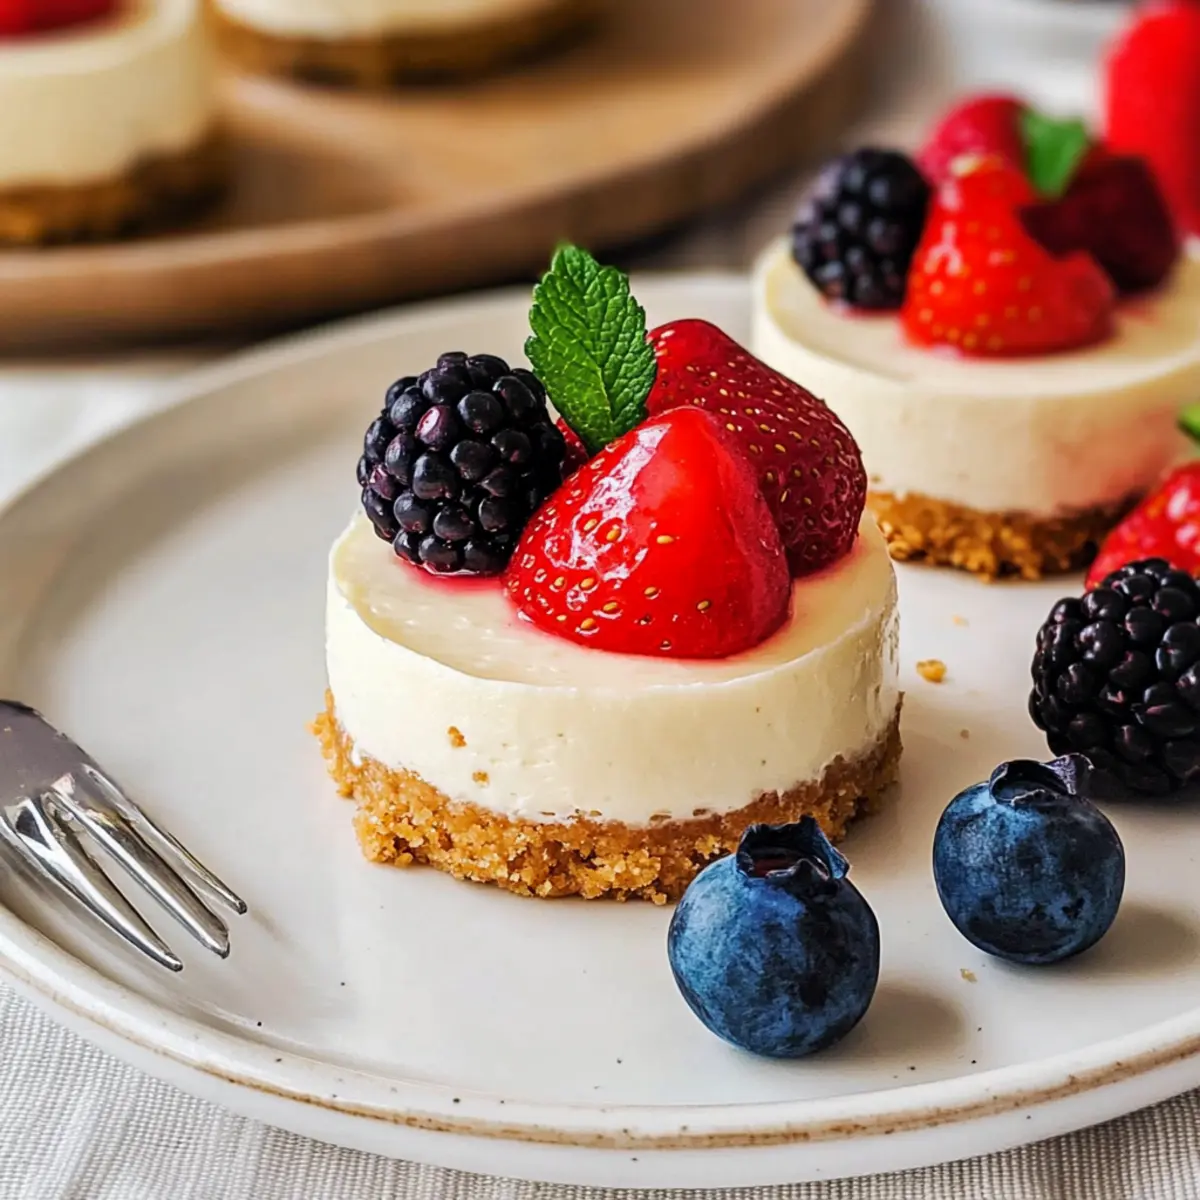
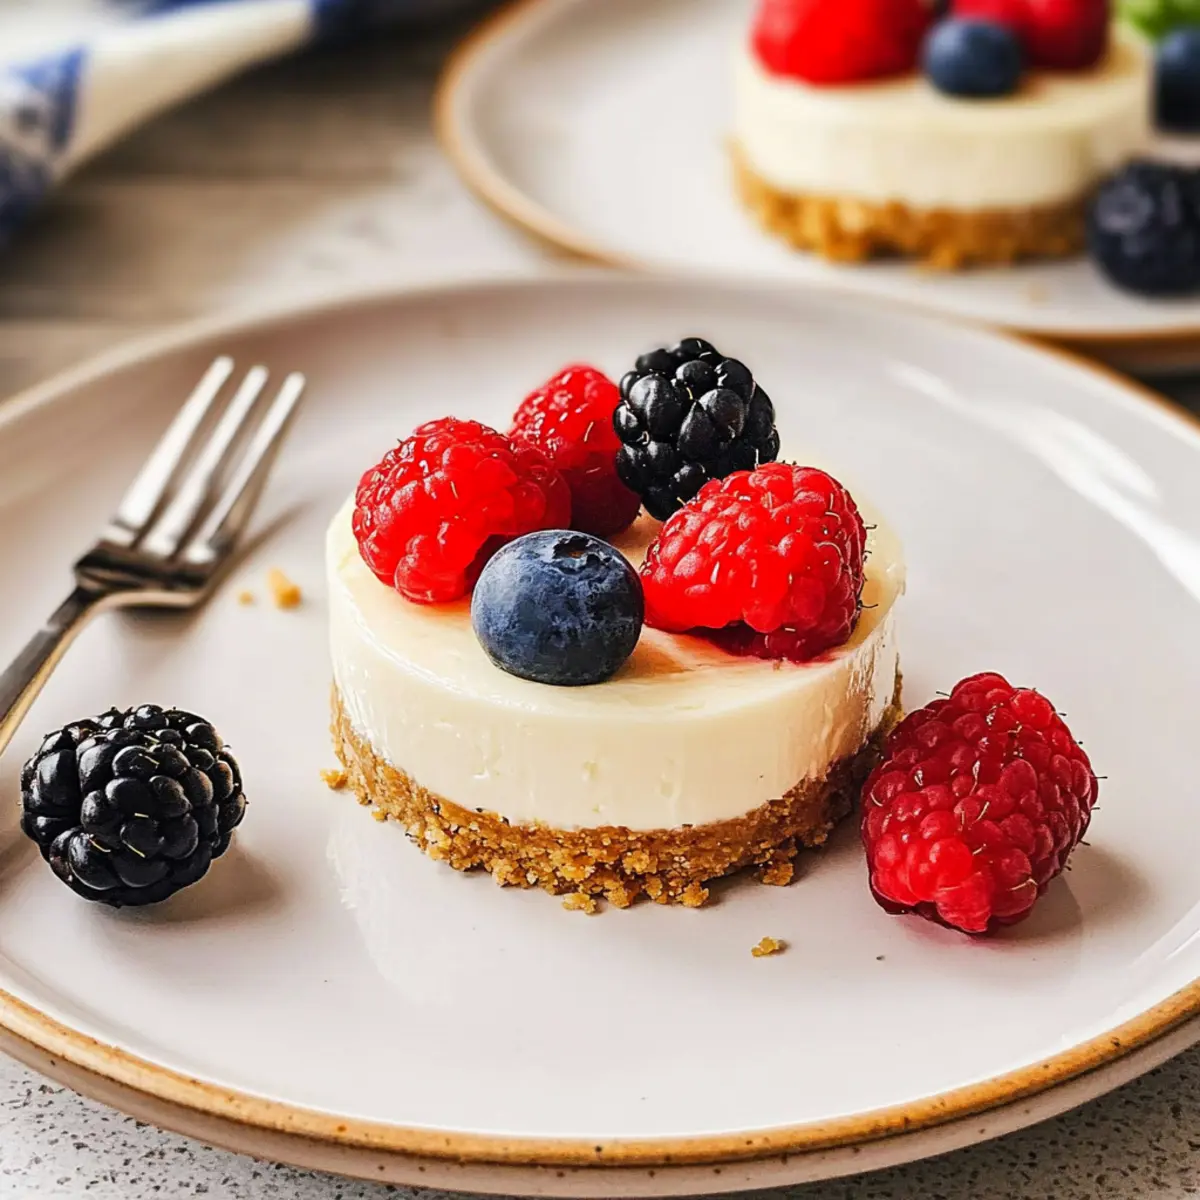
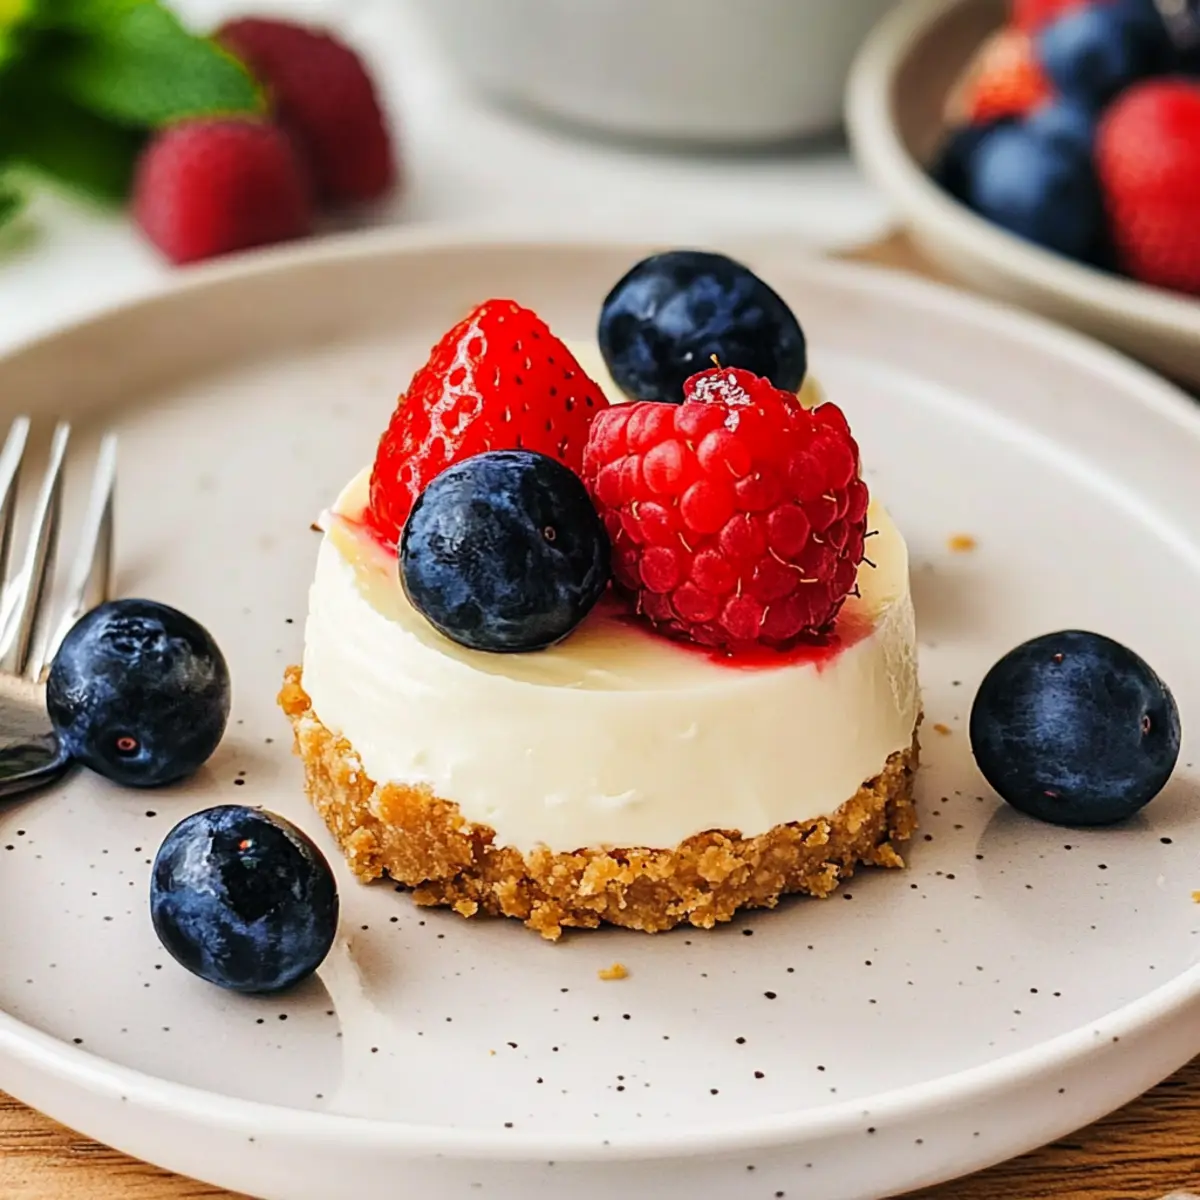
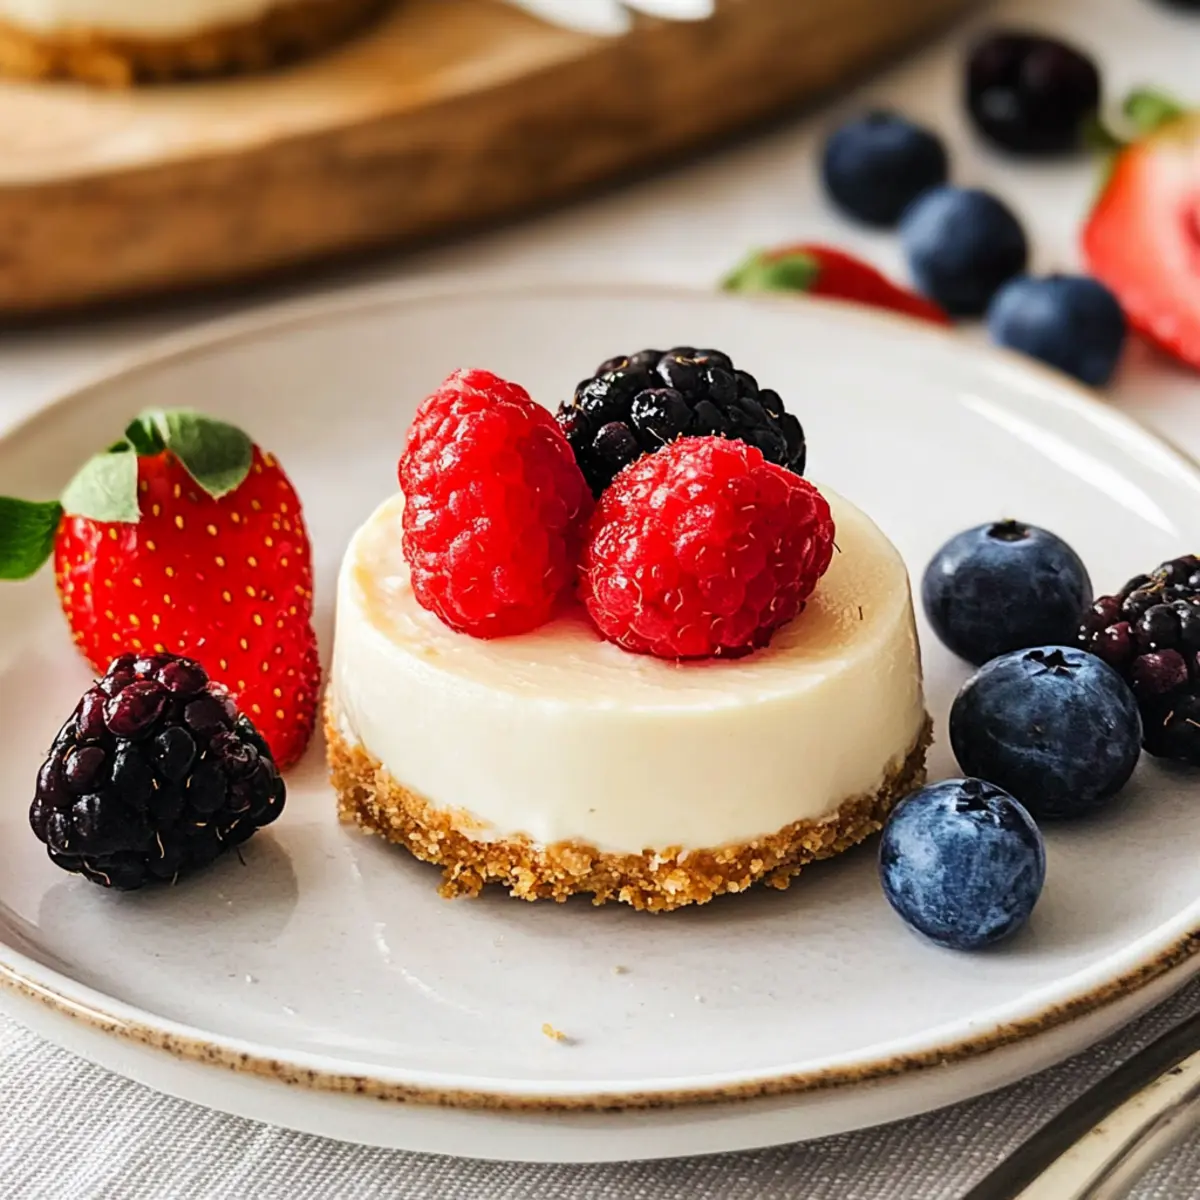
- Fresh Berries – Beautiful toppings that also add flavor; think strawberries, blueberries, or whatever is in season!
Get ready to create these delightful No Bake Mini Cheesecakes that are not only delicious but also customizable to your taste!
Step‑by‑Step Instructions for No Bake Mini Cheesecakes
Step 1: Prepare the Crust
Start by crushing the digestive biscuits in a food processor until you achieve fine crumbs. Melt the unsalted butter in a small saucepan over low heat, then pour it into the biscuit crumbs. Mix thoroughly until they resemble wet sand. Press this mixture firmly into your mini cheesecake molds, creating an even base. Chill the molds in the refrigerator for at least 30 minutes to allow the crust to firm up.
Step 2: Make the Creamy Filling
In a large mixing bowl, beat the room temperature full-fat cream cheese with the white sugar until it becomes smooth and creamy, about 2-3 minutes. Add in the vanilla extract and fresh lemon juice, incorporating them well into the mixture. The filling for your No Bake Mini Cheesecakes should be light and fluffy, so make sure all ingredients are combined evenly.
Step 3: Whip the Cream
In a separate bowl, pour the thickened cream and whip it using an electric mixer on medium-high speed until soft peaks begin to form, roughly 3-4 minutes. Take care not to over-whip as you want the cream to remain airy and light. This step is crucial for achieving that wonderful texture in your mini cheesecakes, so be attentive to its consistency.
Step 4: Combine Mixtures
Gently fold the whipped cream into the cream cheese mixture. Use a spatula to combine them carefully, ensuring you maintain as much airiness as possible. The filling for your No Bake Mini Cheesecakes should be smooth and fluffy. Continue folding until everything is well blended, and you no longer see any streaks of cream.
Step 5: Assemble the Mini Cheesecakes
Now, retrieve the chilled crusts from the refrigerator and spoon the creamy filling onto the bases, smoothing the tops with a spatula for an even surface. Fill each mold generously, allowing the filling to slightly dome over the edges. This part is where the magic of your No Bake Mini Cheesecakes truly begins to take shape!
Step 6: Chill to Set
Cover the assembled mini cheesecakes with plastic wrap and place them back in the refrigerator. Allow them to chill for at least 3 hours, or up to overnight, until they are set firmly. Keep an eye on the cooling time, as achieving the right texture is crucial for the delicious finish of your sweet treats.
Step 7: Serve and Enjoy
Once set, carefully remove the mini cheesecakes from their molds. You can gently run a small knife around the edges if needed. Decorate with fresh berries or your choice of toppings to add a pop of color and flavor. Now, your No Bake Mini Cheesecakes are ready to impress at your next gathering or for your own indulgence!
Expert Tips for No Bake Mini Cheesecakes
-
Room Temperature Cream Cheese: Ensure the cream cheese is at room temperature to avoid lumps in your filling. This will create a smooth, creamy texture.
-
Whipping Cream: Don’t over-whip the cream when making your filling—stop once firm peaks form. Over-whipping can lead to a grainy texture in your No Bake Mini Cheesecakes.
-
Chill the Crust: Allow the crust to chill for at least 30 minutes before adding the filling. This helps maintain its structure, preventing it from crumbling when you serve.
-
Decoration Choices: Get creative with your toppings! Fresh berries, fruit compotes, or chocolate drizzles add flavor and visual appeal to your No Bake Mini Cheesecakes.
-
Test for Doneness: If the filling isn’t setting, leave it chilling a little longer. Each refrigerator may vary in cooling efficiency, so patience is key!
-
Avoid Shortcuts: Skipping the chilling time after assembling can lead to a runny filling. Always chill until set for best results!
What to Serve with No Bake Mini Cheesecakes
Picture a sunlit afternoon where your delightful no bake mini cheesecakes steal the show, complemented perfectly by an array of irresistible sides and treats.
-
Fresh Berries: Combining sweet strawberries or tangy blueberries adds a burst of freshness that contrasts beautifully with the creamy cheesecake.
-
Whipped Cream: A dollop of light whipped cream enhances the dessert's creaminess, making each bite an indulgent experience.
-
Chocolate Ganache: Drizzling slightly warm chocolate ganache over your cheesecakes creates a rich, gooey texture that takes them to the next level of decadence.
-
Fruit Compote: A homemade berry compote adds a sweet-tart element that brightens the rich flavor of the cheesecake, making each bite refreshing.
-
Ice Cream: A scoop of vanilla or berry ice cream offers a cooling sensation that perfectly balances the richness of the mini cheesecakes on warm summer days.
-
Mint Leaves: Sprinkling fresh mint leaves as a garnish not only adds a pop of color but also a refreshing hint that elevates the overall presentation.
-
Sparkling Beverage: Pairing with a bubbly sparkling lemonade or fruity spritzer creates a festive atmosphere, perfect for any gathering.
-
Cheese Platter: For a bit of savory contrast, serve alongside a rustic cheese platter featuring soft cheeses and accompaniments like honey or crackers for a delightful combination.
Make Ahead Options
These No Bake Mini Cheesecakes are a dream for meal prep enthusiasts! You can prepare the crust up to 24 hours in advance by making the digestive biscuit base and refrigerating it to ensure it stays firm. Additionally, the creamy filling can be made and stored in the fridge for up to 3 days before assembly. Simply keep it in an airtight container to maintain its fluffiness. When you're ready to serve, spoon the filling into the prepped crusts and chill for at least 3 hours or overnight until set. This way, you’ll have deliciously creamy cheesecakes ready to impress with no last-minute rush!
Storage Tips for No Bake Mini Cheesecakes
Fridge: Keep undecorated mini cheesecakes in the refrigerator for up to 3 days. Make sure to cover them with plastic wrap or store in an airtight container to maintain freshness.
Freezer: For longer storage, freeze the mini cheesecakes without toppings. They can be frozen for up to 1 month. Ensure they are well-wrapped in plastic wrap and then placed in a freezer-safe container.
Reheating: If you want to enjoy them cold, simply remove from the freezer and transfer to the fridge 4-5 hours before serving to thaw. Avoid reheating in the microwave, as it can alter the texture of the filling.
Decorating: For the best taste and freshness, add any toppings just before serving your No Bake Mini Cheesecakes, ensuring they stay vibrant and delicious!
No Bake Mini Cheesecakes Variations
Feel free to get creative and customize your No Bake Mini Cheesecakes to suit your taste and occasion!
-
Dairy-Free: Substitute cream cheese and thickened cream with dairy-free alternatives like cashew cream or coconut cream for a vegan twist.
Imagine creamy indulgence without the dairy—perfect for those who are lactose intolerant or on a plant-based diet! -
Gluten-Free: Switch out digestive biscuits with gluten-free graham crackers or almond flour-based cookies to accommodate gluten-free needs.
Enjoy the same delicious texture guilt-free, making every guest feel included at your table. -
Chocolate Lovers: Mix cocoa powder into the cheesecake filling or layer on a rich chocolate ganache for a decadent chocolate version.
This delightful twist adds a heavenly, indulgent twist, perfect for chocoholics who crave a little extra richness. -
Fruit-Infused: Incorporate pureed fruits, such as strawberries or mango, directly into the filling for a burst of natural flavor.
This can delight your senses with refreshing tastes, making your cheesecakes feel even more vibrant and summery! -
Zesty Citrus: Add in lime or orange zest along with the lemon juice for an extra citrusy kick in the filling.
The zing from the citrus will uplift your dessert, leaving a delightful tang in every bite that freshens up a classic recipe. -
Nutty Crunch: Fold in crushed nuts or granola into the cheesecake filling for added texture and flavor, perfect for those who enjoy a bit of crunch.
This gives your mini cheesecakes a unique surprise that steals the spotlight at any gathering. -
Spicy Kick: Add a pinch of cinnamon or even a dash of cayenne to the cream cheese filling to introduce an unexpected heat.
This is a fun way to make your dessert stand out and spark conversation, blending sweet and spicy like a culinary dance party! -
Patriotic Theme: For holidays like Independence Day, layer in red, white, and blue fruits, like strawberries, blueberries, and whipped cream for a festive touch.
This not only makes your dessert visually stunning but also lets you celebrate with seasonal flair—perfect for summer parties!
Embrace these variations to make your No Bake Mini Cheesecakes uniquely yours, and don’t hesitate to share your creative takes with friends! For additional inspiration, explore delightful options like our High Protein Pancake recipe for a heartier breakfast or check out the vibrant flavors in our Pasta Bake Pumpkin. Enjoy!
No Bake Mini Cheesecakes Recipe FAQs
What is the best way to select ripe ingredients for this recipe?
Absolutely! For the freshest and most flavorful result, opt for ripe, juicy fruits if you're using fresh berries as a topping. Look for strawberries that are bright red, blueberries that are plump and firm, and avoid any that show dark spots or signs of mushiness. If you're using lemon juice, fresh lemons will provide a brighter, more vibrant taste compared to bottled ones.
How should I store leftover mini cheesecakes?
Very simple! Store your undecorated No Bake Mini Cheesecakes in the fridge, where they will stay fresh for up to 3 days. Just cover them tightly with plastic wrap or place them in an airtight container. If you want to save them for longer, freeze them without any toppings. They can last in the freezer for up to 1 month; just wrap them well in plastic wrap and place them in a freezer-safe container.
Can I freeze the mini cheesecakes, and how do I do it?
Absolutely! To freeze your No Bake Mini Cheesecakes, first make sure they are completely cooled and undecorated. Wrap each cheesecake in plastic wrap and then place them in a freezer-safe container to prevent freezer burn. When you’re ready to enjoy them, transfer them to the refrigerator to thaw overnight or for about 4-5 hours before serving. This method ensures they remain fresh and delicious when you're ready to indulge again!
What should I do if my cheesecake filling isn't setting properly?
If your filling doesn't set, don’t worry! It could be that the whipped cream wasn't whipped to firm peaks, which is essential for the desired texture. To remedy this, simply return the mini cheesecakes to the refrigerator for a bit longer, up to an extra couple of hours. If you've over-whipped your cream, you may need to gently fold in a little more unwhipped cream to create that light texture again. Remember, patience is key!
Are there any dietary considerations for this recipe, such as allergies?
Absolutely! These No Bake Mini Cheesecakes can cater to various dietary needs. To make them gluten-free, substitute the digestive biscuits with a gluten-free option like almond flour or gluten-free graham crackers. If you're considering allergies, be cautious with the cream cheese and cream; some people may have lactose intolerance. You can switch to dairy-free cream cheese and coconut cream for a plant-based alternative. Always check ingredient labels to ensure they're free from allergens relevant to your guests.
Can pets enjoy the mini cheesecakes?
No, it’s best to avoid sharing mini cheesecakes with pets. While some ingredients like cream cheese may not be toxic, the sugars and any flavorings (like vanilla) are not suitable for animals and can lead to digestive issues. Stick to treats made specifically for your furry friends to keep them safe!
No Bake Mini Cheesecakes for Effortless Summer Indulgence
Ingredients
Equipment
Method
- Crush the digestive biscuits in a food processor until fine crumbs. Melt the unsalted butter, pour into crumbs, and mix until resembling wet sand. Press into mini cheesecake molds. Chill for 30 minutes.
- Beat room temperature cream cheese with sugar until smooth and creamy. Add in vanilla extract and lemon juice, mixing well.
- Whip the thickened cream in a separate bowl until soft peaks form, being careful not to over-whip.
- Gently fold the whipped cream into the cream cheese mixture until well combined and fluffy.
- Spoon the creamy filling onto the chilled crusts, smoothing the tops with a spatula.
- Cover with plastic wrap and chill for at least 3 hours until set.
- Once set, remove from molds, decorate with fresh berries, and serve.
Leave a Reply