
There’s something magical about summer’s end—when the air turns crisp, yet the sweetness of juicy watermelons still lingers. As I watched my garden overflow with ripe fruit, I knew I had to capture that essence in a jar. That’s how my Homemade Watermelon Jelly came to life! This vibrant preserve not only encapsulates the refreshing flavor of summer, but it’s also incredibly quick to whip up, making it the perfect way to savor those sunny days all year long. With no artificial flavors to spoil the fun, it’s a delightful treat that can elevate your breakfast toast or impress guests at a gathering. Curious about how to turn this seasonal favorite into a lasting gem for your pantry? Let’s dive into this simple recipe together!
Why is Watermelon Jelly a Must-Try?
Freshness in every bite: Homemade watermelon jelly is like summer in a jar, bursting with the vibrant flavor of ripe watermelon, perfect for spreading on toast or drizzling over desserts.
Quick and easy: This recipe is designed for those busy summer days, requiring just an hour from start to finish.
No artificial additives: Enjoy the authentic taste of watermelon without any unwanted preservatives.
Versatile delight: Pair it with cheese, yogurt, or use it as a glaze for meats to impress at your next gathering.
Crowd-pleaser: Everyone loves a sweet, homemade treat—this jelly is sure to be a hit at parties and family gatherings. Get ready to share the joy of your Homemade Watermelon Jelly!
Watermelon Jelly Ingredients
For the Jelly Base
• Watermelon Juice – Freshly juiced watermelon gives this jelly its signature sweet flavor.
• Sugar – Essential for sweetness and helps the jelly set; consider using low-sugar pectin for a flavorful alternative.
• Low-Sugar Pectin – This ingredient helps thicken the jelly without excessive sugar for a healthier option.
• Lemon Juice – Adds necessary acidity for safe canning and brightens the overall flavor.
Ready to savor the essence of summer with your own delicious watermelon jelly? Let’s get cooking!
Step‑by‑Step Instructions for Homemade Watermelon Jelly
Step 1: Prepare Watermelon Juice
Start by cutting a ripe watermelon in half and scooping out the flesh. Use a blender to puree the watermelon until smooth, then strain the mixture through a fine mesh sieve or cheesecloth to extract about 4 cups of fresh watermelon juice, resulting in a vibrant, fruity base for your watermelon jelly.
Step 2: Boil Juice
Pour the freshly strained watermelon juice into a large pot and heat over medium-high. Bring the juice to a boil and let it cook for 15 to 30 minutes, stirring occasionally, until it reduces and becomes concentrated. You’re aiming for a temperature of around 220°F, giving your jelly a rich flavor.
Step 3: Mix Pectin and Sugar
In a separate bowl, combine 1 cup of sugar with the low-sugar pectin, ensuring they mix well. Once the watermelon juice has reached the desired concentration, whisk this sugar-pectin mixture into the boiling juice. Stir quickly for even distribution, which is essential for proper gelling.
Step 4: Final Boil
Allow the mixture to return to a rolling boil, stirring constantly for about 1 to 2 minutes. Once bubbling vigorously, add in a generous squeeze of lemon juice to balance the sweetness and boost acidity. This final boil will activate the pectin to help your watermelon jelly set perfectly.
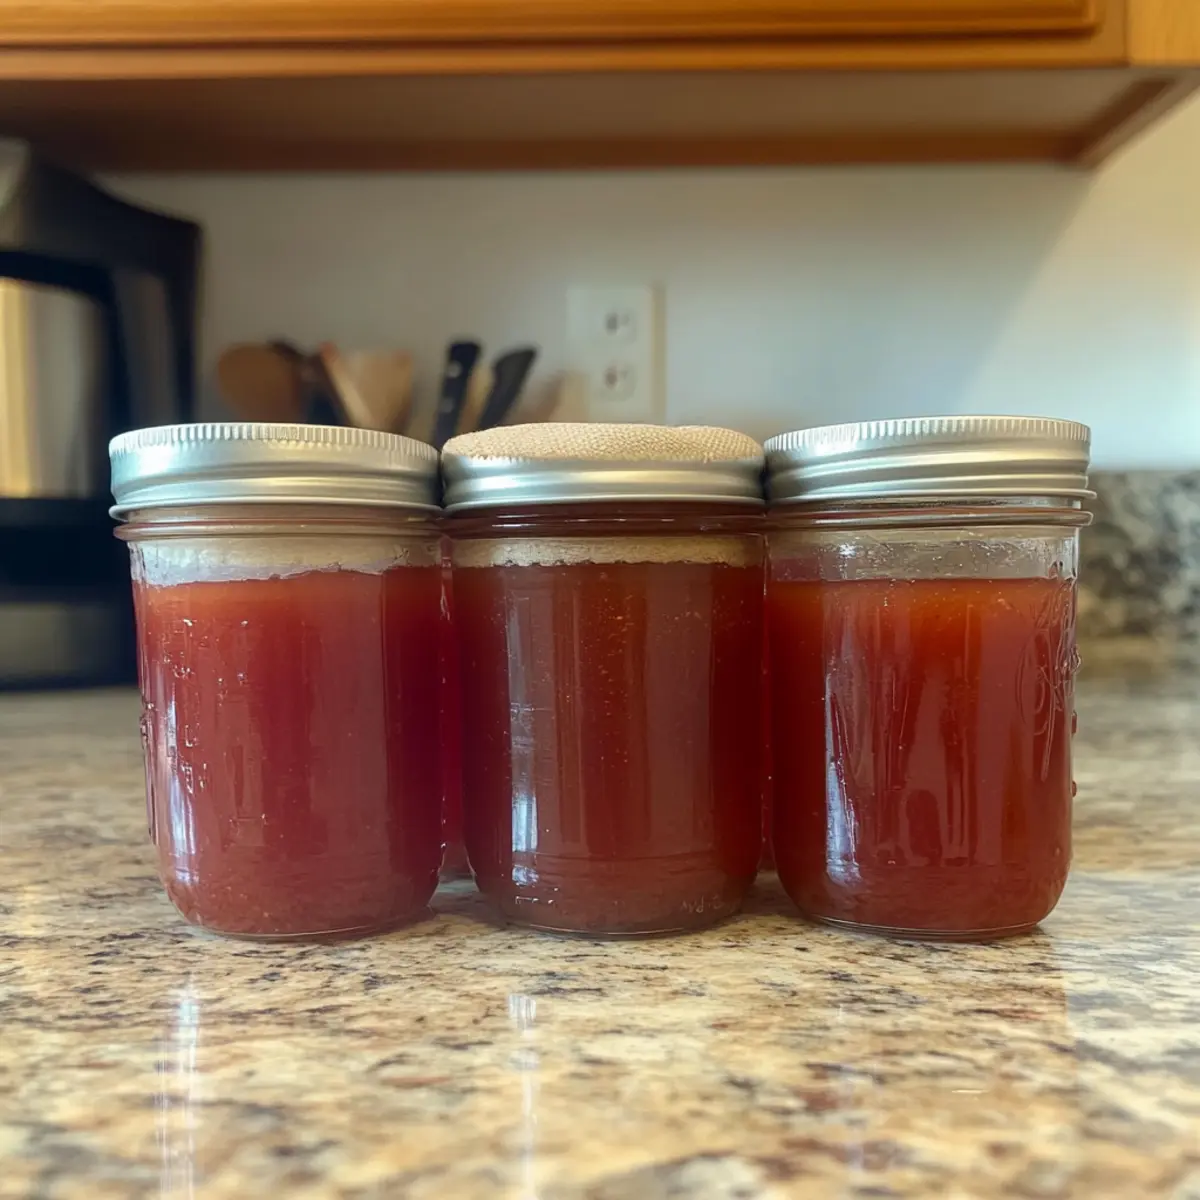
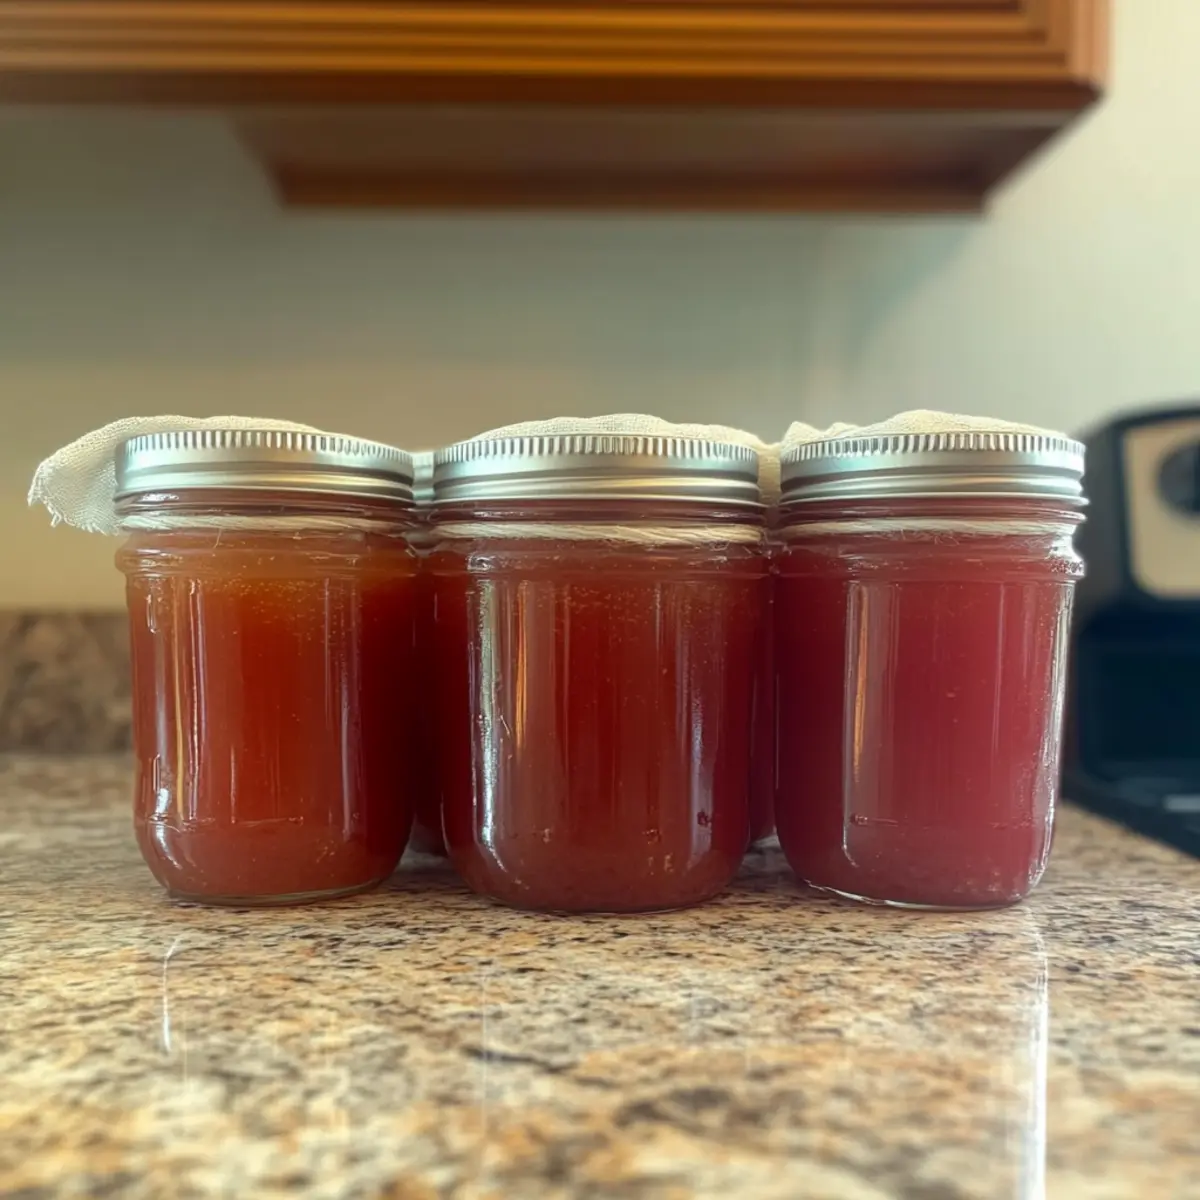
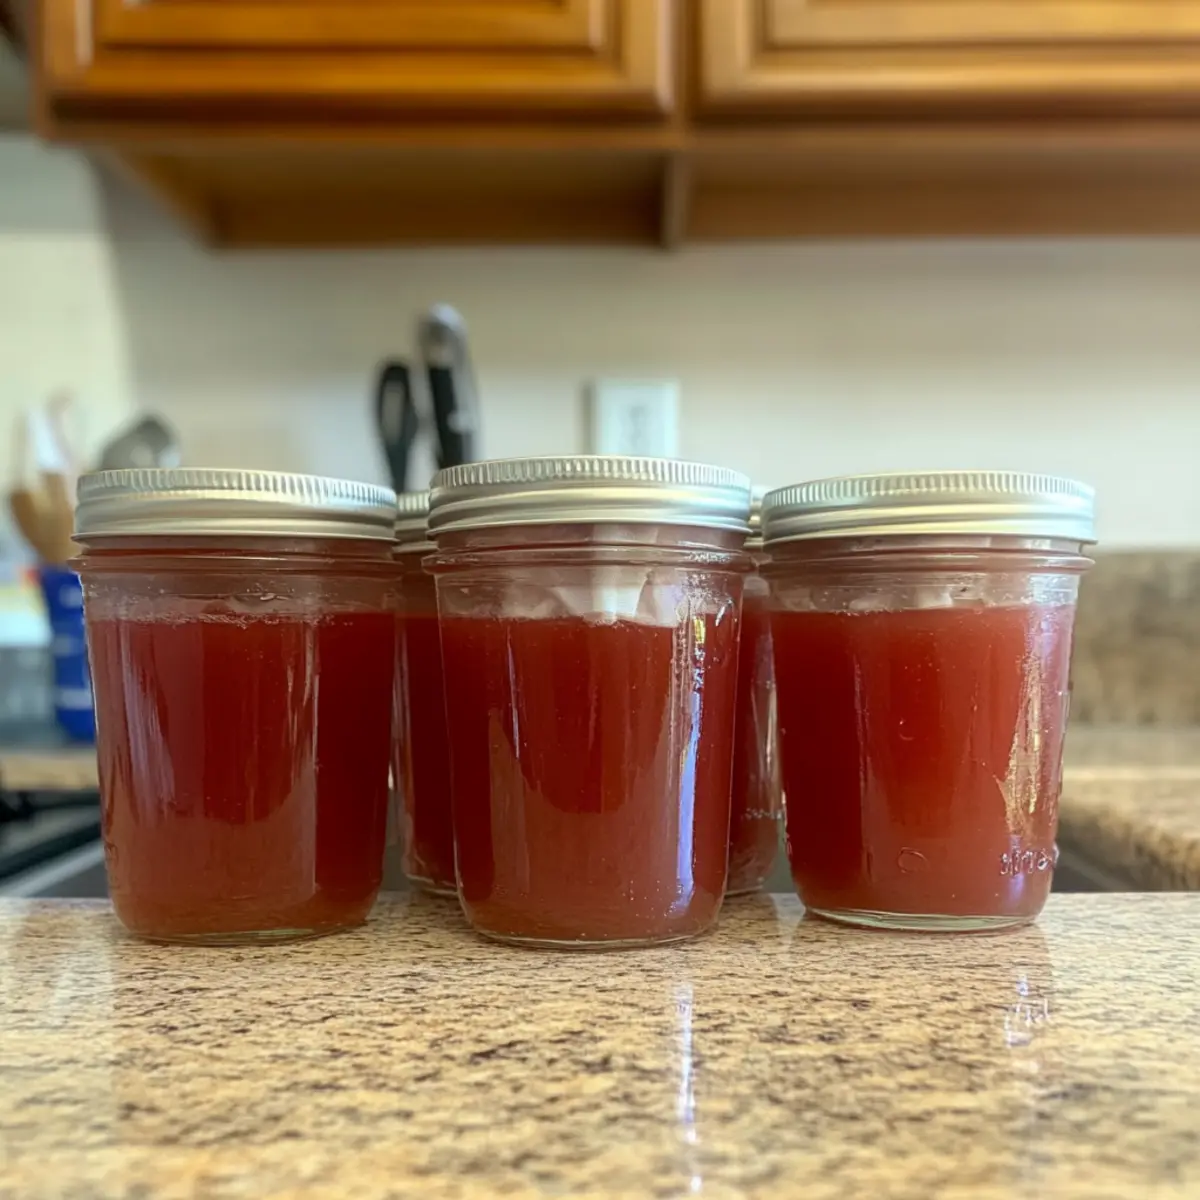
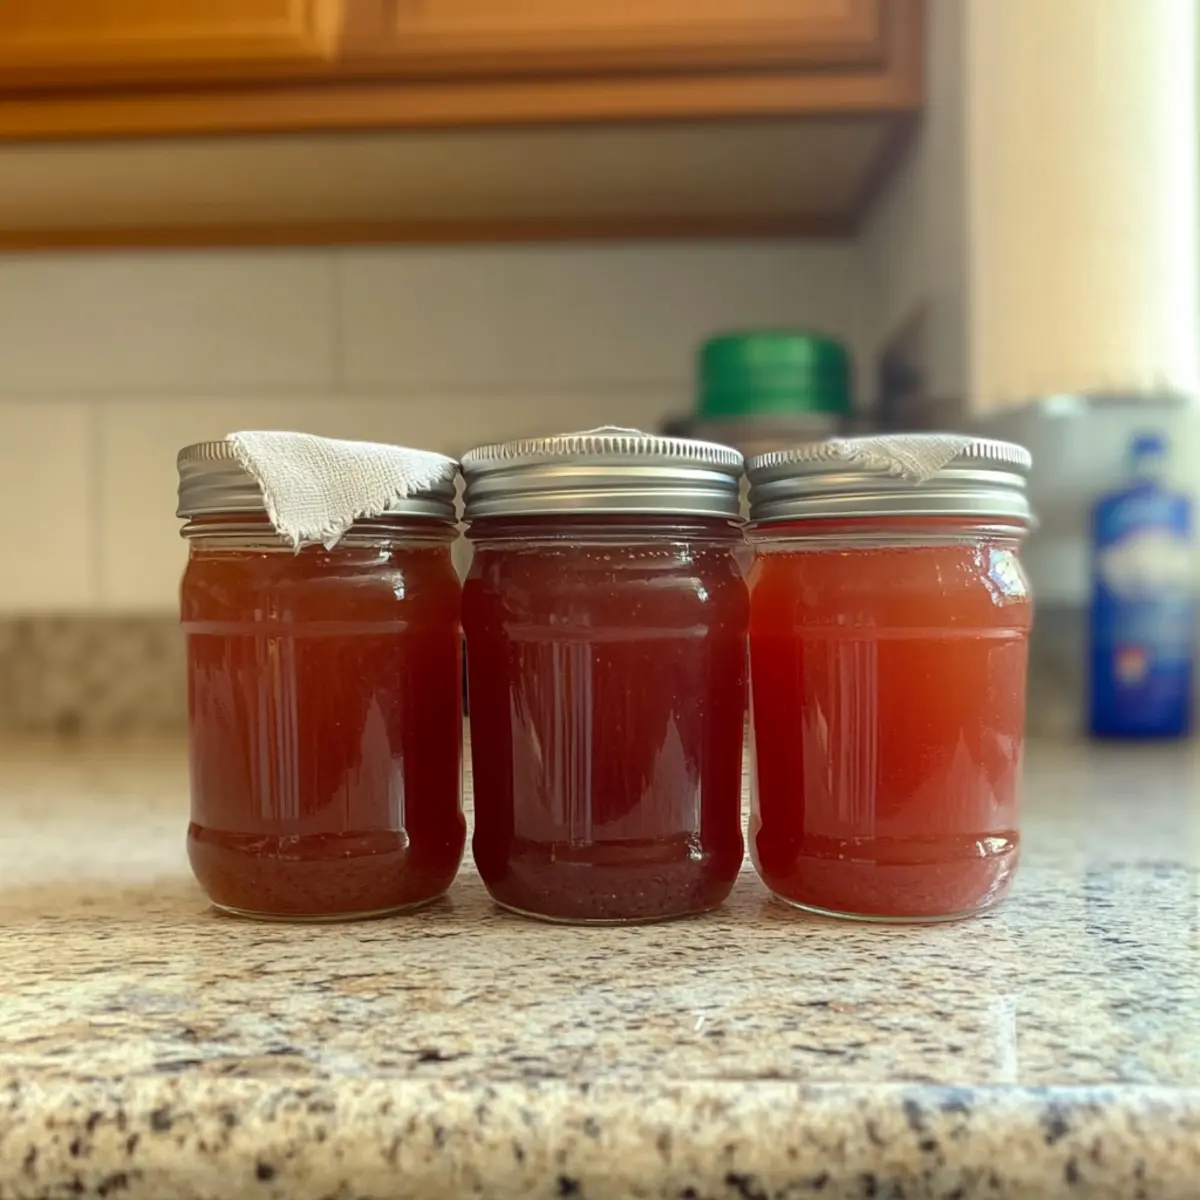
Step 5: Jar the Jelly
Prepare sterilized jars by washing them in hot soapy water and rinsing thoroughly. Fill each jar with the hot watermelon jelly, leaving about ½ inch of headspace at the top. Wipe the rims clean to ensure a tight seal when you cap them. This jelly captures the essence of summer beautifully!
Step 6: Process Jars
Place the filled jars in a water bath canner, making sure they are covered with at least an inch of water. Bring to a boil and process for 5 to 10 minutes—10 minutes for pint jars. Once done, carefully remove the jars using jar tongs and allow them to cool completely on a towel for at least 12 hours before storing.
Watermelon Jelly Variations & Substitutions
Feel free to explore these delightful twists and make your watermelon jelly uniquely yours!
-
Herbal Twist: Add a few sprigs of fresh mint or basil while boiling the juice for a refreshing flavor enhancement. The earthy notes blend perfectly with watermelon’s sweetness.
-
Spicy Kick: Mix in a hint of ground ginger or a pinch of cayenne during the final boil for a surprising kick. It’s a fabulous way to create a jelly with both sweet and spicy dimensions.
-
Berry Blast: Combine watermelon juice with a cup of raspberry or blueberry juice for a delicious berry fusion. This not only adds color but enriches the flavor profile, perfect for summer parties.
-
Citrus Zing: Instead of lemon juice, use lime juice for a zesty twist. The vibrant citrus notes will ramp up the refreshing qualities of the jelly while ensuring safe canning.
-
Apple Infusion: Substitute half of the watermelon juice with fresh apple juice for a sweeter, crisper variation. This unique blend adds depth and a lovely texture, elevating the jelly experience.
-
Sweetener Swap: Experiment with honey or agave syrup instead of sugar for a natural touch. This can introduce a whole new flavor dimension, enriching the overall taste with earthy sweetness.
-
Vinegar Balance: A splash of apple cider vinegar can add a pleasantly tangy note, which pairs beautifully with savory dishes. It’s a creative way to elevate your jelly’s versatility in recipes.
-
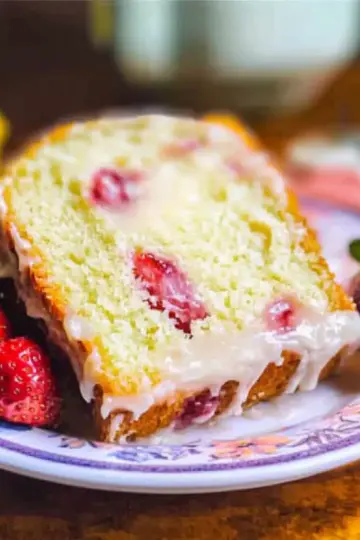
Fruity Surprise: Fold in some diced strawberries or peaches right before jarring the jelly. This not only creates delightful textures but also adds unexpected bursts of flavor with every spoonful.
Why not personalize your homemade watermelon jelly to suit your taste buds? Embrace the bounty of summer and make these simple substitutions to create a preserve that truly reflects your culinary style!
Expert Tips for Watermelon Jelly
• Use Fresh Watermelon: Always choose ripe, fresh watermelon for the best flavor. Overripe fruit may affect the jelly's texture and taste.
• Without Sugar Overload: If you prefer a less sweet jelly, adjust the sugar according to taste, but avoid skipping it completely as it’s essential for proper setting.
• Consistent Stirring: Stir continuously while the juice reduces to prevent it from sticking to the pot and burning, especially when making watermelon jelly.
• Check Temperature: Use a candy thermometer to confirm that the mixture reaches around 220°F, ensuring the jelly sets perfectly.
• Headspace Matters: Remember to leave enough headspace in the jars during canning; about ½ inch allows for jelly expansion during processing.
• Flavor Variations: Don’t hesitate to experiment! Add fresh herbs or spices, like mint or ginger, to elevate your watermelon jelly's flavor.
What to Serve with Homemade Watermelon Jelly?
Enhance your culinary experience by pairing the vibrant flavors of homemade watermelon jelly with delicious side dishes and drinks.
-
Creamy Goat Cheese: The tangy notes beautifully contrast the sweetness of the jelly, creating a delightful balance on a cracker or slice of bread.
-
Buttermilk Biscuits: Light, fluffy biscuits serve as a perfect canvas for the jelly's fruity goodness, making each bite feel like a warm hug.
-
Greek Yogurt Parfaits: Layer yogurt with fresh fruit and a drizzle of watermelon jelly for a refreshing breakfast or snack option that screams summer.
-
Savory Cheese Board: Elevate your cheese board by including watermelon jelly alongside sharp cheddar and brie, allowing guests to experience a delightful flavor play.
-
Roasted Chicken Glaze: Use watermelon jelly as a glaze for roasted chicken, imparting a sweet, caramelized finish that adds a touch of summer to your dinner table.
-
Fresh Mint Iced Tea: A refreshing iced tea infused with fresh mint complements the sweet, fruity notes of your jelly, providing a thirst-quenching treat.
-
Pineapple Upside-Down Cake: Drizzle watermelon jelly over a warm, buttery cake to add a sweet, juicy twist that will surprise your guests and tantalize their taste buds.
-
Chocolate Mousse: Pair your jelly with a rich chocolate mousse; the contrasting flavors create an unforgettable dessert experience that’s perfect for entertaining.
Make Ahead Options
These Homemade Watermelon Jelly jars are perfect for meal prep enthusiasts! You can prepare the watermelon juice up to 24 hours in advance by juicing the watermelon and refrigerating it in an airtight container. Additionally, mix the sugar and pectin together the night before and store them in a dry place. To maintain quality, make sure the juice is kept covered to prevent oxidation. When you're ready to finish making the watermelon jelly, simply bring the juice to a boil, add the pectin-sugar mixture, and follow the final steps of boiling and jarring as outlined. This way, you can effortlessly preserve summer’s bounty while saving precious time during busy days!
How to Store and Freeze Watermelon Jelly
Fridge: Store opened jars of watermelon jelly in the refrigerator for up to 3 weeks to maintain its freshness and flavor. Make sure the lids are tightly sealed.
Freezer: For long-term storage, freeze watermelon jelly in airtight containers or freezer-safe jars for up to 6 months. Leave some headspace for expansion.
Room Temperature: Unopened jars can be kept in a cool, dark place for up to a year. Ensure they are sealed properly to maintain quality during storage.
Reheating: To use frozen watermelon jelly, thaw it overnight in the fridge or place the jar in warm water. Stir well before serving to restore its smooth texture.
Watermelon Jelly Recipe FAQs
How do I choose a ripe watermelon for jelly?
Absolutely! Look for a watermelon that feels heavy for its size and has a uniform shape. A ripe watermelon should have a creamy yellow spot where it rested on the ground and a dull skin rather than a shiny one. Knock on it; a deep sound indicates ripeness!
How long does homemade watermelon jelly last in the fridge?
Very! Once opened, store your watermelon jelly in the refrigerator for up to 3 weeks. Just make sure the jar is sealed tightly to keep the jelly fresh and flavorful.
Can I freeze watermelon jelly, and how should I do it?
Definitely! To freeze your watermelon jelly, pour it into airtight containers or freezer-safe jars. Be sure to leave about ½ inch of headspace to allow for expansion. You can store it in the freezer for up to 6 months, making it a delightful treat for cooler months ahead.
What should I do if my watermelon jelly doesn’t set properly?
No worries! If your jelly hasn’t set after cooling, it might need a second chance. Start by assessing the liquid; if it's still too runny, you can reheat it in a pot, then mix in a little more low-sugar pectin according to package instructions—generally, for every quart of unsatisfactory jelly, add about 1 tablespoon of pectin mixed with sugar, then boil for another 1-2 minutes.
Are there any dietary considerations for this watermelon jelly?
Great question! This watermelon jelly recipe can be made gluten-free as it doesn't contain any wheat or gluten ingredients. If you're concerned about allergies, always check the labels of your pectin and sugar to ensure they meet your dietary needs.
How can I tell if my watermelon jelly has gone bad?
Look for visual cues! If you notice any discoloration, off smells, or dark spots all over the jelly, it’s best to discard it. A properly sealed jar should remain fresh and vibrant, while opened jars should be consumed within a few weeks to ensure you enjoy that fresh watermelon flavor!
Delicious Watermelon Jelly: Your Summer Preserve Delight
Ingredients
Equipment
Method
- Cut a ripe watermelon in half and scoop out the flesh. Blend until smooth, then strain to get about 4 cups of watermelon juice.
- Pour the watermelon juice into a pot and bring to a boil over medium-high heat, cooking for 15-30 minutes until concentrated.
- In a bowl, mix 1 cup of sugar with low-sugar pectin. Whisk this mixture into the boiling juice.
- Allow to return to a rolling boil, stirring for 1-2 minutes. Squeeze in fresh lemon juice and boil until pectin activates.
- Prepare sterilized jars and fill with hot jelly, leaving ½ inch of headspace. Clean rims and seal.
- Process jars in a water bath canner for 5-10 minutes, then let cool on a towel for at least 12 hours.

Leave a Reply