
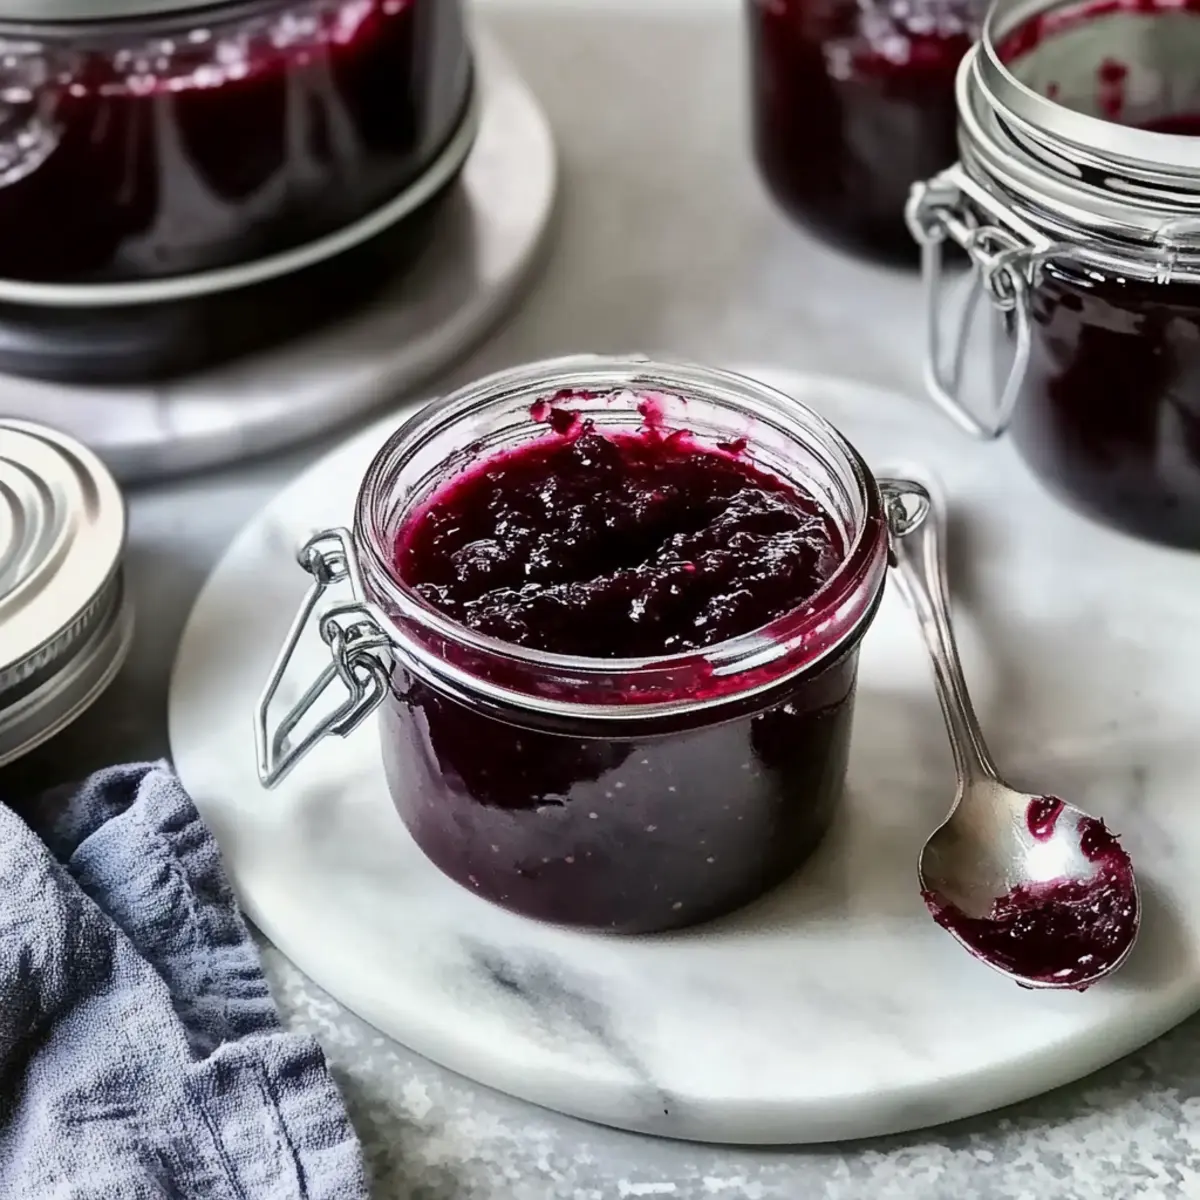
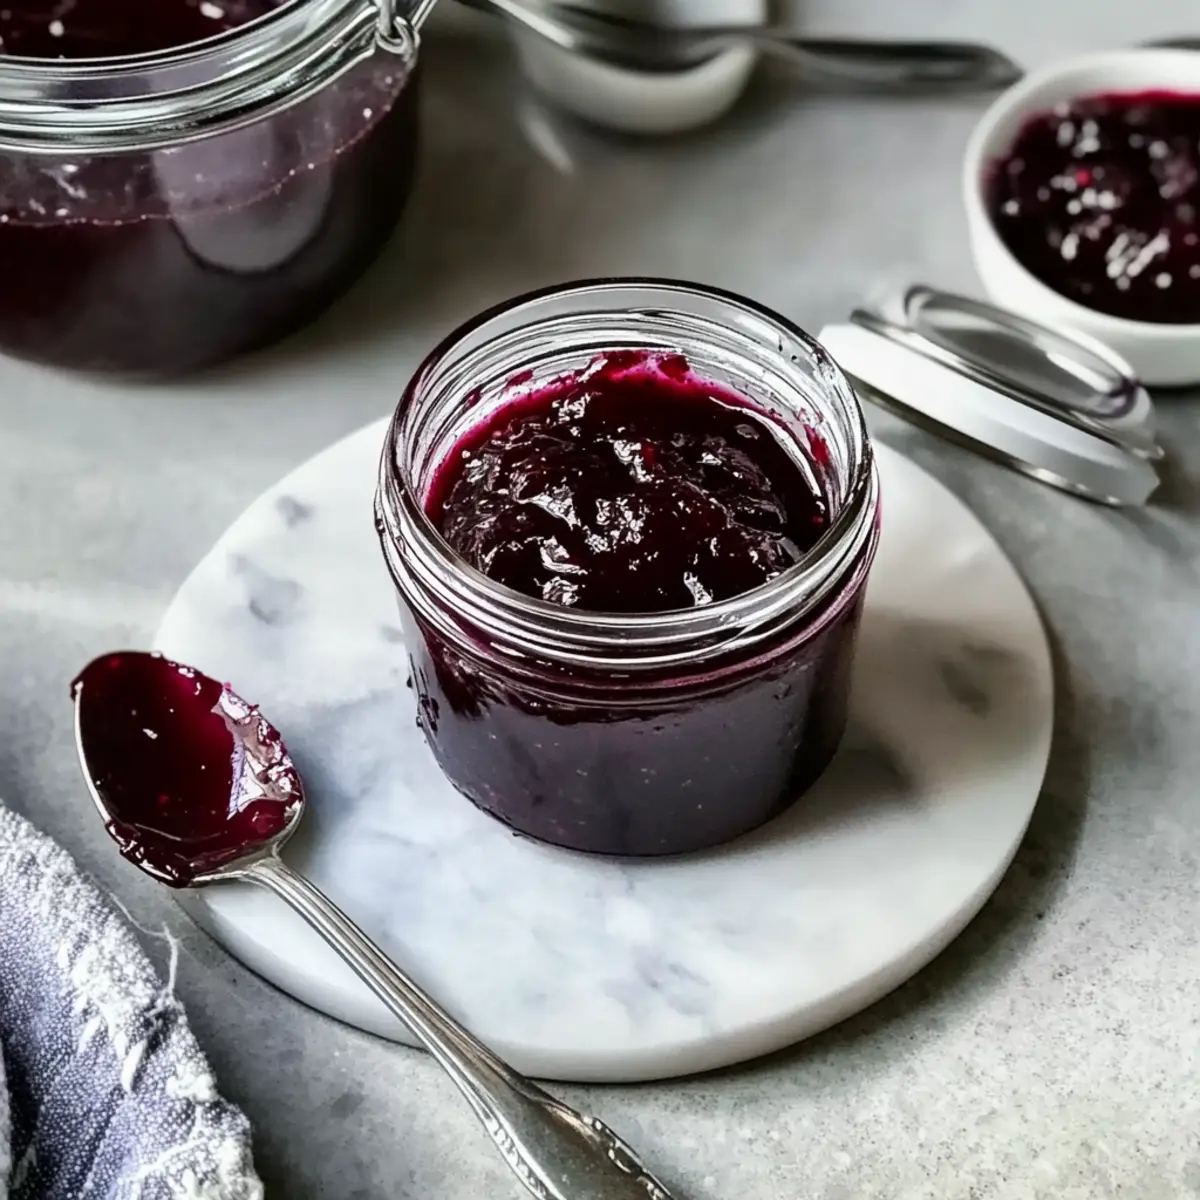
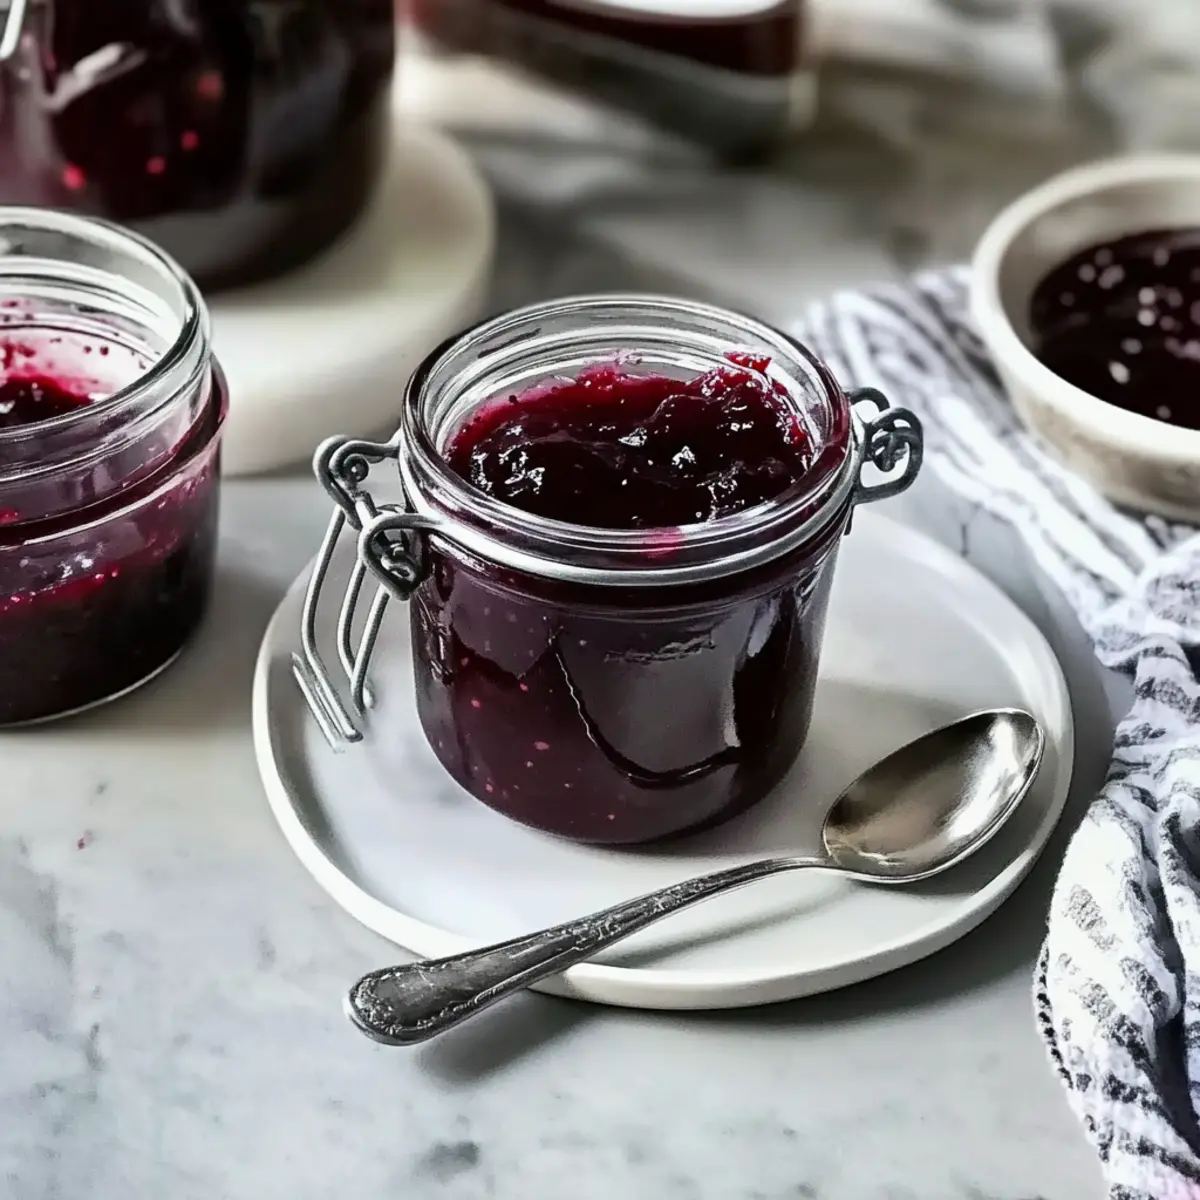
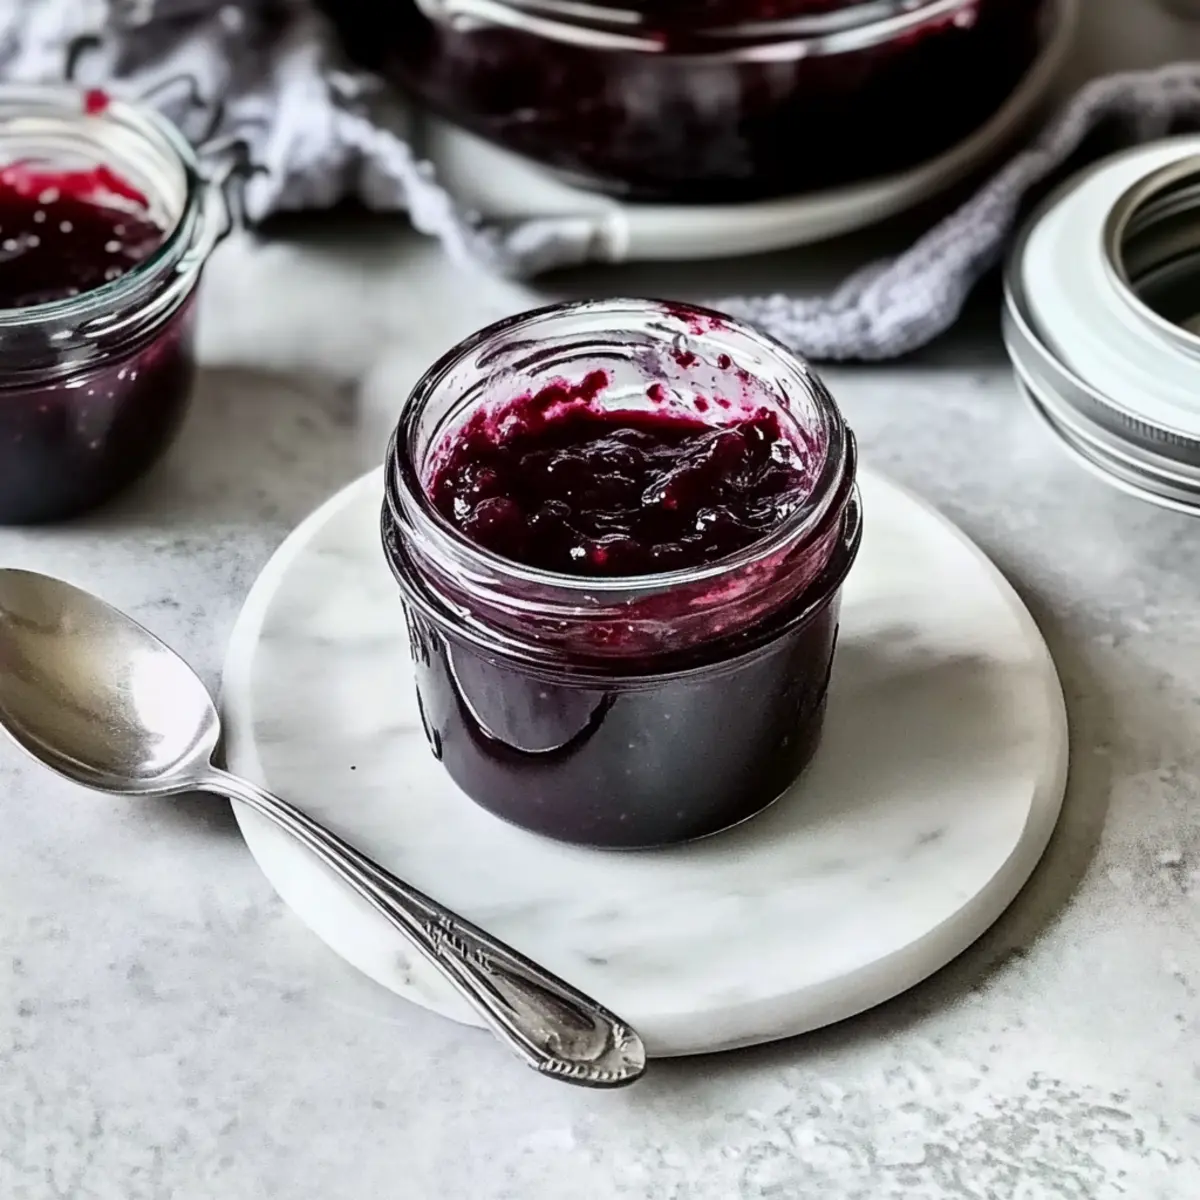
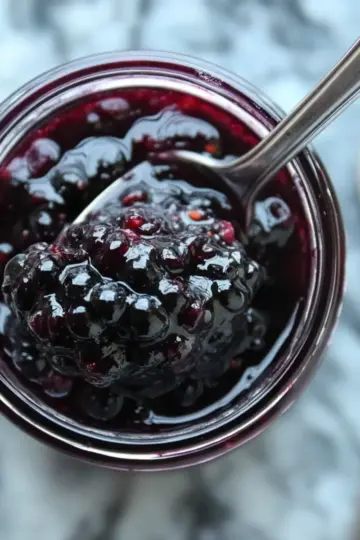
As I stood in my kitchen, the heady aroma of simmering blackberries filled the air, transporting me back to sun-soaked summer afternoons. This Homemade Blackberry Jam Recipe is a vibrant celebration of those memories, capturing the essence of ripe blackberries in every glossy jar. Whether you fancy a smooth seedless jam or prefer the rustic charm of seeds, this easy-to-follow process accommodates all tastes and skill levels. In under an hour, you can whip up a delightful breakfast spread or a thoughtful homemade gift that leaves your friends craving more. Plus, with its gluten-free and dairy-free credentials, it’s a wonderful way to brighten anyone's morning. Ready to take your breakfast game to the next level? Let’s dive into the juicy world of homemade blackberry jam!
Why is this jam a game changer?
Vibrant Flavor: This jam bursts with the fresh essence of summer, transforming your breakfast with its delightful sweetness and tangy notes.
Customizable: Whether you prefer a smooth seedless jam or want to savor the texture of seeds, this recipe includes options that cater to all preferences.
Quick & Easy: In just 55 minutes, you can create a mouth-watering jam without the fuss, making it ideal for beginners or anyone short on time.
Healthy Twist: With its gluten-free and dairy-free profile, this jam is perfect for health-conscious enthusiasts looking to elevate their meals.
Crowd-Pleasing Gift: Share the joy of homemade goodness! It's an impressive gift for any occasion, sure to leave friends begging for your secret. Consider pairing it with treats from our Recipe collection for a delightful jam-inspired gift basket!
Homemade Blackberry Jam Ingredients
• Get ready to create your Homemade Blackberry Jam Recipe with these essentials!
For the Jam
• Blackberries – Fresh or frozen, they create a natural and vibrant flavor; feel free to experiment with other berries!
• Granulated Sugar – This sweetener not only enhances flavor but also helps achieve the perfect gel; be mindful of adjusting this when using low-sugar pectin.
• Lemon Juice – Fresh lemon juice provides necessary acidity that promotes jam setting and adds a zesty kick.
Optional Ingredient
• Pectin – Ideal for achieving a firmer set quickly; use powdered pectin at the beginning or liquid pectin towards the end of cooking for best results.
Embrace these ingredients and prepare for a delightful kitchen adventure!
Step‑by‑Step Instructions for Homemade Blackberry Jam Recipe
Step 1: Prepare Jars
Start by sterilizing your jars to ensure your homemade blackberry jam remains fresh. Fill a large pot with water, place the empty jars inside, and bring it to a simmer for 10 minutes. Keep the jars hot until you're ready to fill them; this process helps prevent any spoilage after sealing.
Step 2: Mash Blackberries
In a large, heavy-bottomed pot, combine your fresh or frozen blackberries. Use a potato masher or fork to crush the berries until they release their juice, making sure to leave some texture. This step should take about 5 minutes and will create a vibrant, purple mixture to form the base of your jam.
Step 3: Strain (if seedless preferred)
If you’d like a smooth, seedless blackberry jam, push the mashed berries through a fine-mesh sieve into another bowl. Use the back of a spoon to extract as much juice as possible while discarding the seeds. This method transforms your jam into a velvety treat, perfect for spreading.
Step 4: Mix Ingredients
Return the strained blackberry juice or the mashed blackberries to the pot, and stir in granulated sugar and lemon juice. If you’re using powdered pectin for a firmer set, add it at this stage. Mix well to ensure everything blends, as this sets the flavor for your homemade blackberry jam.
Step 5: Boil
Place the pot over medium-high heat, stirring constantly until the sugar fully dissolves. Bring the mixture to a rolling boil, where large bubbles continuously break the surface, for about 10 minutes. This boiling ensures that sugar is properly integrated, and it's crucial for achieving a perfect consistency.
Step 6: Test for Doneness
To check if your homemade blackberry jam is ready, use a candy thermometer; it should reach 220°F (105°C). Alternatively, perform the cold plate test by placing a teaspoon of jam on a chilled plate. If it wrinkles when pushed with your finger, it’s time to remove it from the heat.
Step 7: Jar the Jam
Carefully ladle the hot blackberry jam into your prepared jars, leaving about ¼ inch of headspace at the top. Wipe the rims with a clean cloth to remove any residue before sealing. Place the lids on top and screw the bands until they’re fingertip-tight; this ensures a good seal.
Step 8: Store
Depending on your storage choice, let the jars cool completely before placing them in the refrigerator, freezing for later use, or processing in a water bath for long-term storage. If canned properly, your homemade blackberry jam can last up to a year on the shelf, allowing you to enjoy those summer flavors anytime!
What to Serve with Simple Homemade Blackberry Jam?
Indulge in a delightful breakfast experience by pairing this homemade blackberry jam with complementary flavors and textures.
- Warm Croissants: The buttery, flaky layers of a croissant beautifully contrast with the sweet-tart burst of the jam, creating a luxurious treat.
- Cream Cheese Toast: Spread a layer of creamy goodness on your toast before adding jam; it’s an irresistible combo that balances richness with fruity brightness.
- Greek Yogurt Parfait: Layer this jam in yogurt with granola for a satisfying breakfast or snack. The tartness of the yogurt pairs perfectly with the sweetness of the jam.
- Pancakes or Waffles: Drizzle over warm pancakes or waffles to take your morning feast to another level. The syrupy sweetness enhances each bite!
- Peanut Butter Sandwich: A twist on the classic, add blackberry jam to a peanut butter sandwich for a sweet, nutty explosion of flavor that’s simply delightful.
- Vanilla Ice Cream: For a refreshing dessert, pour the jam over vanilla ice cream, creating a summer-inspired sundae that leaves you craving more.
- Charcuterie Board: Serve alongside cheeses like brie or goat cheese for a sophisticated touch. The fruity jam brightens up salty and savory elements on the board.
- Sparkling Water: Balance the sweetness with a refreshing drink. A glass of sparkling water with lemon or lime enhances the jam's bright flavors.
- Chocolate Cake: Spread a thin layer of blackberry jam between cake layers for a fruity surprise, adding a lovely contrast to rich chocolate flavors.
Make Ahead Options
These Homemade Blackberry Jam Recipe options are perfect for busy home cooks! You can mash the blackberries and mix them with sugar and lemon juice up to 24 hours in advance. Simply store the mixture in an airtight container in the refrigerator to maintain freshness. If you prefer to take it a step further, you can also prepare the entire jam by following the first five steps, then refrigerate it for up to 3 days. When you're ready to serve, just bring it to a boil and proceed with the final steps. This makes crafting homemade bliss a breeze, allowing you to enjoy those vibrant summer flavors with minimal effort!
Homemade Blackberry Jam Recipe Variations
Make this homemade blackberry jam truly yours with a few simple tweaks and tricks to tantalize your taste buds!
-
Berry Bliss: Swap out blackberries for raspberries, strawberries, or even blueberries for deliciously different flavors. Adjust sweetness based on the natural sugar content of the fruits used.
-
Seedless Option: Prefer a smooth texture? Simply strain the mashed berries through a fine sieve to create a seedless version that spreads beautifully.
-
Sweetness Swap: Use honey or maple syrup instead of granulated sugar for a natural sweetness. Both options give your jam a unique flavor twist that’s slightly different from traditional sugar.
-
Zesty Twist: Add a splash of orange or lime juice alongside lemon for a citrusy zing. The bright flavors will elevate your jam to new heights, making it perfect for summer breakfasts.
-
Spiced Jam: Incorporate a dash of cinnamon or nutmeg for a warm, cozy undertone. This variation is perfect for fall or winter, making your jam feel like a comforting hug in a jar.
-
Chili Heat: For those who love a kick, mix in a pinch of red pepper flakes or finely chopped fresh jalapeño. This sweet and spicy combination is sure to awaken your senses.
-
Vanilla Delight: Enhance the jam's flavor by adding pure vanilla extract at the end of cooking. It brings a delightful depth to your homemade blackberry jam.
-
Herbal Infusion: Experiment with fresh herbs like basil or mint, which can be added during the boiling process. This will give your jam a refreshing twist that’s perfect for gourmet sandwiches or cheese platters.
Unlock the full potential of your homemade blackberry jam! Whether you're preparing a delightful breakfast treat or a gift to share, there's a variation that's just right for you. For more inspiration, check out our delightful Recipe ideas!
Expert Tips for Homemade Blackberry Jam
-
Sterilization Matters: Always sterilize your jars properly to prevent spoilage. Hot jars ensure the jam remains safe when sealed.
-
Consistent Boil: Make sure your mixture reaches a rolling boil that doesn’t subside when stirred. This is crucial for effective gelling in your homemade blackberry jam recipe.
-
Accurate Testing: Use a candy thermometer or perform the cold plate test accurately. If your jam isn’t thick enough during testing, continue boiling and retest.
-
Adjusting Sugar: Be cautious when reducing sugar in your jam; doing so can affect gelling, especially if using low-sugar pectin.
-
Add Flavor: Experiment by adding spices like a pinch of cinnamon or vanilla for an exciting twist to your jam.
How to Store and Freeze Homemade Blackberry Jam
Fridge: Store your homemade blackberry jam in an airtight container in the refrigerator for up to 3 weeks. This keeps the flavors vibrant and fresh.
Freezer: To preserve your jam for longer, transfer it to freezer-safe containers or jars, leaving some headspace. It can last in the freezer for up to 1 year while maintaining its delicious taste.
Canned: If processed in a water bath, your canned jam can be stored at room temperature for up to 1 year. Make sure to check seals and lids for freshness upon opening.
Reheating: When you're ready to enjoy your jam, simply warm it gently in a saucepan over low heat or microwave it in short intervals, stirring until just heated through.
Homemade Blackberry Jam Recipe FAQs
What’s the best way to select ripe blackberries?
Absolutely! Look for blackberries that are plump, glossy, and deeply colored, ideally dark purple to black. They should be slightly soft to the touch, but not mushy. Avoid any berries with dark spots or signs of mold, as they may indicate spoilage.
How long can I store homemade blackberry jam?
Your homemade blackberry jam can be stored in the refrigerator for up to 3 weeks. Just ensure it’s in an airtight container. If you decide to can it using a water bath, it can last at room temperature for up to 1 year. Always check for any signs of spoilage before consuming!
Can I freeze homemade blackberry jam?
Very! To freeze your jam, transfer it into freezer-safe containers or jars, leaving about 1 inch of headspace as the jam will expand while freezing. It can be stored in the freezer for up to 1 year. When you're ready to use it, simply thaw it in the refrigerator overnight or warm it gently on the stove.
What should I do if my jam turns out too runny?
If your jam isn't setting as expected, don't fret! You can cook it down further. Pour the runny jam back into a pot, return it to medium-high heat, and boil it again while stirring continuously. You might also add some additional pectin if you're working with a homemade batch that needs thickening. Check the temperature again, aiming for 220°F (105°C) or perform the cold plate test until it reaches the desired consistency.
Are there any dietary considerations for this jam?
This homemade blackberry jam recipe is naturally gluten-free and dairy-free, making it suitable for most dietary needs. However, if you’re making it for someone with allergies, ensure they are not sensitive to any fruit or sugar added. Remember, if you're sharing it with pets, avoid giving them anything with added sugar.
Homemade Blackberry Jam Recipe: Sweet Summer Bliss Awaits
Ingredients
Equipment
Method
- Sterilize jars by placing them in a pot of simmering water for 10 minutes.
- Mash blackberries in a pot until they release their juice, about 5 minutes.
- If desired, strain mashed berries through a fine-mesh sieve to remove seeds.
- Return strained juice or mashed berries to the pot and add sugar and lemon juice.
- Boil the mixture, stirring constantly until sugar dissolves, for about 10 minutes.
- Test for doneness using a candy thermometer or cold plate test.
- Ladle hot jam into prepared jars, leaving ¼ inch headspace, then seal.
- Cool jars completely and store in the refrigerator, freezer, or process for canning.
Leave a Reply