
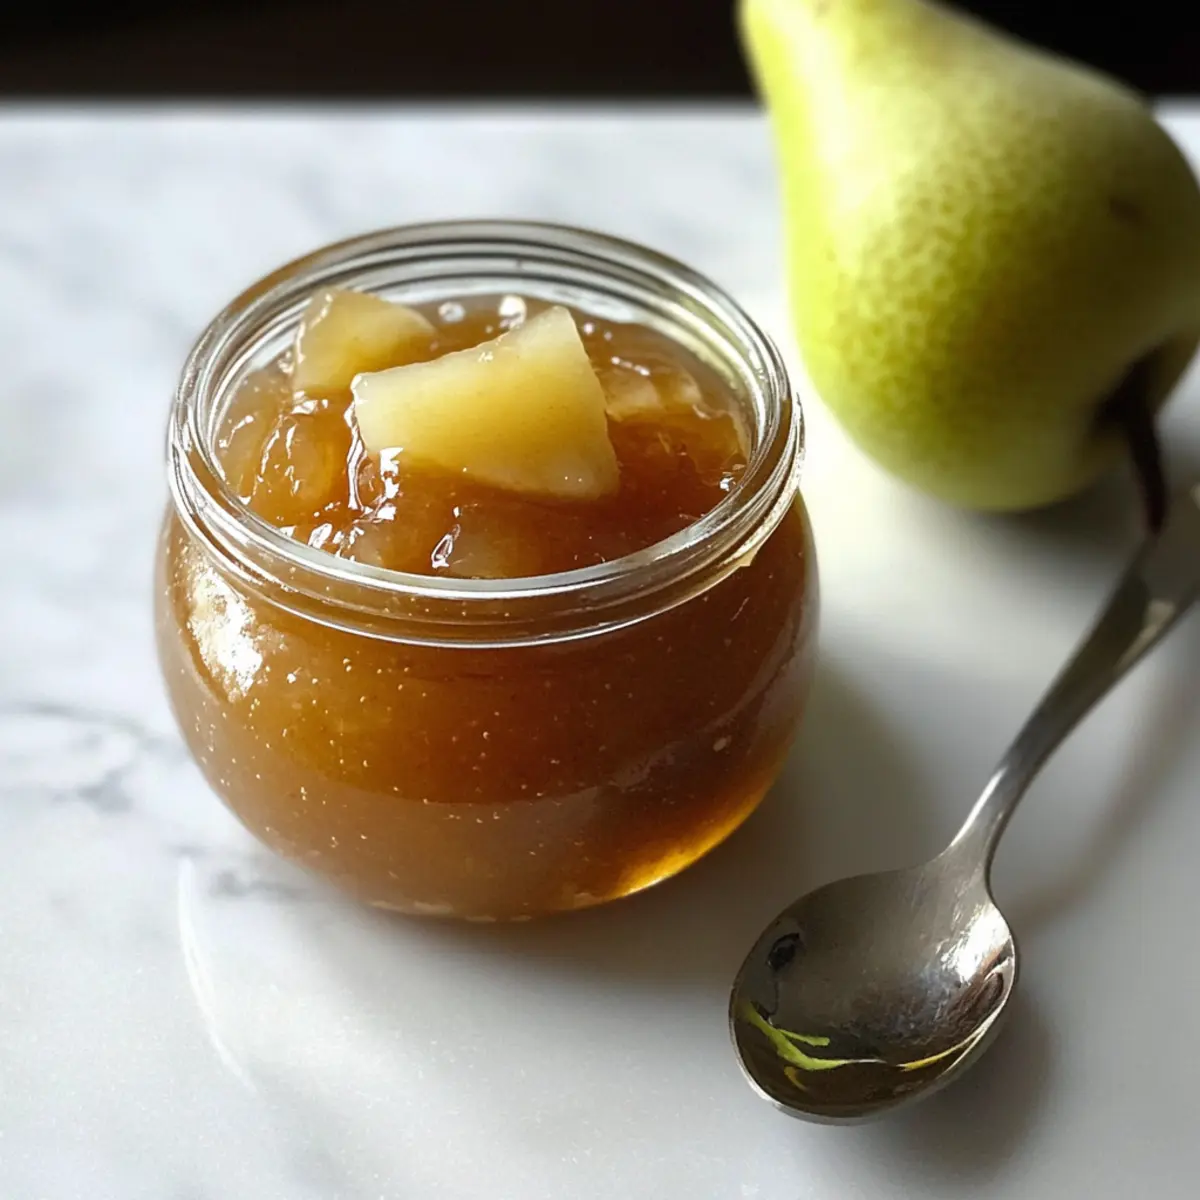
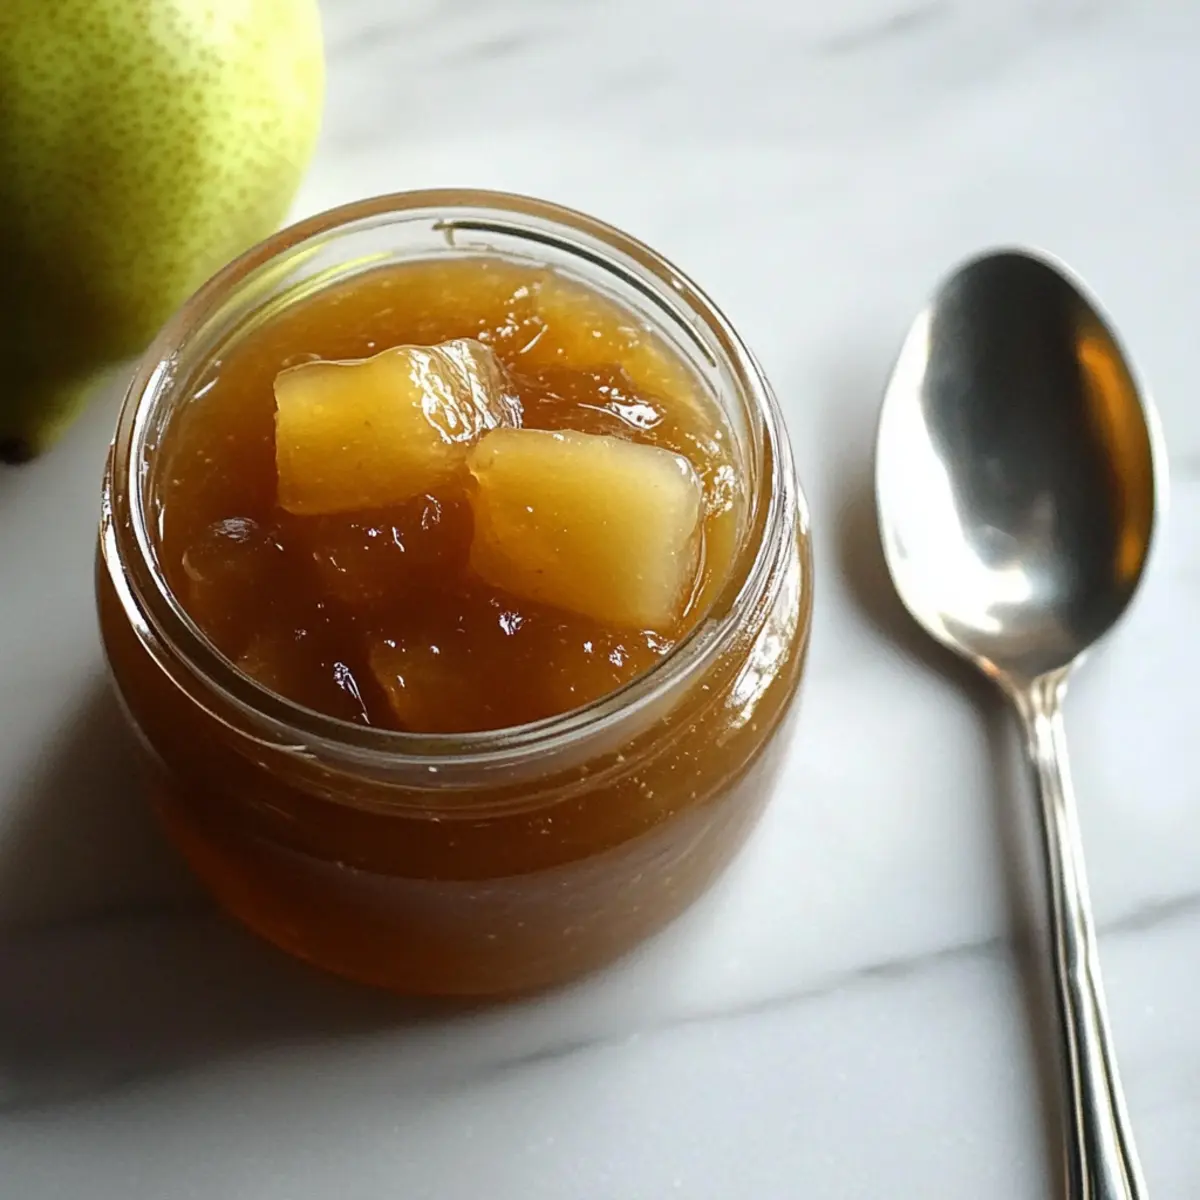
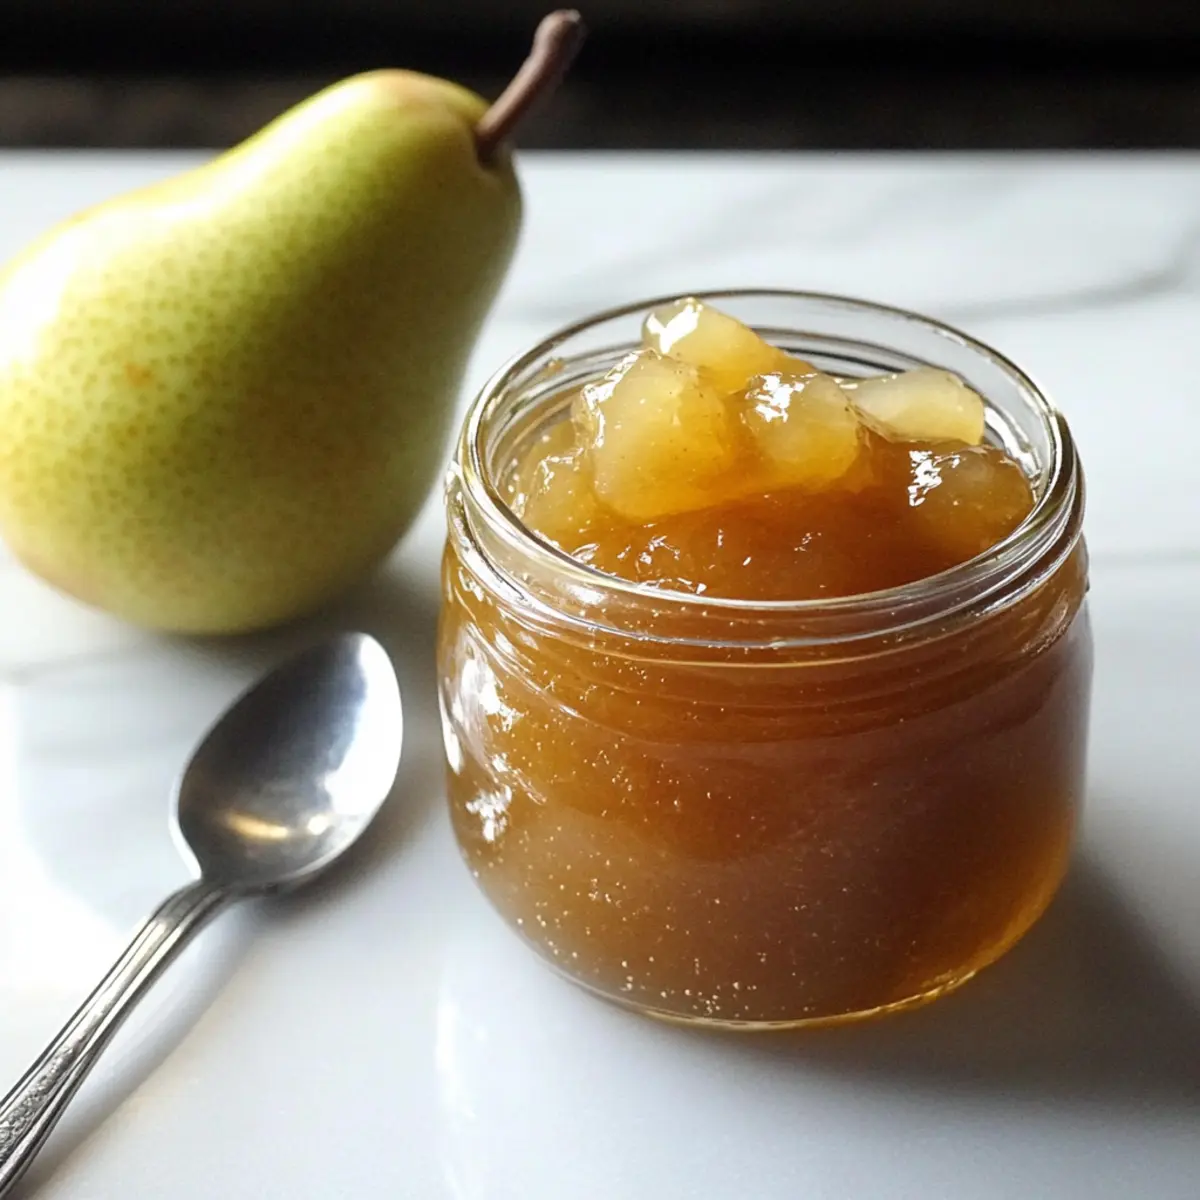
As I stood in the kitchen, the sweet aroma of ripe pears filled the air, transporting me to sun-drenched orchards. This is where my journey into making homemade pear jam without pectin began—a simple recipe that transforms fresh fruit into a comforting delight. With just a few ingredients, this jam perfectly balances the luscious sweetness of the pears while showcasing their natural flavors. The best part? You can control the sweetness to your liking, making it tailored just for you! Plus, with no pectin needed, this recipe is wonderfully approachable for even the newest of home chefs. If you’re ready to impress friends and family or simply indulge in a delicious slice of toast, this pear jam is a must-try. How do you think it will taste on your morning breakfast spread?

Why is this Pear Jam so special?
Simplicity at Its Best: This recipe requires only a handful of ingredients—just pears, sugar, and lemon juice—making it accessible for any cook.
All-Natural Goodness: With no pectin added, you’ll enjoy the pure essence of ripe pears in every bite.
Tailored Sweetness: Adjust the sugar levels to suit your taste, allowing for a perfectly balanced jam that won't overwhelm your palate.
Versatile Uses: This pear jam is not just for toast; drizzle it over yogurt, fill pastries, or layer it in desserts for a delightful twist.
Crowd-Pleasing Flavor: Homemade preserves always impress guests; imagine their delight when they taste your luscious pear jam!
Transform your breakfast routine with this delightful treat that showcases the beauty of homemade preserves. Let your creativity flow and check out our easy tips for canning and preserving to ensure your jam lasts and stays delicious.
Pear Jam Ingredients
For the Jam
• Pears – Fresh, peeled, and chopped into ½ inch pieces for the main flavor and natural thickening power. Choose slightly underripe pears for a better texture when cooking.
• Sugar – 2 to 4 cups, to taste; sweetens the jam and helps draw out the pear juices for an amazing flavor. Adjust according to your preferred sweetness level—2 cups for less sweet or up to 4 cups for that classic taste.
• Lemon Juice – ¼ cup; adds acidity to balance the sweetness and aids in gel formation, keeping your pear jam vibrant and gorgeous.
For Canning (if applicable)
• Canning Lids – Ensure you have two-part lids for sealing your jars properly and preventing spoilage.
• Water for Bath – Make sure to set up your water bath canner for proper preservation, particularly if you plan to store your pear jam long-term.
Craft your delightful homemade pear jam using these simple ingredients and savor the joy of a sweet, natural treat that will brighten your mornings!
Step‑by‑Step Instructions for Homemade Pear Jam
Step 1: Prepare Pears
Start by peeling, coring, and chopping fresh pears into uniform ½-inch pieces. This helps them cook evenly. Drizzle the pear chunks with ¼ cup of lemon juice to prevent browning, enhancing both flavor and brightness. Set these prepared pears aside while you gather the next ingredients, allowing their natural sweetness to shine.
Step 2: Macerate
Place the chopped pears into a large mixing bowl and sprinkle sugar over them according to your desired sweetness, between 2 to 4 cups. Gently toss the pears and sugar together, ensuring they are well coated. Cover the bowl with plastic wrap and refrigerate for at least 4 hours, but preferably 12 to 24 hours. This maceration process will release the fruit's juices, creating a syrupy mixture.
Step 3: Set Up Canning
If you're planning to can your homemade pear jam, prepare your water bath canner now. Fill it with water and bring it to a gentle simmer, ensuring it's ready for the jars once the jam is cooked. Having your canning tools ready will make the process smooth and efficient when you’re ready to preserve your delicious creation.
Step 4: Cook the Jam
Transfer the syrupy pear mixture to a heavy-bottomed pot and bring it to a boil over high heat. Once boiling, reduce the heat to medium-high and cook for 10 to 15 minutes. Stir frequently to prevent the mixture from sticking to the bottom of the pot. You'll know it's ready when the pear chunks soften and the mixture thickens beautifully.
Step 5: Test for Gel Stage
As you cook, keep a close eye on the temperature of your pear jam. Use a candy thermometer to monitor it, looking for a temperature of 220°F at sea level. Alternatively, perform the plate test by placing a spoonful of jam on a chilled plate; it should wrinkle when pushed. This signals that your pear jam is reaching its desired gel stage.
Step 6: Fill Jars
Once the pear jam is perfectly thick, remove it from heat. Ladle the hot jam into clean, sterilized jars, leaving about ¼ inch of headspace at the top. Make sure to remove any air bubbles by running a clean knife around the inside edges of each jar. Place the two-part canning lids on top and screw the bands on until they are fingertip-tight.
Step 7: Process Jars
Carefully place the filled jars into the simmering water bath. Process the jars for 10 minutes, ensuring the water covers them by at least an inch. If you are above 6,000 feet in altitude, adjust the processing time to 15 minutes. This step will help seal your homemade pear jam for long-term storage.
Step 8: Cool and Store
After processing, carefully remove the jars from the water bath and allow them to cool on a clean towel or cooling rack. Let them rest undisturbed for 24 hours to ensure proper sealing. Once cool, check that the seals are tight by pressing down on the center of each lid. Store the sealed jars in a cool, dark place for up to 12 to 18 months, ready to enjoy your homemade pear jam whenever you like!
How to Store and Freeze Pear Jam
Fridge: Store opened jars of pear jam in the refrigerator for up to 3 weeks. Ensure they're tightly sealed to maintain freshness and prevent spoilage.
Freezer: For longer storage, freeze pear jam in airtight containers or freezer-safe jars for up to 6 months. Leave space at the top for expansion as it freezes.
Canned Storage: Properly sealed jars can be kept in a cool, dark place for 12 to 18 months. Check the seals before using to ensure your homemade pear jam remains safe and delicious.
Reheating: If you need to reheat the jam, do so gently on the stove over low heat, stirring until warmed through. Avoid boiling again to preserve the texture.
What to Serve with Homemade Pear Jam without Pectin
Enjoying homemade pear jam is just the beginning; let’s create a meal to savor with it!
-
Toast with Butter: The warmth of freshly toasted bread slathered with butter creates a delightful backdrop for the sweet and tangy pear jam.
-
Yogurt Parfait: Layer creamy yogurt with granola and a generous dollop of pear jam for a refreshing breakfast or snack. Each bite offers a lovely crunch and fruity sweetness.
-
Cheese Platter: Pair your pear jam with creamy Brie or blue cheese for an elegant appetizer. The balance of flavors will have your guests coming back for more.
-
Pancakes or Waffles: Drizzle warm pancakes or waffles with homemade pear jam instead of syrup. The jam's luscious texture adds a special touch to your breakfast.
-
Dessert Topping: Use pear jam as a topping for vanilla ice cream or cheesecake. The vibrant flavors will enhance your dessert experience and make it unforgettable.
-
Savory Meat Glaze: Elevate roasted chicken or pork by brushing it with pear jam during the last few minutes of cooking. The sweet glaze beautifully complements the savory meat.
-
Pecan Pie Addition: Stir in a spoonful of pear jam to your pecan pie filling for an unexpected burst of flavor. It’s a delicious twist on a classic dessert!
Indulging in these pairings will enhance your enjoyment of your homemade pear jam and elevate any occasion!
Make Ahead Options
These Homemade Pear Jam options are perfect for busy cooks looking to streamline their meal prep! You can macerate the pears with sugar up to 24 hours in advance; this step allows the juices to release and enhances the jam's flavor without losing quality. Simply chop and toss the pears with lemon juice and sugar, then cover and refrigerate until you're ready to cook. On jam day, heat the pear mixture, cook it for about 10 to 15 minutes, and follow the canning process. Your finished pear jam will be just as delicious and bursting with fresh flavor, saving you time on those hectic mornings!
Pear Jam: Flavorful Variations Await
Feel free to get creative with your homemade pear jam and discover delightful new twists that awaken your taste buds!
- Spice It Up: Add a pinch of cinnamon or ginger during cooking for a warm flavor twist. The spices complement the sweet pears beautifully, adding warmth and depth.
- Maple Twist: Substitute part of the sugar with maple sugar for a rich, earthy flavor. This twist not only sweetens but enhances the overall profile of your jam.
- Citrusy Kick: Try adding some orange or lemon zest to the mixture—this brightens up the flavor and adds a refreshing zing to each jar.
- Heat Lover’s Delight: Incorporate a dash of cayenne pepper for a spicy kick, balancing the sweetness with a surprising heat that tantalizes the taste buds.
- Herbal Infusion: Infuse with fresh herbs like thyme or rosemary during cooking, then strain before canning for an aromatic experience that surprises on toast.
- Texture Play: Mix in some chopped nuts like walnuts or pecans for added crunch—this not only changes the texture but gives it a delightful nutty flavor.
- Berry Boost: Combine pears with other fruits like berries or apples; this not only enhances flavor but also adds a vibrant color to your jam.
- Less Sugar, More Flavor: Opt for more pears and reduce sugar for a naturally sweet preserve. The quality of fresh pears means you’ll still enjoy a deliciously rich experience.
Dive into your pear jam-making process and let your inner chef shine! Don’t forget to check out our tips on canning and preserving to ensure your colorful creations stay fresh for longer.
Expert Tips for Pear Jam
Maceration Matters: Don't rush the maceration process; allowing the pears to sit with sugar draws out the juices, essential for achieving the right consistency.
Avoid Burning: Always use a heavy-bottomed pot and stir frequently while cooking. This prevents the jam from sticking and burning, especially as it thickens.
Temperature Precision: Use a candy thermometer to ensure your pear jam reaches 220°F for proper gelling without pectin. Check with the plate test if unsure.
Storage Safety: Ensure jars are clean and sterilized before filling. Properly sealing your jars will help preserve the fresh flavor of your homemade pear jam.
Customize Flavor: Feel free to experiment with spices like cinnamon or ginger, or use different pear varieties for a unique taste twist. It's your jam!
Pear Jam Recipe FAQs
What kind of pears should I use for the best texture?
I recommend using slightly underripe pears for the best texture in your homemade pear jam. They hold their shape better during cooking and provide a firmer final product. Look for pears that are firm to the touch and free of dark spots.
How should I store my pear jam after canning?
After you've sealed your jars, store them in a cool, dark place. Ideal storage conditions will keep your homemade pear jam fresh for 12 to 18 months. If you open a jar, keep it in the fridge and consume it within 3 weeks for the best flavor.
Can I freeze pear jam for later use?
Absolutely! Freezing is a great option for preserving pear jam. Spoon the jam into airtight containers or freezer-safe jars, leaving about an inch of headspace to allow for expansion. Your pear jam can be frozen for up to 6 months and enjoyed later.
What if my jam didn’t set properly?
If your pear jam hasn't reached the gel stage, don't worry! You can rescue it by returning the jam to the pot, adding a little more sugar (¼ cup at a time), and simmering it for a few more minutes. Use the plate test or a candy thermometer to check if it reaches 220°F.
Is this recipe safe for my pets?
While pear jam is delicious for humans, it’s not ideal for pets due to high sugar content. Always avoid giving homemade preserves to your furry friends, and keep it out of their reach.
What should I do if my jars don’t seal properly after canning?
If you find that some jars haven't sealed, don’t panic! You can reprocess them by removing the lid, adding fresh lids, and processing them again in a boiling water bath for an additional 10 minutes. Alternatively, store unsealed jars in the refrigerator and consume them within 2 to 3 weeks.
Delicious Homemade Pear Jam: No Pectin Needed for Perfection
Ingredients
Equipment
Method
- Peel, core, and chop the pears into ½-inch pieces. Drizzle with lemon juice to prevent browning.
- In a mixing bowl, combine the chopped pears and sugar, toss gently and cover. Refrigerate for 12-24 hours.
- Prepare the water bath canner, ensuring it's ready for the jars once the jam is cooked.
- Boil the syrupy pear mixture in a heavy-bottomed pot over high heat, then reduce heat and cook for 10-15 minutes.
- Monitor the temperature, aiming for 220°F, or perform the plate test to check for gel stage.
- Ladle hot jam into sterilized jars, leaving ¼ inch of headspace, and remove air bubbles.
- Process jars in the simmering water bath for 10 minutes, adjusting for altitude if necessary.
- Allow processed jars to cool for 24 hours undisturbed, then check the seals before storing.

Leave a Reply